- How To Install qBittorrent on Linux Mint 20
- Install qBittorrent on Linux Mint 20 Ulyana
- How To Install qBittorrent on Linux Mint 21
- Install qBittorrent on Linux Mint 21 Vanessa
- Установка qBittorrent в Ubuntu
- Установка qBittorrent на Ubuntu 18.04
- Установка qBitTorrent на Ubuntu Server
- Веб-интерфейс qBittorrent
- Как удалить qBitTorrent в Ubuntu
- Выводы
How To Install qBittorrent on Linux Mint 20
In this tutorial, we will show you how to install qBittorrent on Linux Mint 20. For those of you who didn’t know, qBittorrent is an open-source BitTorrent client that aims to be able to provide a free application alternative to μTorrent, designed for Linux, Windows, Mac OS, and FreeBSD.
This article assumes you have at least basic knowledge of Linux, know how to use the shell, and most importantly, you host your site on your own VPS. The installation is quite simple and assumes you are running in the root account, if not you may need to add ‘ sudo ‘ to the commands to get root privileges. I will show you through the step-by-step installation of the qBittorrent open-source BitTorrent client on a Linux Mint 20 (Ulyana).
Prerequisites
- A server running one of the following operating systems: Linux Mint 20 (Ulyana).
- It’s recommended that you use a fresh OS install to prevent any potential issues
- A non-root sudo user or access to the root user . We recommend acting as a non-root sudo user , however, as you can harm your system if you’re not careful when acting as the root.
Install qBittorrent on Linux Mint 20 Ulyana
Step 1. Before running the tutorial below, it’s important to make sure your system is up to date by running the following apt commands in the terminal:
sudo apt update sudo apt install curl build-essential
Step 2. Installing qBittorrent on Linux Mint 20.
sudo add-apt-repository ppa:qbittorrent-team/qbittorrent-stable
Once done, update the repository and install qBittorrent:
sudo apt update sudo apt install qbittorrent
Run the following command to install Snap packages and qBittorrent on the Linux Mint system:
sudo rm /etc/apt/preferences.d/nosnap.pref sudo apt update sudo apt install snapd
Step 3. Accessing qBittorrent.
Once installed successfully, then click activities and open the menu, and type qbittorrent .
Congratulations! You have successfully installed qBittorrent Thanks for using this tutorial for installing the latest version of qBittorrent on the Linux Mint system. For additional help or useful information, we recommend you to check the official qBittorrent website.
If you don’t have time to do all of this stuff, or if this is not your area of expertise, we offer a service to do “VPS Manage Service Offer”, starting from $10 (Paypal payment). Please contact us to get the best deal!
How To Install qBittorrent on Linux Mint 21
In this tutorial, we will show you how to install qBittorrent on Linux Mint 21. For those of you who didn’t know, qBittorrent is a free, open-source, cross-platform P2P BitTorrent client developed inC++ and Qt libraries. qBittorrent is very popular amongst torrent users as the main alternative to uTorrent. If you’re looking for a feature-rich and lightweight BitTorrent client, qBittorrent should be your go-to.
This article assumes you have at least basic knowledge of Linux, know how to use the shell, and most importantly, you host your site on your own VPS. The installation is quite simple and assumes you are running in the root account, if not you may need to add ‘ sudo ‘ to the commands to get root privileges. I will show you the step-by-step installation of a qBittorrent BitTorrent client on Linux Mint 21 (Vanessa).
Prerequisites
- A server running one of the following operating systems: Linux Mint 21 (Vanessa).
- It’s recommended that you use a fresh OS install to prevent any potential issues.
- SSH access to the server (or just open Terminal if you’re on a desktop).
- A non-root sudo user or access to the root user . We recommend acting as a non-root sudo user , however, as you can harm your system if you’re not careful when acting as the root.
Install qBittorrent on Linux Mint 21 Vanessa
Step 1. Before running the tutorial below, it’s important to make sure your system is up to date by running the following apt commands in the terminal:
sudo apt update sudo apt install software-properties-common apt-transport-https wget ca-certificates gnupg2
Step 2. Installing qBittorrent on Linux Mint 21.
By default, qBittorrent is not available on the Linux Mint 21 base repository. Now we add the qBittorrent repository to your system using the following command:
echo 'deb [signed-by=/usr/share/keyrings/qbittorrent.gpg] https://ppa.launchpadcontent.net/qbittorrent-team/qbittorrent-stable/ubuntu/ jammy main' | sudo tee -a /etc/apt/sources.list.d/qbittorrent.list
sudo gpg --no-default-keyring --keyring /usr/share/keyrings/qbittorrent.gpg --keyserver keyserver.ubuntu.com --recv-keys 401E8827DA4E93E44C7D01E6D35164147CA69FC4
Now start by updating the packages list and install the qBittorrent stable version by using the command below:
sudo apt update sudo apt install qbittorrent
Step 3. Accessing qBittorrent on Linux Mint 21.
Once we finish with the installation, we will find qBittorrent in the Mint menu, in the Internet section or you can launch it through the terminal with the help of the command shown below:
Congratulations! You have successfully installed qBittorrent. Thanks for using this tutorial for installing the latest version of the qBittorrent BitTorrent client on the Linux Mint system. For additional help or useful information, we recommend you check the official qBittorrent website.
If you don’t have time to do all of this stuff, or if this is not your area of expertise, we offer a service to do “VPS Manage Service Offer”, starting from $10 (Paypal payment). Please contact us to get the best deal!
Установка qBittorrent в Ubuntu
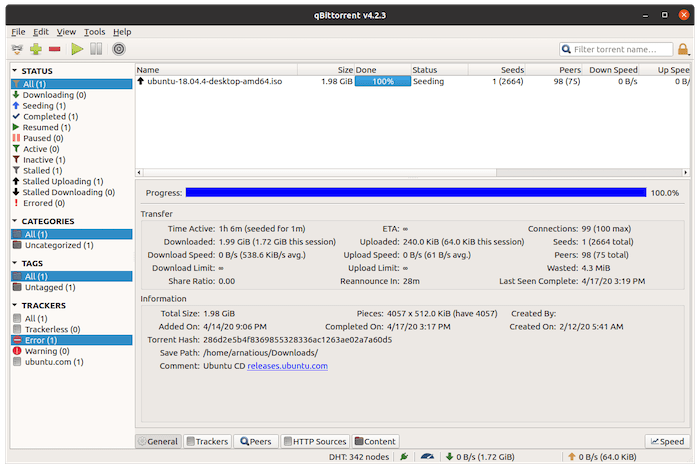
qBittorrent — это один из самых популярных свободных торрент клиентов с открытым исходным кодом для Linux. Программа поддерживает такие платформы, как Linux, Windows, MacOS и FreeBSD. Интерфейс программы напоминает uTorrent, зато здесь нет рекламы и поддерживаются такие BitTorrent расширения как DHT, peer exchange и полное шифрование. Кроме того, программой можно пользоваться через веб-интерфейс удаленно.
С появлением скоростного интернета и различных стриминговых сервисов торренты теряют свою привлекательность, но они все ещё остаются актуальными для загрузки образов операционных систем. В этой статье мы разберемся как выполняется установка qBittorrent Ubuntu 18.04.
Установка qBittorrent на Ubuntu 18.04
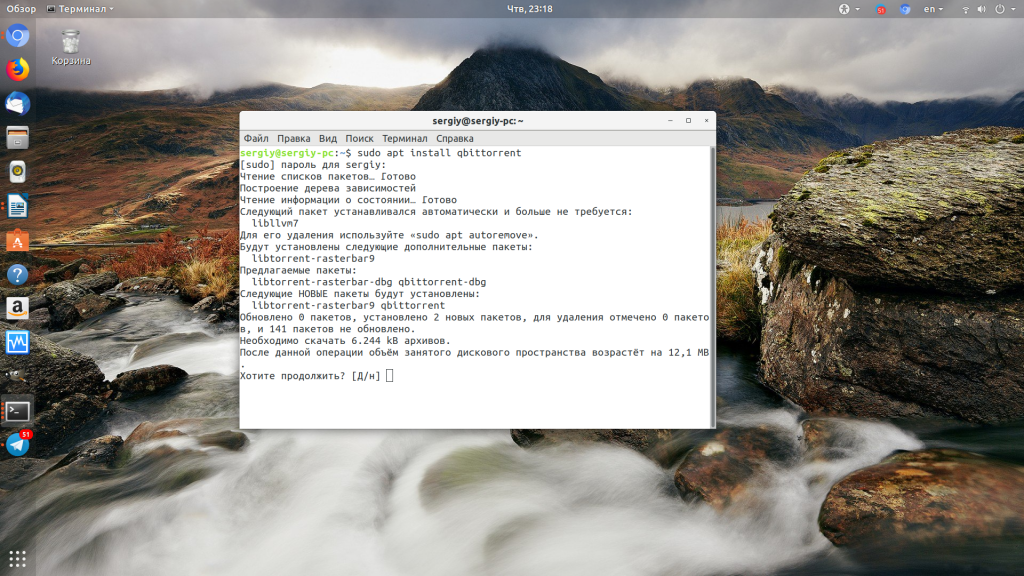
Самый простой способ установить программу — использовать официальные репозитории. На данный момент там находится версия 4.0.3. Для установки достаточно выполнить:
sudo apt install qbittorrent
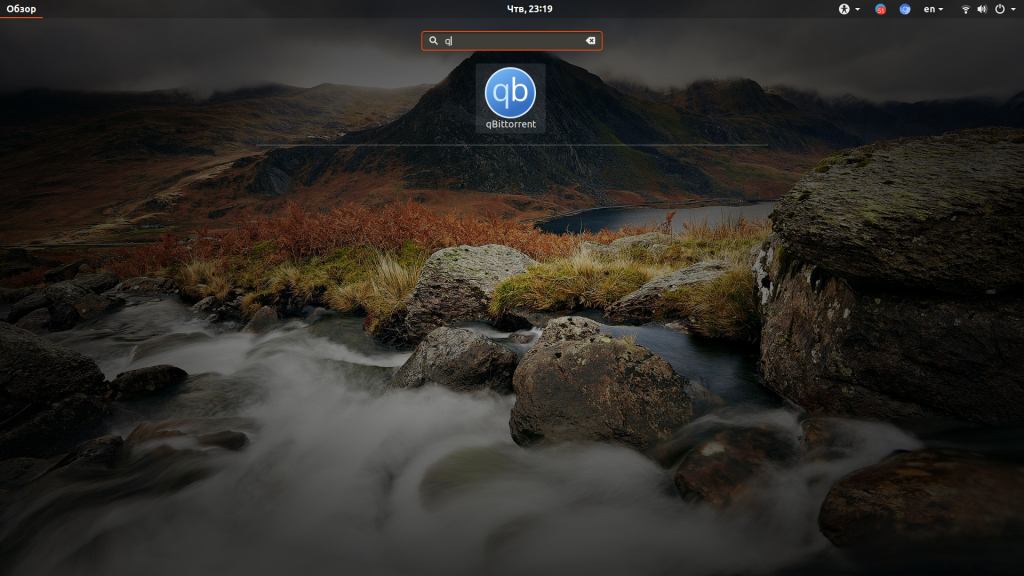
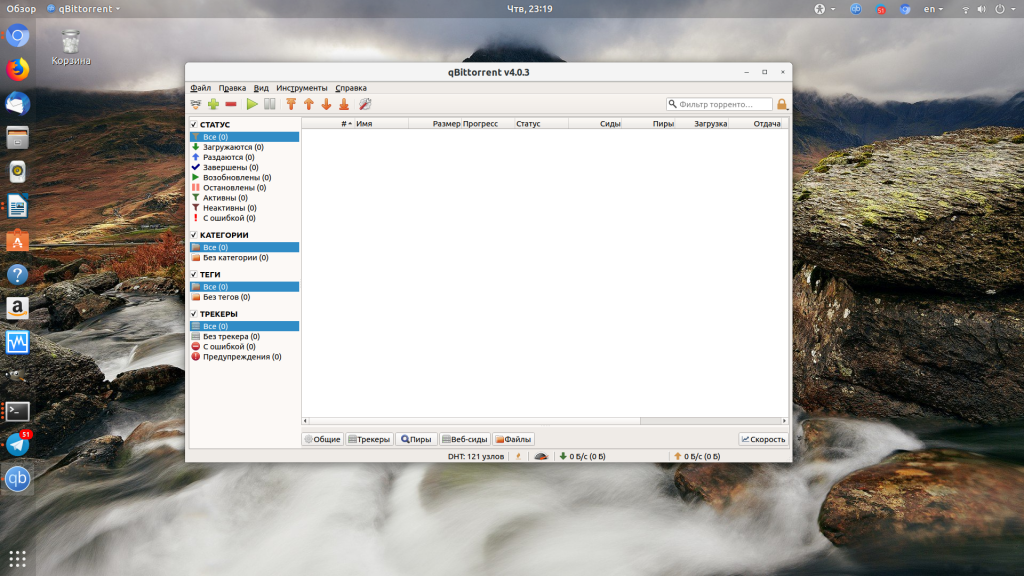
Затем вы можете найти программу в главном меню и запустить.
Если вы хотите более свежую версию, надо использовать PPA. Для добавления PPA от разработчиков выполните команду:
sudo add-apt-repository ppa:qbittorrent-team/qbittorrent-stable
Список пакетов будет обновлен автоматически и вам надо будет только запустить команду установки:
sudo apt install qbittorrent
Этот репозиторий будет также работать и с более старыми версиями дистрибутива, например, Ubuntu 16.04 или 14.04, а также с более новыми. Если в вашей системе уже установлен qBittorrent, после добавления PPA можно просто обновить его вместе с системой.
Установка qBitTorrent на Ubuntu Server
Если вы хотите скачивать и раздавать торренты на сервере, то вы можете установить qBittorrent на без графического интерфейса и управлять им через веб-интерфейс. Подключитесь к вашему серверу и добавьте тот же PPA:
sudo add-apt-repository ppa:qbittorrent-team/qbittorrent-stable
Затем установите версию без графического интерфейса, для этого к названию пакета добавьте опцию nox:
sudo apt install qbittorrent-nox
Создайте пользователя, от имени которого будет запускаться программа:
И осталось создать юнит файл systemd, чтобы система инициализации Ubuntu могла управлять работой программы:
sudo vi /etc/systemd/system/qbittorrent-nox.service
[Unit]
Description=qBittorrent Daemon Service
After=network.target
[Service]
Type=forking
User=qbtuser
ExecStart=/usr/bin/qbittorrent-nox -d
[Install]
WantedBy=multi-user.target
Сохраните изменения. Затем добавьте службу в автозагрузку и запустите её, но прежде надо попросить systemd перечитать изменения с диска:
sudo systemctl daemon-reload
sudo systemctl enable qbittorrent-nox
sudo systemctl start qbittorrent-nox
Веб-интерфейс qBittorrent
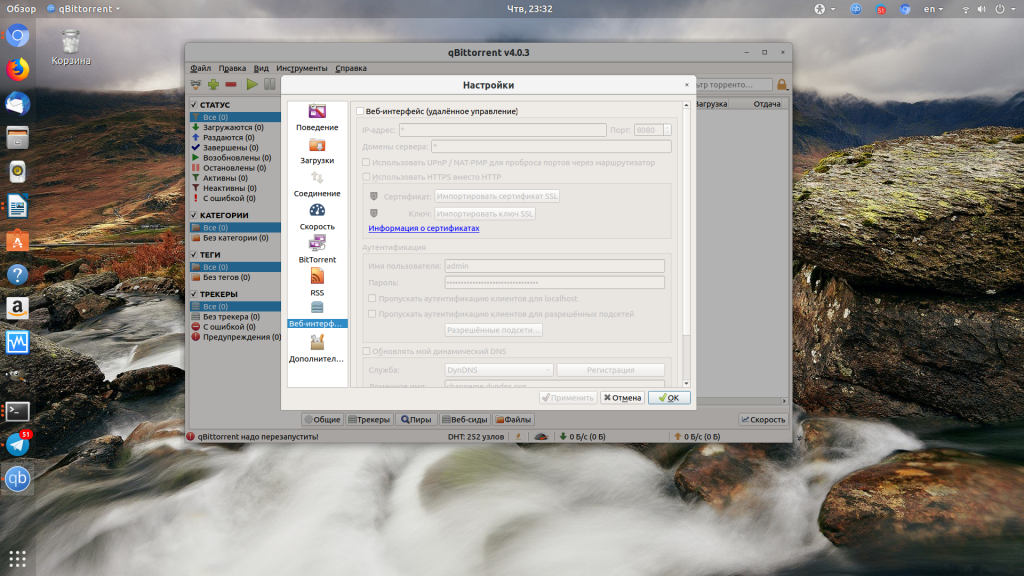
В графической версии веб-интерфейс по умолчанию отключен. Для его включения откройте Инструменты -> Настройки -> Веб-интерфейс и отметьте галочку Веб-интерфейс:
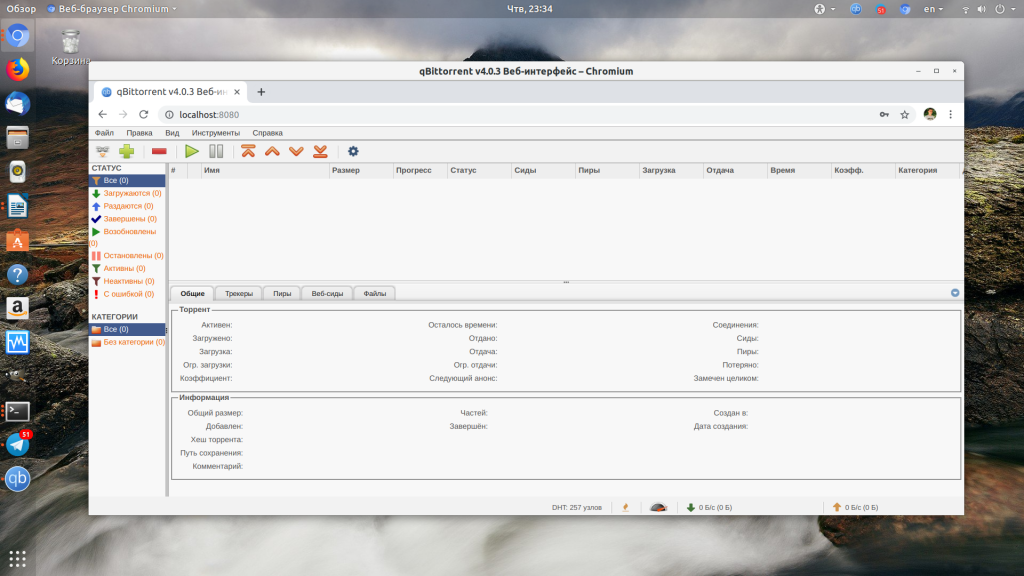
После этого он будет доступен по адресу ваш_ip:8080 например, на локальной машине:

По умолчанию имя пользователя admin, пароль: adminadmin.
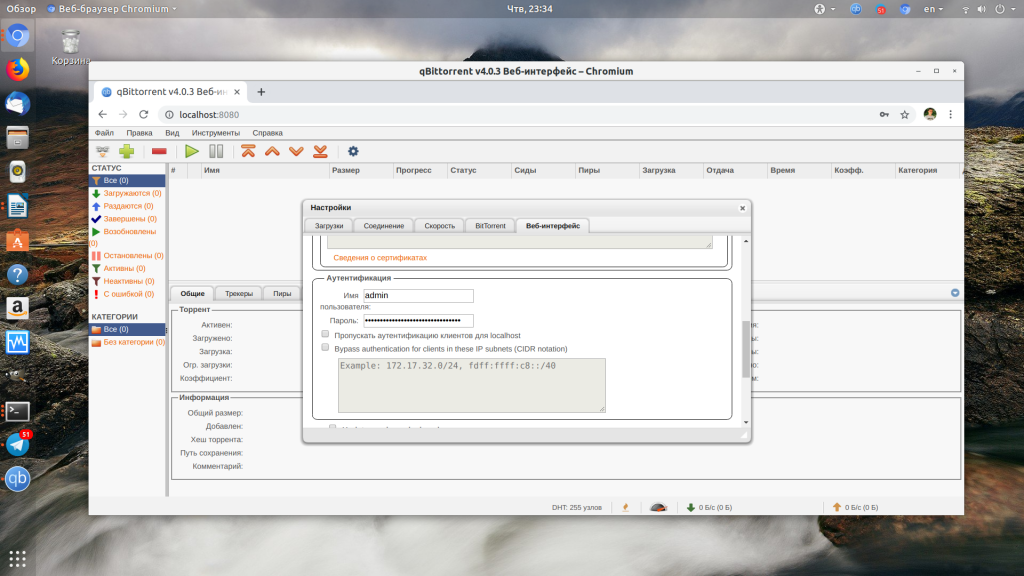
Вы можете изменить пароль на той же вкладке в графической утилите или в веб интерфейсе, в настройках:
Как удалить qBitTorrent в Ubuntu
Чтобы удалить программу из своей системы достаточно выполнить:
sudo apt purge qbittorrent
Если вы устанавливали версию без графического интерфейса, то:
sudo apt purge qbittorrent
Затем останется отключить PPA через утилиту Программы и обновления и удалить дополнительные конфигурационные файлы, если вы их создавали.
Выводы
В этой статье мы разобрали как установить qBittorrent Ubuntu 18.04, а также как настроить серверную версию и запустить веб-интерфейс. Как видите, всё очень просто. Это мой любимый торрент клиент, советую его всем, особенно пользователям Windows. А какими торрент клиентами пользуетесь вы? Напишите в комментариях!
Обнаружили ошибку в тексте? Сообщите мне об этом. Выделите текст с ошибкой и нажмите Ctrl+Enter.