- Virtual box linux server
- VirtualBox: Creating an Ubuntu Server 20.04.3 LTS Virtual Machine
- Downloading ISO Files
- Ubuntu 20.04.3 LTS — Server (Tomcat)
- Creating Virtual Machine — VirtualBox
- NAT (Network Address Translation) Network
- Ubuntu Server Virtual Machine
- Need to Access your Server Remotely?
- Running Out of Hard Disk Space?
- Subscribe to Open Threat Research Blog
Virtual box linux server
1. Вступление
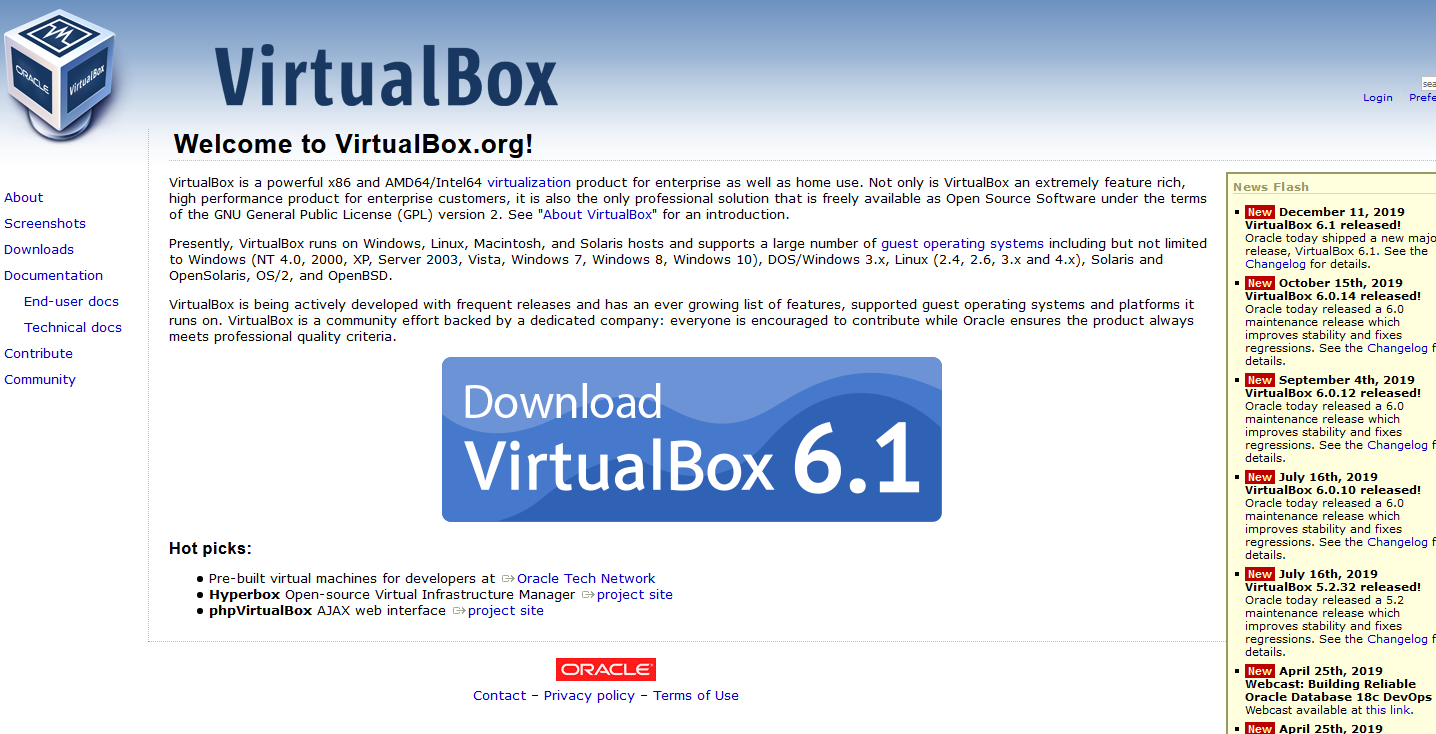
В рамках этой статьи рассмотрим подробную установку средства виртуализации Oracle VM VirtualBox (далее просто VirtualBox) и создания виртуальной машины под управлением Ubuntu 18.04 Server.
Почему будем использовать именно VirtualBox?
Причин несколько:
1) Он прост в установке на любую операционную систему (Windows, MacOS, Linux);
2) Имеет обширное комьюнити пользователей, а значит — можно найти ответ на любой вопрос;
3) Поддерживает создание множества виртуальных машин под разными ОС (Windows, FreeBSD, Ubuntu, CentOS, RedHat и др.);
4) Создание отдельных виртуальных сетей между виртуальными машинами;
5) Cоздание и восстановление снимков системы (снапшотов) и довольно обширную интеграцию с ОС хоста;
6) Бесплатный;
Зачем это нужно?
1) Для обучения;
2) Для тестирования каких-то программ, сборки пакетов под определённую конфигурацию системы;
3) Для решения задач «домашнего сервера» при наличии мощной машины хоста;
Версии ПО используемые для установки в данном руководстве:
— Windows 10, версии 1903;
— VirtualBox 6.1;
— Ubuntu 18.04 Server LTS;
2. Подготовка
2.1 Скачивание, установка и настройка Oracle VM VirtualBox
Скачать VirtualBox можно с официального сайта — ссылка: https://www.virtualbox.org
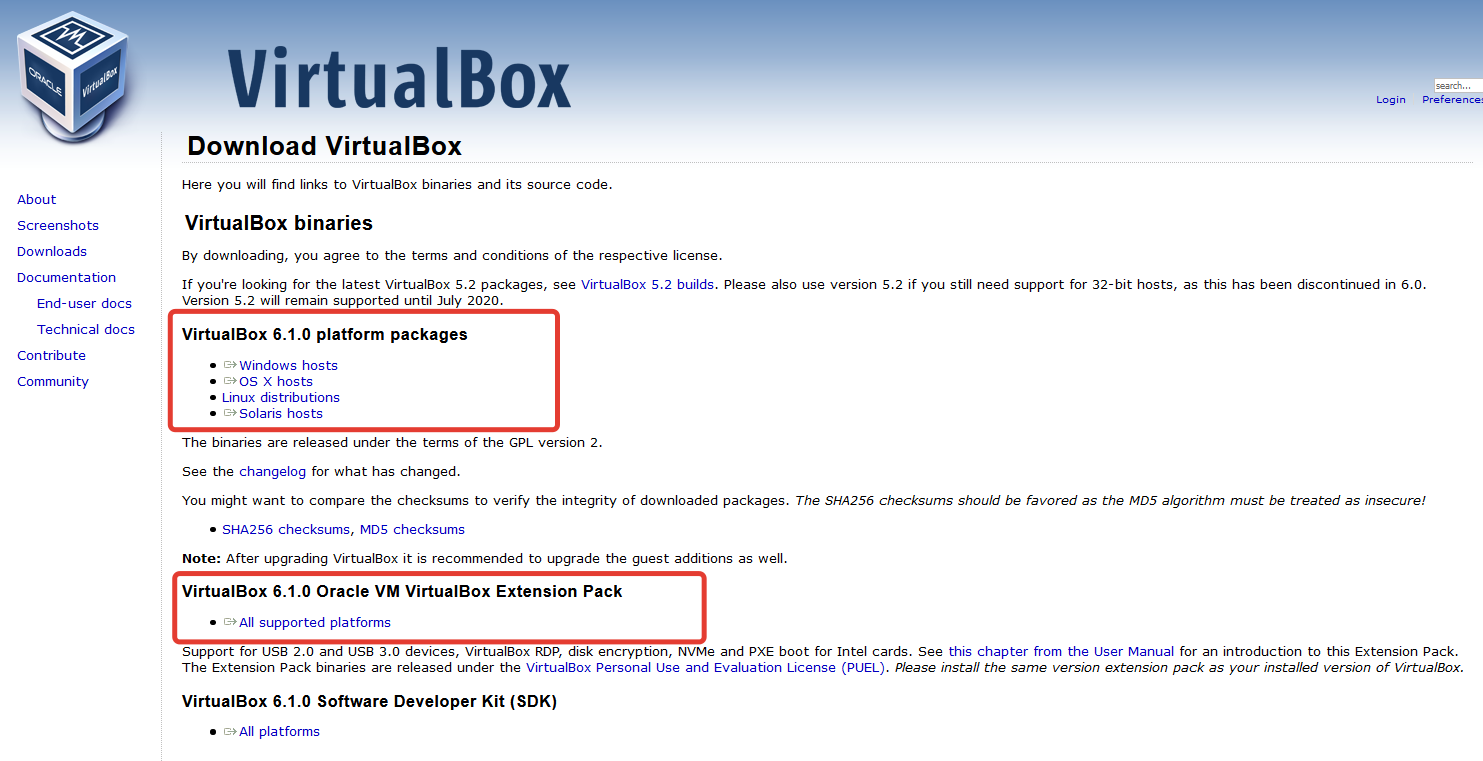
Нам необходимо скачать то,
что на скриншоте выделено
красными прямоугольниками,
а именно:
— Сам установочный файл
VirtualBox:
https://download.virtualbox.org/virtualbox/6.1.0/VirtualBox-6.1.0-135406-Win.exe
— И т.н Extension Pack —
пакет очень полезных
расширений
(общие папки, поддержка
USB выше 2.0 и др.)
для виртуальных машин:
https://download.virtualbox.org/virtualbox/6.1.0/Oracle_VM_VirtualBox_Extension_Pack-6.1.0.vbox-extpack
2.2 Скачивание образа системы Ubuntu 18.04 Server
Пока скачивается одно, можно загрузить образ системы с официального сайта:
https://releases.ubuntu.com/18.04.4
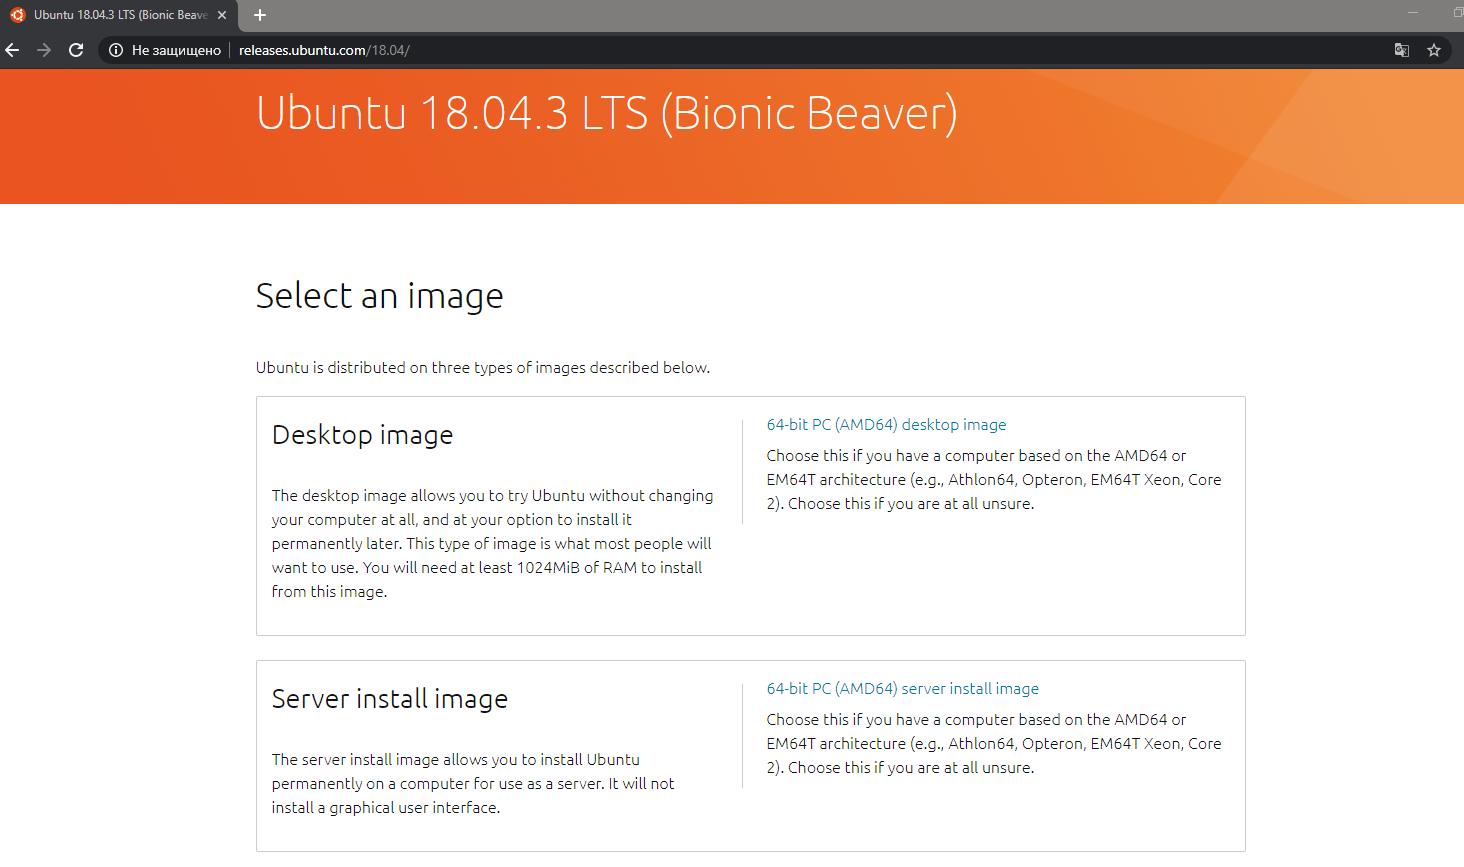
Выбираем тут Server install image
(Прямая ссылка:
http://releases.ubuntu.com/18.04/ubuntu-18.04.3-live-server-amd64.iso ),
выбираем путь для сохранения.
Готово.
3. Установка VirtualBox
Установка самого VirtualBox
не сложна и заключается, в основном,
в «Далее-Далее-Принять-Готово»,
(кроме двух моментов о которых
расскажу далее),
подробно расписывать его
установку смысла не имеет,
но скриншоты процесса приложу ниже.
Два «сложных» момента заключаются в следующем:
1) Необходимо включить в BIOS
ПК на который устанавливается
средство виртуализации,
настройку Virtualization Technology.
2) При установке кратковременно
пропадёт сеть на ПК, VirtualBox
об этом любезно предупредит.
VirtualBox: Creating an Ubuntu Server 20.04.3 LTS Virtual Machine
In this blog post, we will share the steps that you can follow to create an Ubuntu Server virtual machine in VirtualBox (Version 6.1.30). We are using the name tomcat for this virtual machine, but you can use your preferred name. Also, for the network adapter, we are using the name Log4Shell, but you can use your preferred name.
Downloading ISO Files
Ubuntu 20.04.3 LTS — Server (Tomcat)
Go to https://ubuntu.com/download/server and download the ISO file by clicking in Download Ubuntu Server 20.04.3 LTS.

Creating Virtual Machine — VirtualBox
NAT (Network Address Translation) Network
Go to File > Preferences > Network and create a NAT network adapter. We are naming it Log4Shell and using a CIDR 192.168.50.0/24. Do not forget to check the Supports DHCP option.

Ubuntu Server Virtual Machine
Go to Machine > New and create a new virtual machine. We are naming it tomcat and using type Linux and version Ubuntu (64-bit).

Select the preferred amount of memory (RAM). We will use 2048 MB.

Create a virtual hard disk using default options.

Select the tomcat virtual machine and go to Machine > Settings. Go to the Storage tab and select the Choose a Disk File.

Choose the ISO file for Ubuntu Server you downloaded before.

Go to the Network tab and attach the Log4Shell network adapter you created before. Click on OK.

Select the tomcat virtual machine and go to Machine > Start. This will start the Ubuntu virtual machine.

Press enter and continue the installation process using default options.

Use tomcat as the name, server’s name, and username. Also, you should choose and confirm your password.

Using the space bar, select the Install OpenSSH server option.

Wait for the installation process to complete.

When the installation is complete, using the tab key select Reboot Now and press enter.

Press ENTER.

Press enter, type the user tomcat and press enter, finally type the password and press enter.

Awesome!! You have created the tomcat’s virtual machine.

Need to Access your Server Remotely?
Since we installed the OpenSSH server when creating our virtual machine, we should be able to access our server using a SecureShell (SSH) connection. First, let’s check the status of the SSH service and get the IP address of our server by running the following commands:

We just validated that the SSH service is active or running and our server is listenning on port 22. Also, the IP address of our server is 192.168.50.5 .
Let’s stablish a SSH remote connection from an Ubuntu Desktop virtual machine that is part of the same network (If you need to create an Ubuntu Desktop virtual machine, you can follow the steps from a previous blog here).
In your Ubuntu Desktop machine, open the terminal application and run the following commands (user, IP address, and Password of your server will be required):

You should be able to interact with your server from the remote computer through a SSH connection.
Running Out of Hard Disk Space?
First, power off your virtual machine. Then go to File > Virtual Media Manager and select the Hard disks tab within the Properties section. Look for and select the Ubuntu Server’s virtual hard disk.

Update the size of the virtual hard doisk based on your requirements. Click on Apply and then click on Close.

You can now start your virtual machine again.
Subscribe to Open Threat Research Blog
Get the latest posts delivered right to your inbox