- How to Install VMware Workstation on Ubuntu / Linux Mint Desktop
- System requirements for installing VMware Workstation Player:
- Step by Step Guide to Install VMWare Workstation
- Step 1:) First Install required packages
- Step 2:) Download VMware Workstation 15
- Step 3:) Installing VMware Workstation 15
- Step:5) Access VMware Workstation
- 2 thoughts on “How to Install VMware Workstation on Ubuntu / Linux Mint Desktop”
- How to Install VMware Workstation 17 Player on Linux Mint 21
- Table of Contents:
- Downloading VMware Workstation 17 Player
- Preparing the System for Installation
- Installing VMware Workstation 17 Player
- Opening VMware Workstation 17 Player for the First Time
- Activating VMware Workstation 17 Player
- Conclusion
- About the author
- Shahriar Shovon
How to Install VMware Workstation on Ubuntu / Linux Mint Desktop
If you are looking to run multiple virtual machines on your Linux desktop (Ubuntu & Linux Mint), then better checkout the VMware workstation. It is the perfect utility that allows you set up virtual machines easily. And you can even use the VM simultaneously along with your actual machine as well. You can even install separate OS in each of the virtual machine in the system. Say if you want to learn a new Linux distribution and don’t want to disturb your existing one, just install VMWare workstation and install the new distribution in the new virtual machine and learn the new features.
System requirements for installing VMware Workstation Player:
Step by Step Guide to Install VMWare Workstation
To Install VMWare Workstation on Ubuntu/Linux Mint Desktop, please follow the step-by-step instructions provided below:
Step 1:) First Install required packages
Before you start installing VMWare workstation, you need to ensure that you have all the required packages in your system. Open the terminal and use the following command to install the build-essential packages in your system.
[email protected]:~$ sudo apt-get update [email protected]:~$ sudo apt-get install build-essential -y
Step 2:) Download VMware Workstation 15
Once you have installed all the build essential packages in your system, next you need to download the VMWare workstation Player into your system. The latest release VMWare 15.1.0 provides support for new guest operating systems including Fedora 30, RHEL 8, Ubuntu 19.04, Windows 10, VMWare ESXi 6.7 Update 2. Download the VMWare Workstation from their official website here.
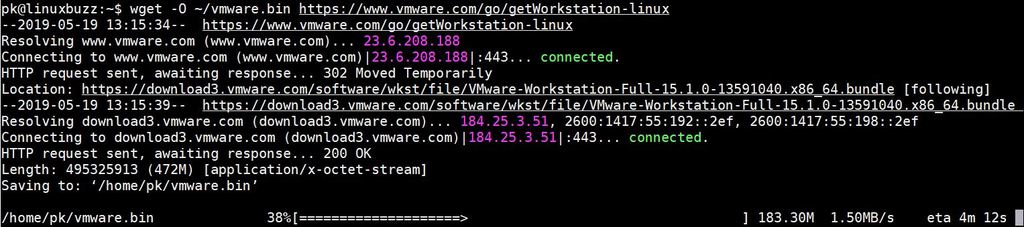
In this tutorial we will download VMware Workstation from command line, so open the terminal and run the following wget command,
[email protected]:~$ wget -O ~/vmware.bin https://www.vmware.com/go/getWorkstation-linux
Above command will download VMware workstation binary file “vmware.bin” in your current working directory
Step 3:) Installing VMware Workstation 15
Once you have downloaded the VMWare workstation in your system, it is time you start installing it. To install it, assign the executable rights to downloaded VMware binary file using chmod command
Now run the following command to start the installation:
Installation window for VMWare Workstation opens and you just need to go screen by screen specifying your options.
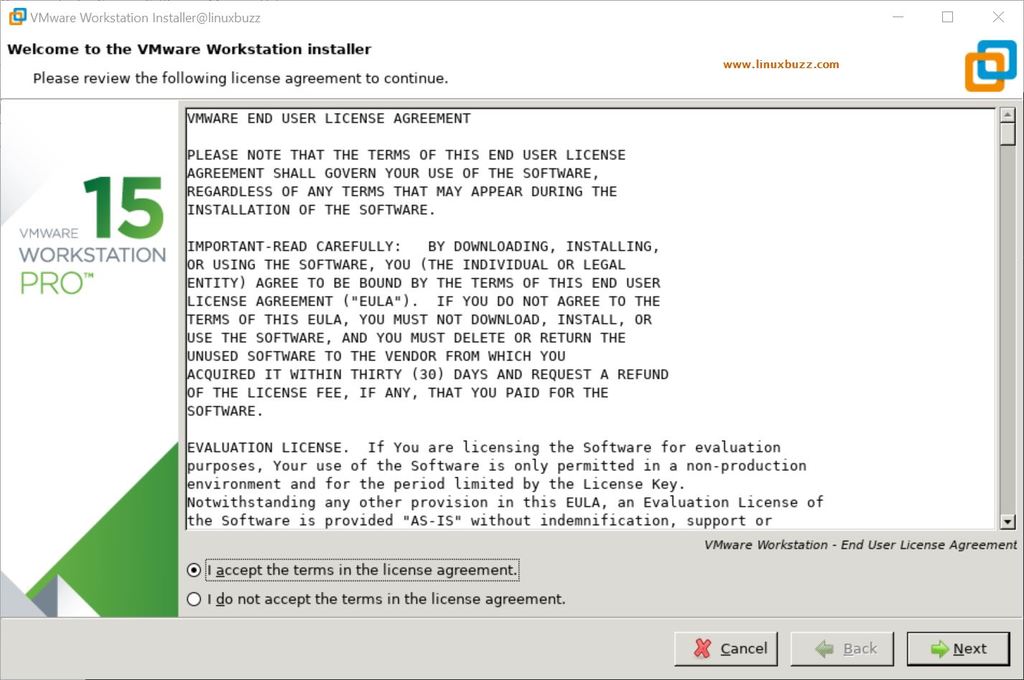
Now choose “I accept the terms in the License agreement” and click Next to proceed with the installation.
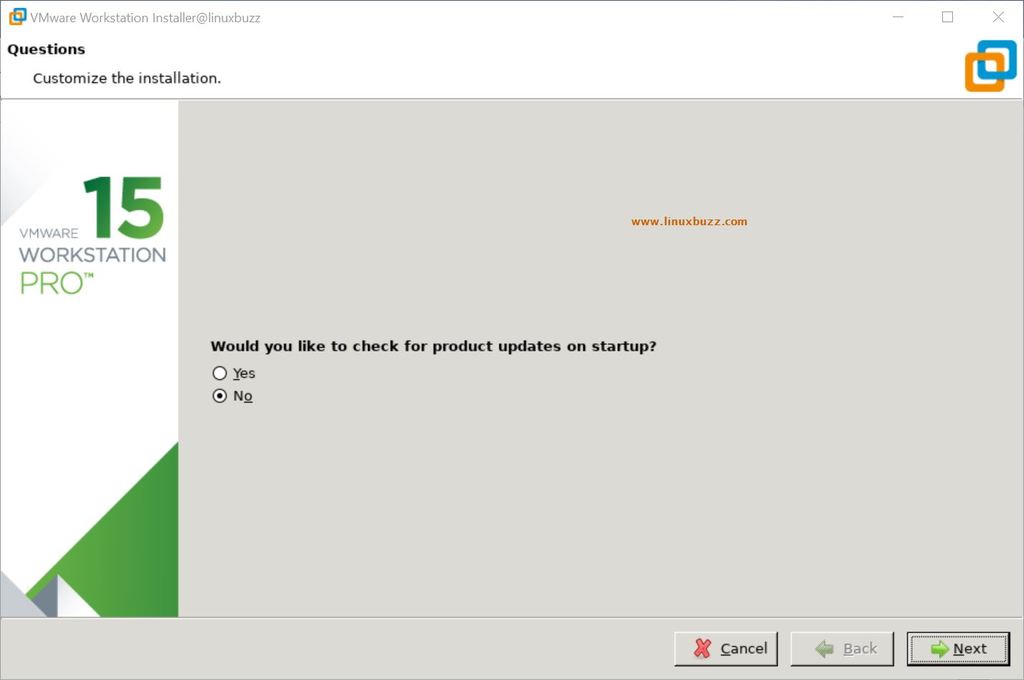
If you wish to get product updates, choose Yes else choose No in the next window,
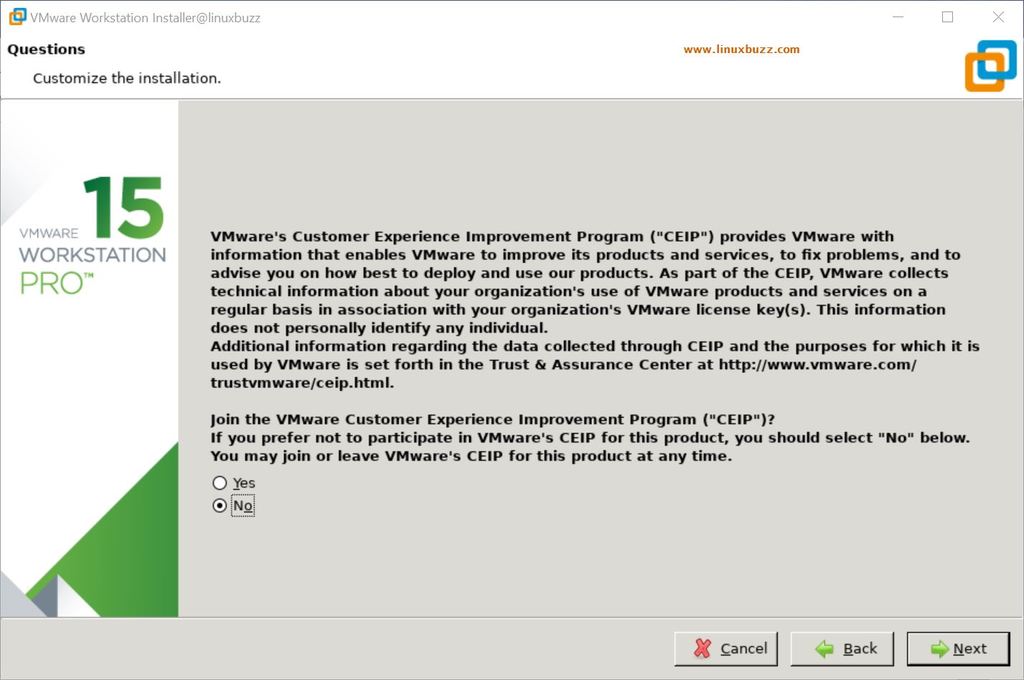
In the next screen you will be asked whether you want to send usage statistics and system data to VMWare. Choose your option and click Next.
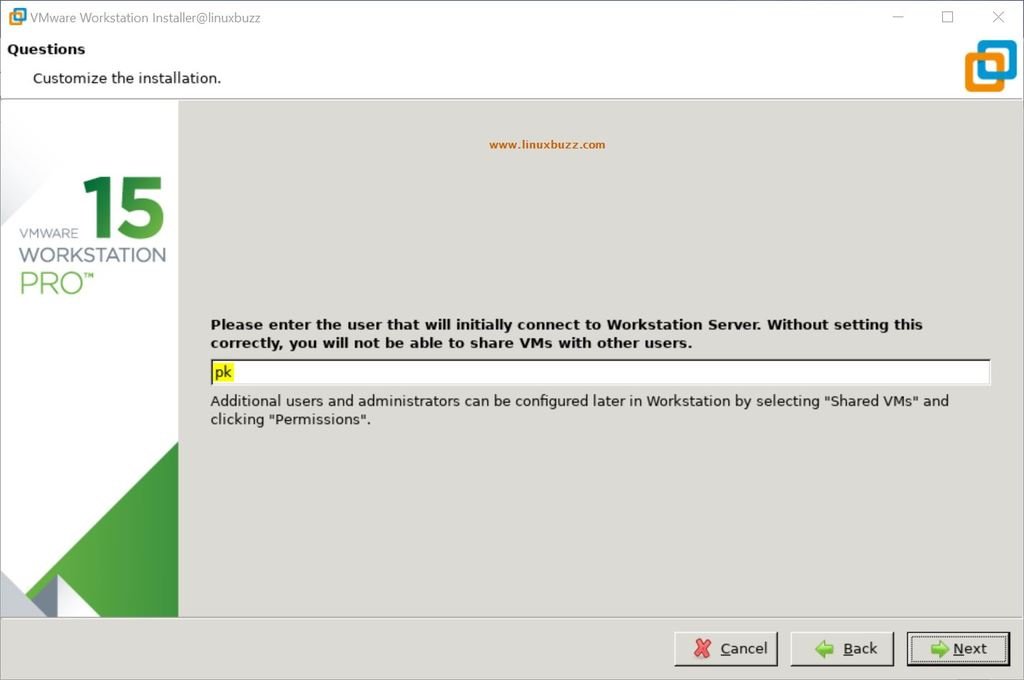
In the next window you will be asked to enter the user name who will connect VMware workstation server
In the next screen, you will see directory location of shared Virtual machines, If want to change the location specify the path else leave as it is.
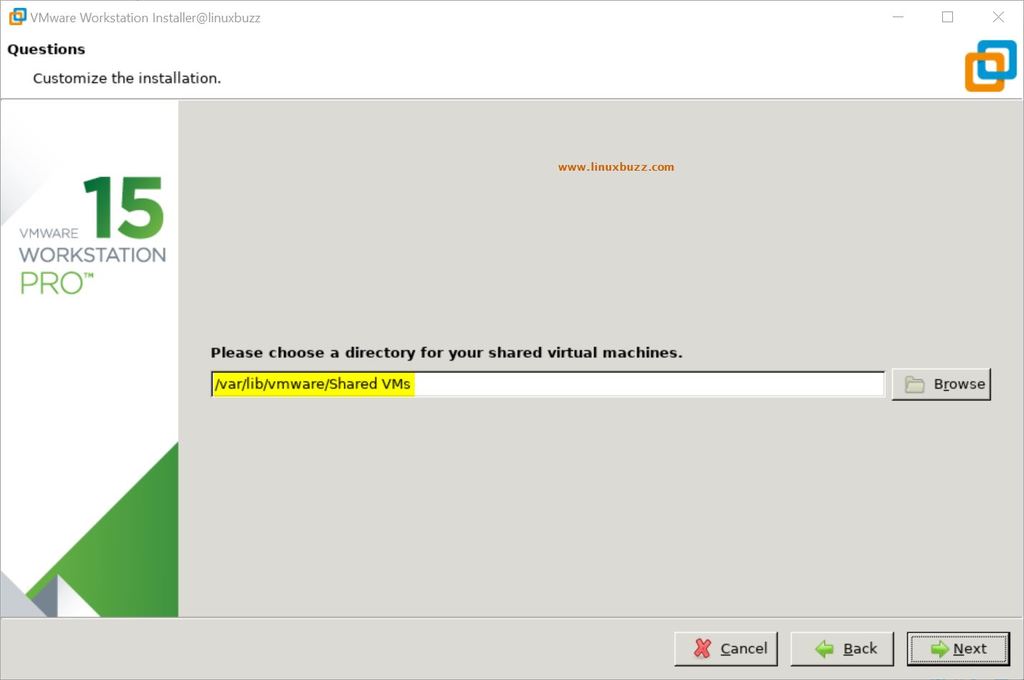
Click on Next to proceed further,
Choose HTTPS port for VMware Workstation Server,

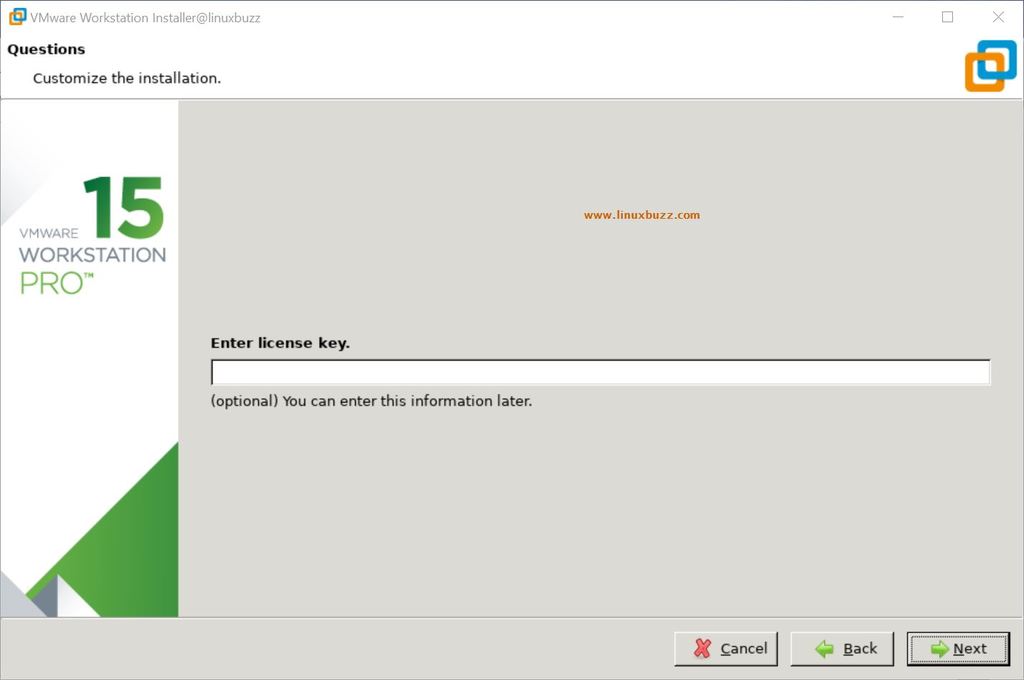
Next you will be asked for a license key. If you are going to use VMWare workstation only for personal purposes, then leave the license key field blank and click Next to proceed with the installation.
Later on, you can add the license key after the evaluation period (30 Days).
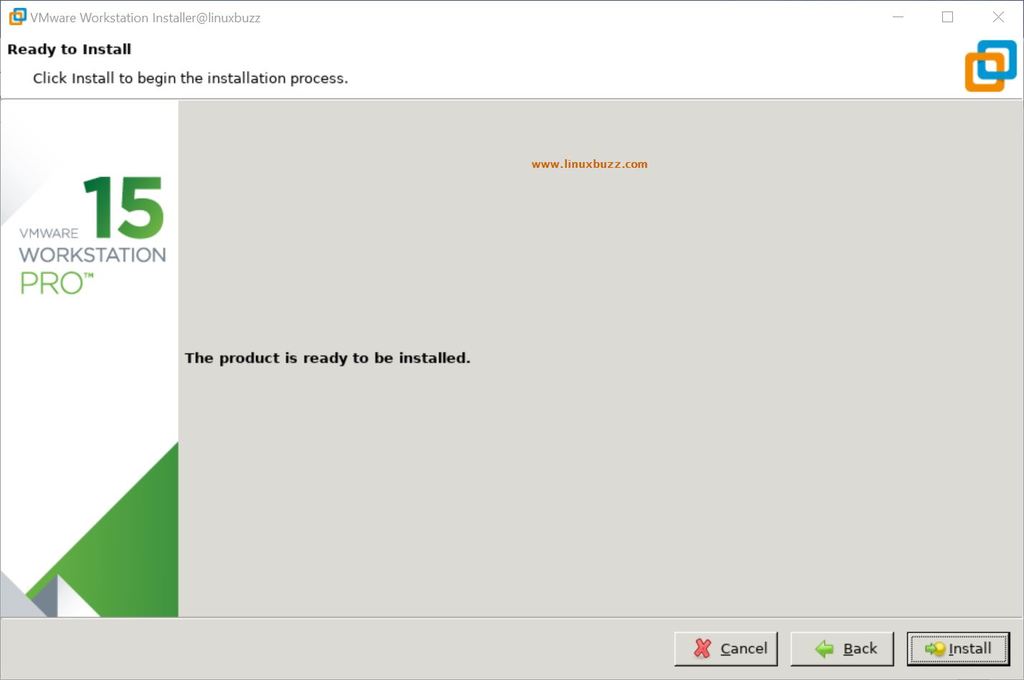
In the next screen, click on “Install” to begin installation
As we can see Installation is in progress,

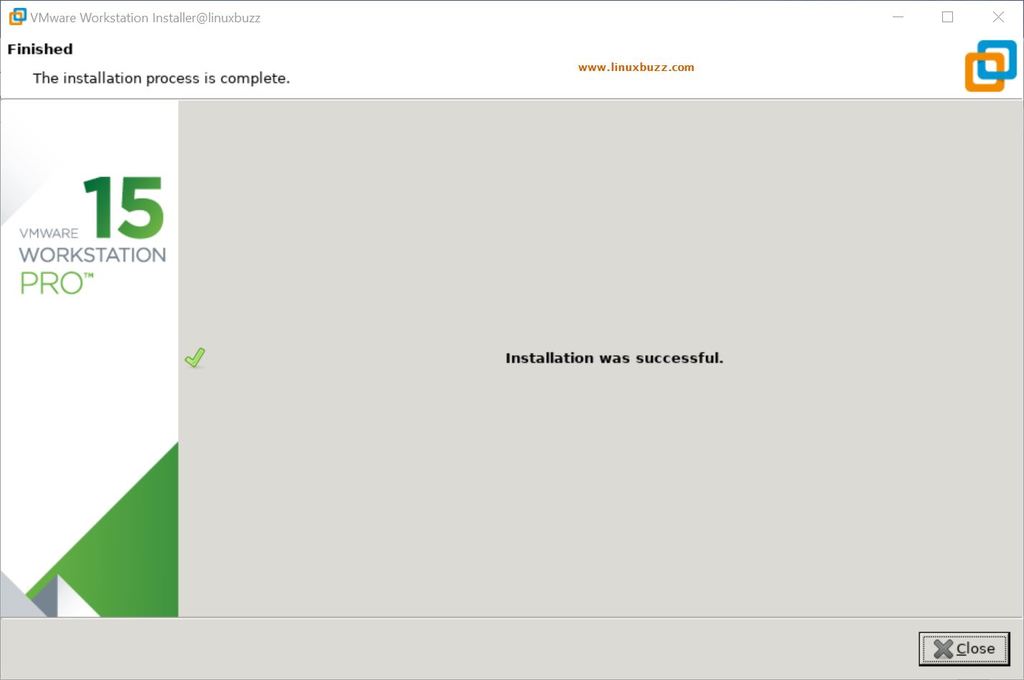
Once Installation is completed successfully, we will get below window,
Step:5) Access VMware Workstation
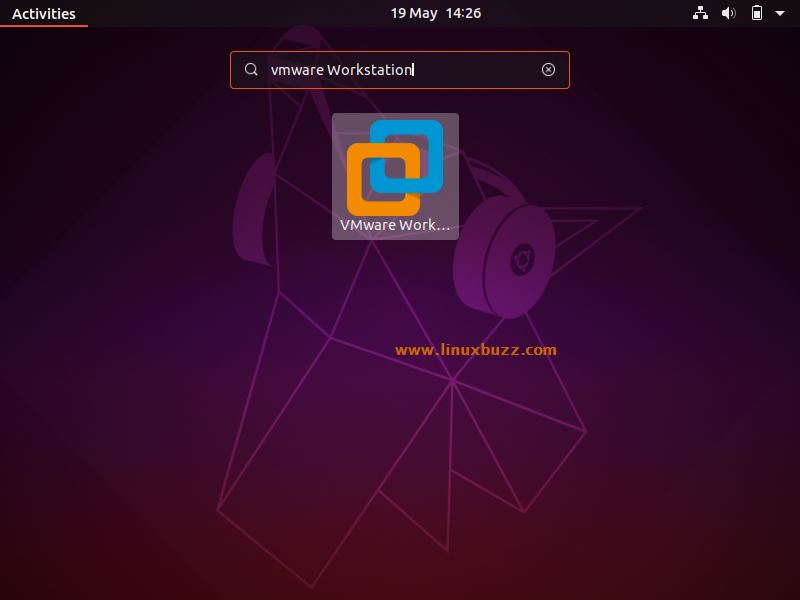
In search box, type VMware Workstation and then click on VMware Workstation Icon

That’s all from this tutorial, hope this tutorial about “How to Install VMWare Workstation on Ubuntu / Linux Mint Desktop” has provided you with all the information about VMWare workstation and how to install it on your system. Please share your installation experiences and your suggestions in the comments section below. Thank You.
2 thoughts on “How to Install VMware Workstation on Ubuntu / Linux Mint Desktop”
I followed step by step but failed in start the installation.
0
[email protected]:~$ sudo ./vmware.bin
./vmware.bin: 1: ./vmware.bin: cannot open !doctype: No such file
./vmware.bin: 1: ./vmware.bin: html: not found
./vmware.bin: 2: ./vmware.bin: cannot open html: No such file
./vmware.bin: 3: ./vmware.bin: cannot open head: No such file
./vmware.bin: 4: ./vmware.bin: cannot open meta: No such file
./vmware.bin: 4: ./vmware.bin: http-equiv=Content-Type: not found
./vmware.bin: 5: ./vmware.bin: cannot open meta: No such file
./vmware.bin: 5: ./vmware.bin: http-equiv=content-language: not found
./vmware.bin: 6: ./vmware.bin: cannot open meta: No such file
./vmware.bin: 6: ./vmware.bin: http-equiv=X-UA-Compatible: not found
./vmware.bin: 7: ./vmware.bin: cannot open meta: No such file
./vmware.bin: 8: ./vmware.bin: cannot open meta: No such file
./vmware.bin: 9: ./vmware.bin: cannot open meta: No such file
./vmware.bin: 10: ./vmware.bin: cannot open meta: No such file
./vmware.bin: 11: ./vmware.bin: cannot open meta: No such file
./vmware.bin: 12: ./vmware.bin: cannot open meta: No such file
./vmware.bin: 13: ./vmware.bin: cannot open link: No such file
./vmware.bin: 14: ./vmware.bin: cannot open title: No such file
./vmware.bin: 14: ./vmware.bin: Maintenance: not found
./vmware.bin: 15: ./vmware.bin: cannot open meta: No such file
./vmware.bin: 16: ./vmware.bin: cannot open meta: No such file
./vmware.bin: 17: ./vmware.bin: Syntax error: redirection unexpected
[email protected]:~$ Reply
How to Install VMware Workstation 17 Player on Linux Mint 21
![]()
VMware Workstation 17 Player was released last month. It comes with a lot of new features. If you are using VMware Workstation 16 Player, then it is a must-have upgrade.
The new features of VMware Workstation 17 Player are:
- Windows 11 guest support.
- Fast encryption of VMs (i.e. Windows 11) that uses vTPM.
- Autostart support for VMs.
- OpenGL 4.3 graphics support for VMs.
- Support for new guest OSes. i.e. Windows 11, Windows Server 2022, Ubuntu 22.04 LTS, Debian 11, RHEL 9, SUSE/OpenSUSE 15.
In this article, I am going to show you how to install VMware Workstation 17 Player on Linux Mint 21.
Table of Contents:
Downloading VMware Workstation 17 Player
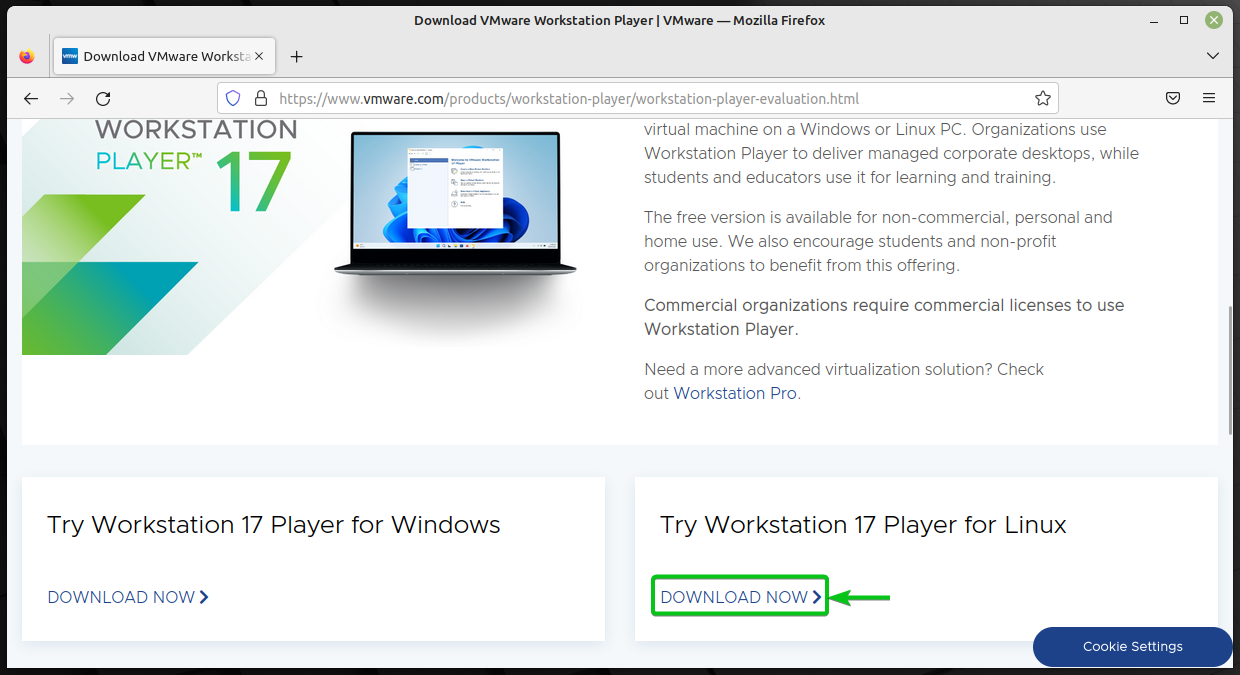
To download VMware Workstation 17 Player installer, open a browser of your choice and visit Download VMware Workstation Player | VMware.
Once the page loads, scroll down a little bit and click on DOWNLOAD NOW from the Try Workstation 17 Player for Linux section.
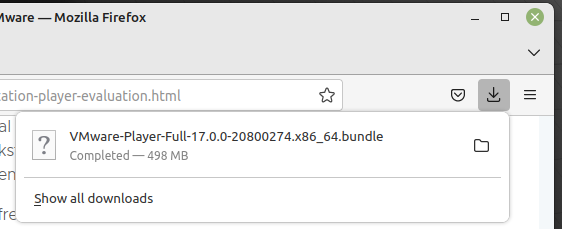
Your browser should start downloading VMware Workstation 17 Player installer. It will take a while to complete.
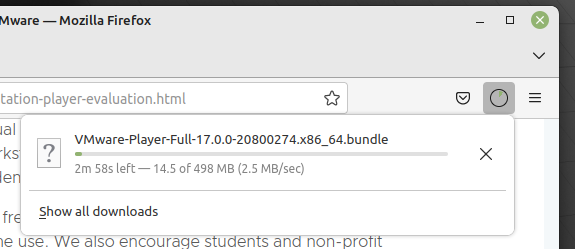
VMware Workstation 17 Player installer should be downloaded at this point.
Preparing the System for Installation
For the VMware Workstation 17 Player dependencies to be resolved and kernel modules to be compiled, you will need to install the necessary build tools and kernel headers on Linux Mint 21.
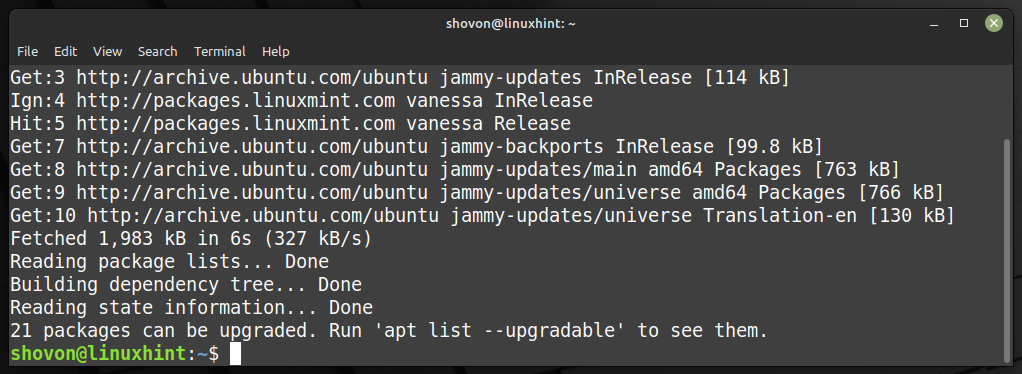
First, update the APT package repository cache with the following command:
The APT package repository cache should be updated.
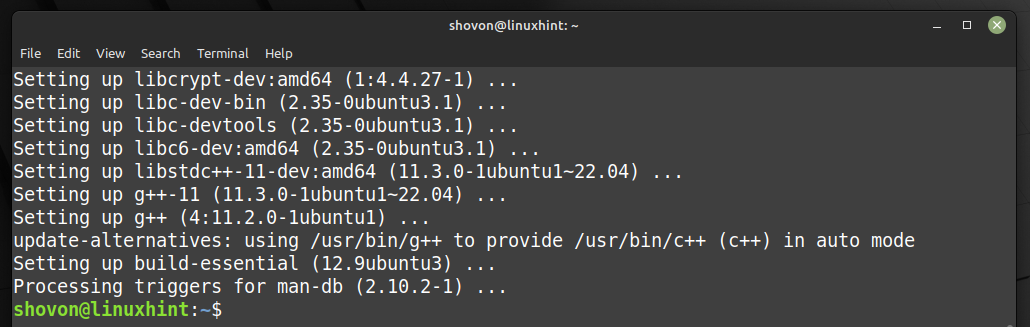
To install the necessary build tools and kernel headers on Linux Mint 21, run the following command:
To confirm the action, press Y and then press .

All the required packages are being downloaded. It will take a while to complete.

The downloaded packages are being installed. It will take a while to complete.

At this point, all the required packages should be installed.
Installing VMware Workstation 17 Player
VMware Workstation 17 Player installer should be downloaded in the ~/Downloads directory of your Linux Mint 21 machine.
So, navigate to the ~/Downloads directory as follows:

You should find the VMware Workstation 17 Player installer here.

Add execute permission to the VMware Workstation 17 Player installer file as follows:
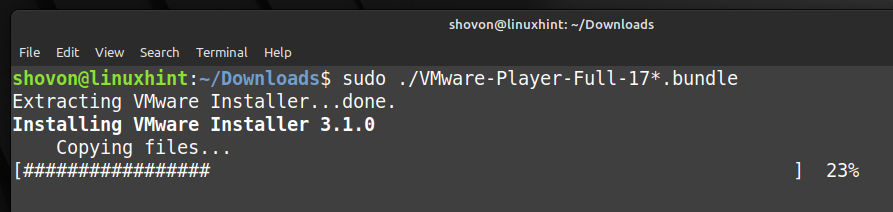
Run the VMware Workstation 17 Player installer with root/superuser privileges as follows:
VMware Workstation 17 Player is being installed. It will take a few seconds to complete.
VMware Workstation 17 Player should be installed at this point.

Opening VMware Workstation 17 Player for the First Time
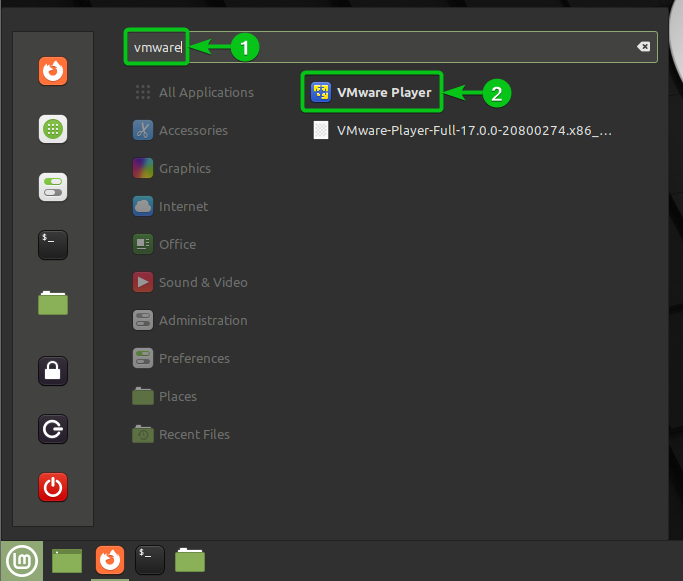
To open VMware Workstation 17 Player, search with the keyword vmware [1] and click on the VMware Player icon [2] from the Application Menu of Linux Mint 21.
As you are running VMware Workstation 17 Player for the first time, you will see the following window. From here, you will need to answer some questions.
Select I accept the terms in the license agreement and click on Next to agree to the VMware Player End User License Agreement.

Select I accept the terms in the license agreement and click on Next to agree to the VMware OVF Linux Tool End User License Agreement.

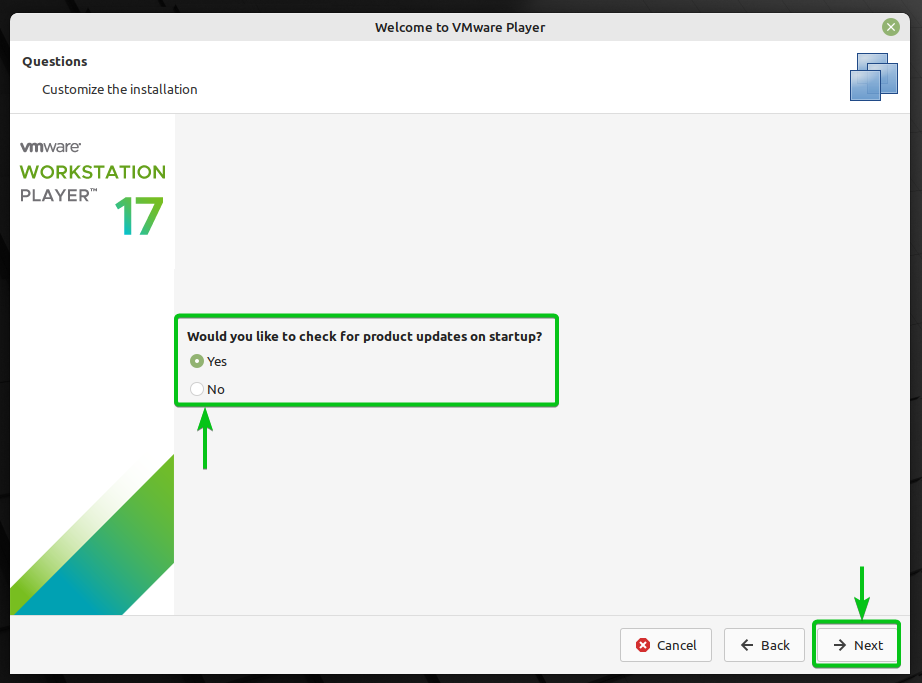
If you want VMware Workstation 17 Player to check for updates when you open VMware Workstation 17 Player, select Yes. Otherwise, select No.
Once you are done, click on Next.
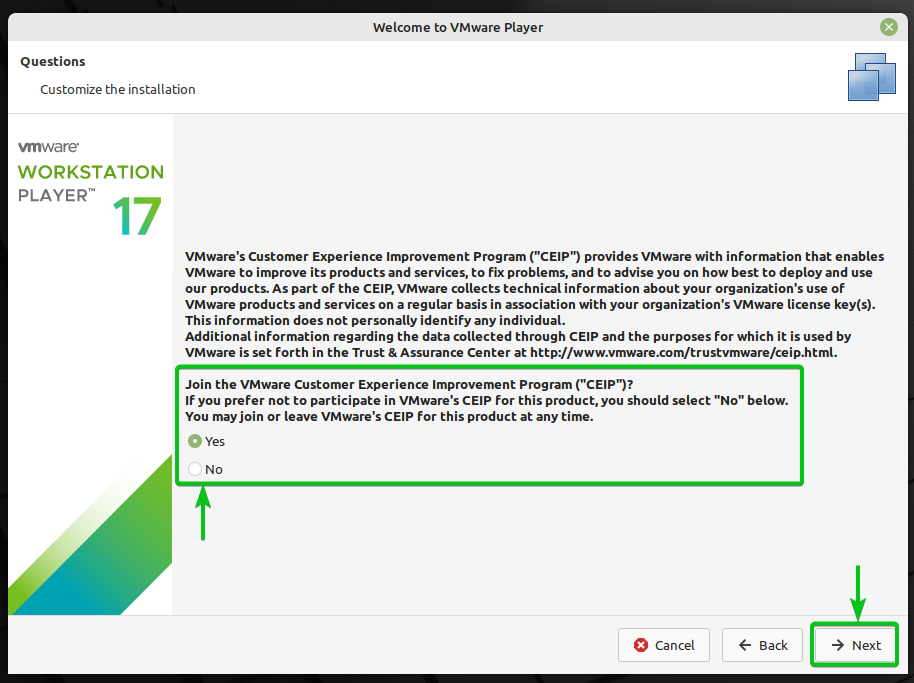
If you want to join VMware Customer Experience Improvement Program (CEIP) which will send usage stats to VMware so that VMware can improve its products, select Yes. Otherwise, select No.
Once you are done, click on Next.
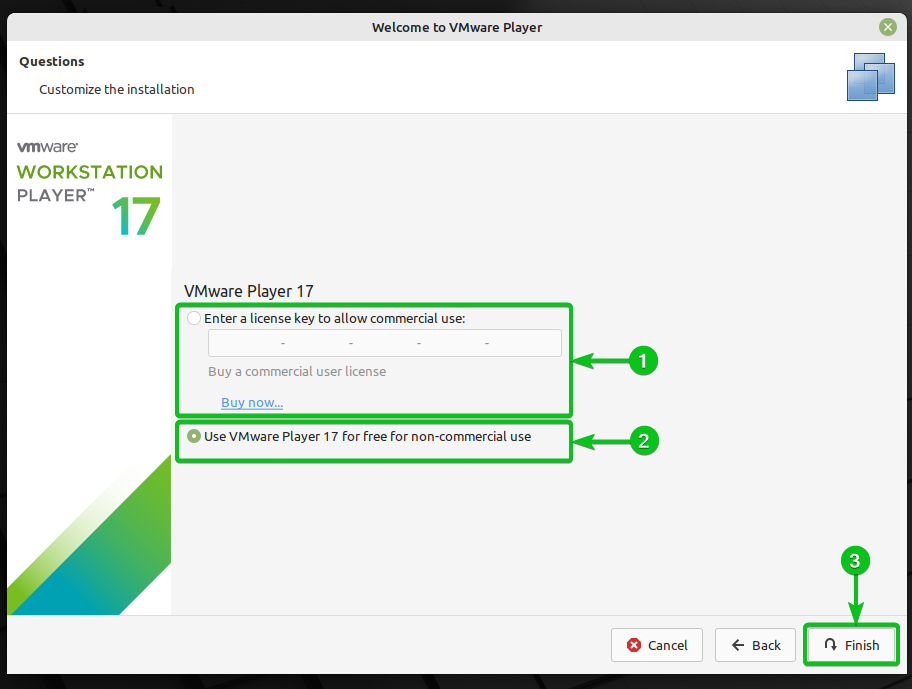
If you want to use VMware Workstation 17 Player for commercial use, you will have to activate it with a license key. You can buy a license key for VMware Workstation 17 Player from the official website of VMware.
To activate VMware Workstation 17 Player, select Enter a license key to allow commercial use and type in the license key [1] .
If you want to use VMware Workstation 17 Player for non-commercial use (i.e. personal use), select Use VMware Player 17 for free for non-commercial use [2] .
Once you are done, click on Finish [3] .
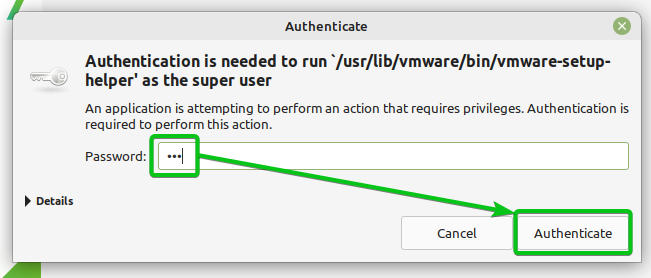
Type in your login password and click on Authenticate.
Click on OK.
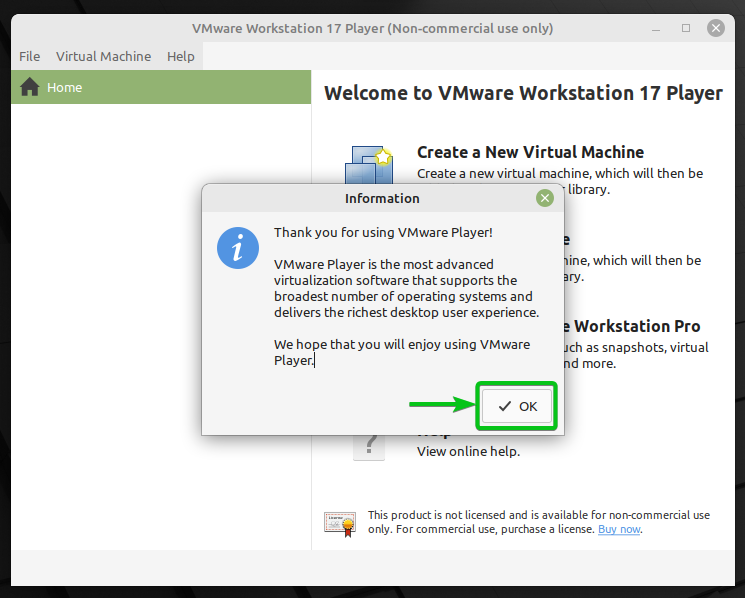
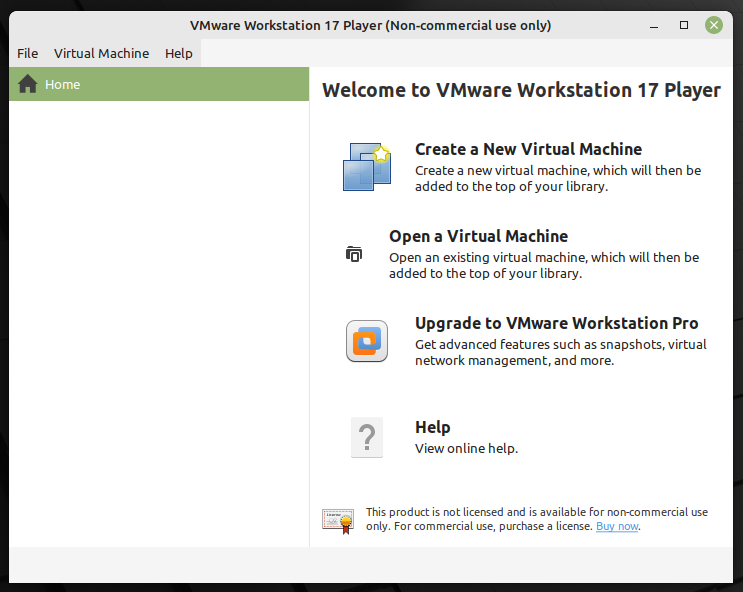
VMware Workstation 17 Player should be ready to use.
Activating VMware Workstation 17 Player
If you want to activate VMware Workstation 17 Player for using it commercially later, open VMware Workstation 17 Player and click on Help > Enter License Key.
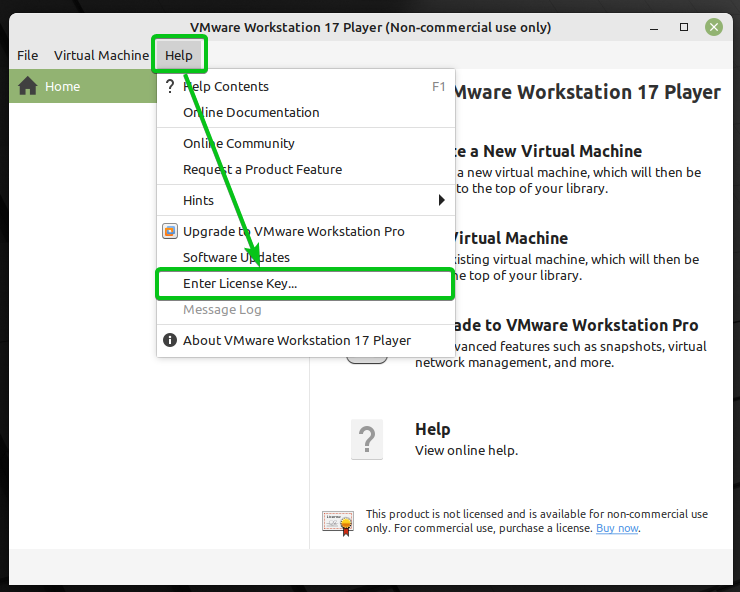
Type in a License Key and click on OK. VMware Workstation 17 Player should be activated and ready to be used for commercial purposes.

Conclusion
In this article, I have shown you how to download and install VMware Workstation 17 Player on Linux Mint 21.
About the author
Shahriar Shovon
Freelancer & Linux System Administrator. Also loves Web API development with Node.js and JavaScript. I was born in Bangladesh. I am currently studying Electronics and Communication Engineering at Khulna University of Engineering & Technology (KUET), one of the demanding public engineering universities of Bangladesh.