- VMware / Tools
- Installing VMware tools on an Ubuntu guest
- Installing from Ubuntu package open-vm-tools on Trusty Tahr 14.04 and later
- Legacy Ubuntu Installations
- Installing from Operating System Specific Packages (OSPs) on Lucid Lynx 10.04 to Precise Pangolin 12.04
- Installing from your VMware host
- Additional Resources
- How to Install VMWare Tools on an Ubuntu Virtual Machine
- About the author
- Shahriar Shovon
VMware / Tools
This page explains how to install the VMware Tools on an Ubuntu guest VM.
Installing VMware tools on an Ubuntu guest
- the open-vm-tools package in Ubuntu
- packages.vmware.com
- your VMware host (this method does not use .deb packages)
VMware recommends users to use open-vm-tools on Linux, including Ubuntu.
Installing from Ubuntu package open-vm-tools on Trusty Tahr 14.04 and later
open-vm-tools is the recommended method of installing VMware tools on Ubuntu. Packages are available in the main repository since 14.04.
# For desktop: apt-get install open-vm-tools open-vm-tools-desktop # For server and headless installations: apt-get install open-vm-tools
If you are on Trusty after upgrading from an older release, you may need to use open-vm-tools-lts-trusty-desktop instead.
Legacy Ubuntu Installations
Given the nature of virtualization, there may be a need for continued usage of very old versions of Ubuntu. Instructions for 10.04 to 12.04 are listed below. For anything older, please consult VMware’s installation guide.
Installing from Operating System Specific Packages (OSPs) on Lucid Lynx 10.04 to Precise Pangolin 12.04
The package open-vm-tools is available in the multiverse repository for releases 10.04 to 12.04. However, these versions are very out of date and may not have the drivers for newer versions of ESXi and VMware Workstation / Player / Fusion. For this reason, if you are still in need of a legacy Ubuntu VM, installation from VMware’s repository is recommended. Use 12.04 package for Ubuntu 12.10, 13.04 and 13.10 releases.
Lucid: apt-add-repository 'deb https://packages.vmware.com/tools/releases/latest/ubuntu/ lucid main' Natty: apt-add-repository 'deb https://packages.vmware.com/tools/releases/latest/ubuntu/ natty main' Oneiric: apt-add-repository 'deb https://packages.vmware.com/tools/releases/latest/ubuntu/ oneiric main' Precise: apt-add-repository 'deb https://packages.vmware.com/tools/releases/latest/ubuntu/ precise main' wget http://packages.vmware.com/tools/keys/VMWARE-PACKAGING-GPG-RSA-KEY.pub -q -O- | \ apt-key add - # (The above links to the latest builds of VMware-tools; however, # these packages should be compatible with all VMware servers, including the ESX 4 to vSphere ESXi 6.5. # Next update your repos apt-get update
Note: using apt-add-repository will also add an entry for sources, which are not available in the vmware repository. You’ll need to manually delete the deb-src entry for «packages.vmware.com», which should be at the bottom of your /etc/apt/sources.list file.
sudo apt-get install vmware-tools-esx-kmods-kernel_release # Where kernel_release is the kernel release and type returned by the uname -r command. # For example: vmware-tools-esx-kmods-2.6.32-21-generic # Then for desktop VMs or those that need graphics support sudo apt-get install vmware-tools-esx-nox # Or for server and headless installations sudo apt-get install vmware-tools-esx # Some versions may require kernel headers sudo apt-get install linux-headers-virtual
Verify the succesful installation
# Verify that the VMware Tools daemon, vmtoolsd, is running. pgrep -fl vmtoolsd # Verify that the required kernel modules load properly. /sbin/lsmod
Kernel modules are only loaded for the virtual devices being used. However, the vmmemctl module should always be loaded.
Installing from your VMware host
Warning: This install method does not use Ubuntu packages. Instead, it bypasses dpkg and writes files directly to your system. This is generally not recommended.
Start up a terminal window and do the following to ensure that you have the required packages for building VMware Tools or your kernel.
sudo apt-get install build-essential linux-headers-`uname -r` psmisc
NOTE: linux-headers-uname -r is not required on a default build as these headers already exist. They are listed here in case you have made kernel modifications.
From the VMware menu, choose VM->Install VMware Tools. You should see a mounted CD image show up on the desktop. In the File Browser that pops up, right-click the VMwareTools*.tar.gz file and extract to the Desktop.
If the cdrom was not automatically mounted, mount the cdrom (in your guest OS) by doing
# make a mount point if needed : sudo mkdir /media/cdrom # Mount the CD sudo mount /dev/cdrom /media/cdrom # Copy and extract VMWareTools sudo cp /media/cdrom/VMwareTools*.tar.gz ~/Desktop # You can extract with archive manager, right click on the archive and extract . or tar xvf VMwareTools*.tar.gz # Install as below
Open a terminal window, and run the following commands.
cd ~/Desktop/vmware-tools-distrib sudo ./vmware-install.pl
During vmware-install.pl, choose the default answers to everything (just hit the key).
You can configure the tools as root
Otherwise run them as a user (not root)
- In order for the synchronized clipboard and mouse to function as well as the host shared folders feature, you must have vmware-toolbox running, although you can minimize the window.
To have vmware tools auto start with your sessions, go to System->Preferences->Sessions->Startup Programs. Click Add, enter vmware-toolbox, Ok, Close.
If you are running a Kubuntu guest OS.
echo "/usr/bin/vmware-toolbox" > ~/.kde/Autostart/vmware-toolbox.sh chmod +x ~/.kde/Autostart/vmware-toolbox.sh
In order to get the scroll wheel to work again after the above install, you will need to make a minor change to the xorg.conf file.
In the «Configured Mouse» section, change the following line as indicated:
If you have more than five buttons (scroll wheel counts as three), then you might need the following line:
Option "Protocol" "ExplorerPS/2"
Additional Resources
VMware/Tools (последним исправлял пользователь dpsi 2017-10-31 01:28:02)
The material on this wiki is available under a free license, see Copyright / License for details
You can contribute to this wiki, see Wiki Guide for details
How to Install VMWare Tools on an Ubuntu Virtual Machine
In this article I will show you how to install VMware Tools on an Ubuntu Virtual Machine. I am using Ubuntu 17.10 Artful Aardvark for the demo. But it should work on other version of Ubuntu as well. Let’s get started.
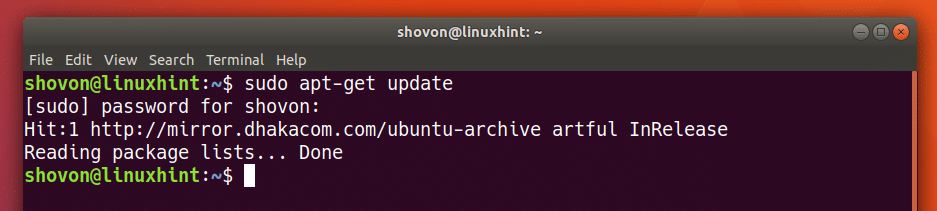
First update the package repository cache of your Ubuntu operating system with the following command:

The package repository cache should be updated.
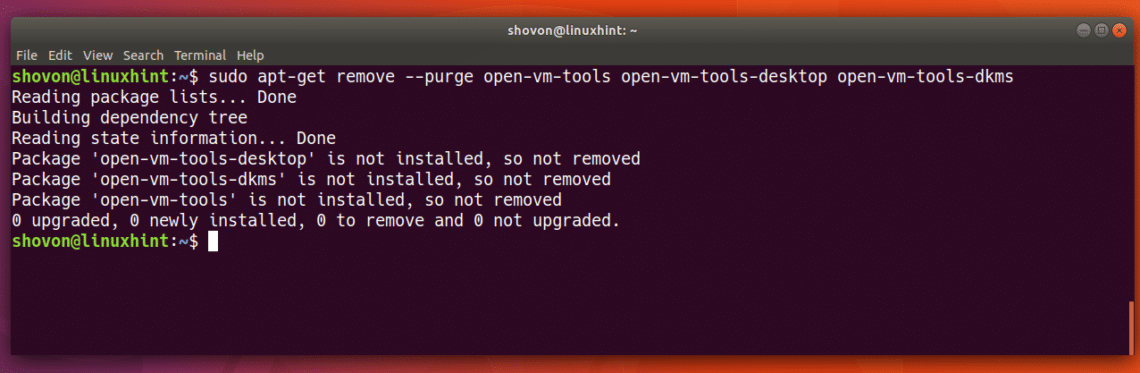
You can’t use Open VM Tools and VMware Tools together. If you have Open VM Tools installed, you can remove it with the following command:

It should be removed along with the configuration files.
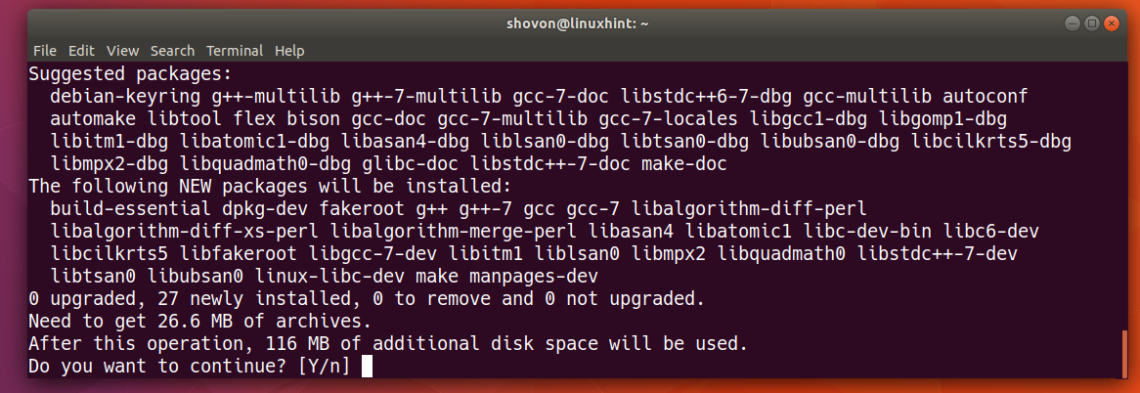
Now you have to install build-essential package of Ubuntu. This package contains everything required to compile and build a program (usually C/C++) on Ubuntu.
Run the following command to install build-essential on Ubuntu:

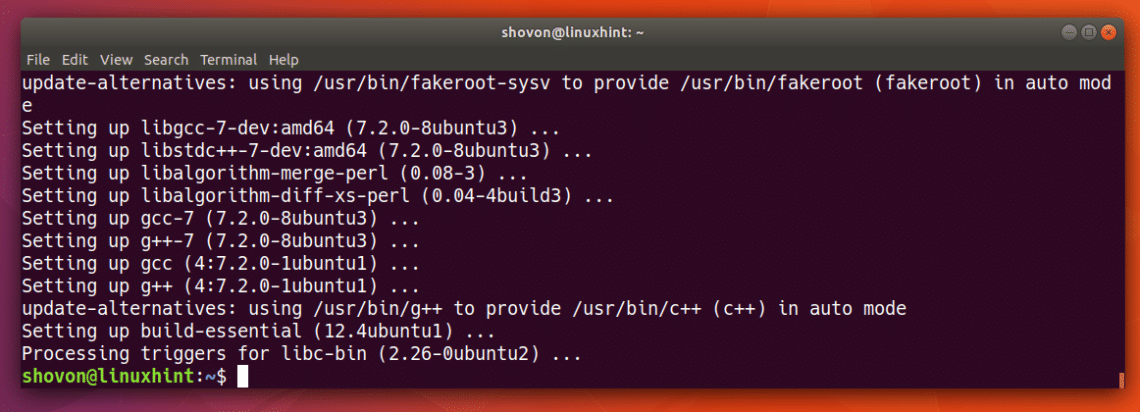
Press ‘y’ and then press to continue.
build-essential should be installed.
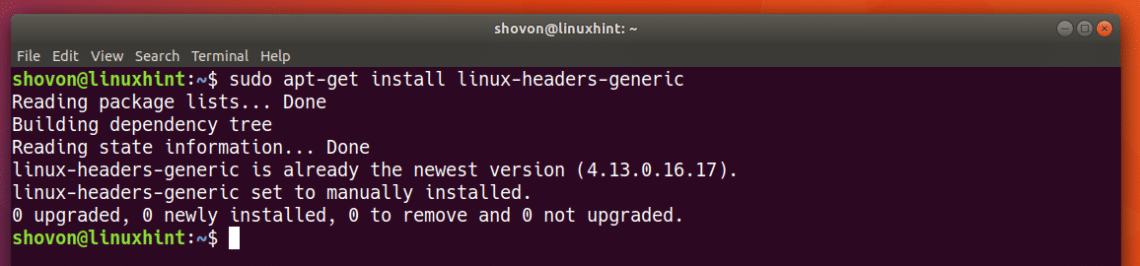
Now install the Linux Kernel headers for your currently installed Kernel with the following command:

As you can see it is already installed on my Ubuntu VM.
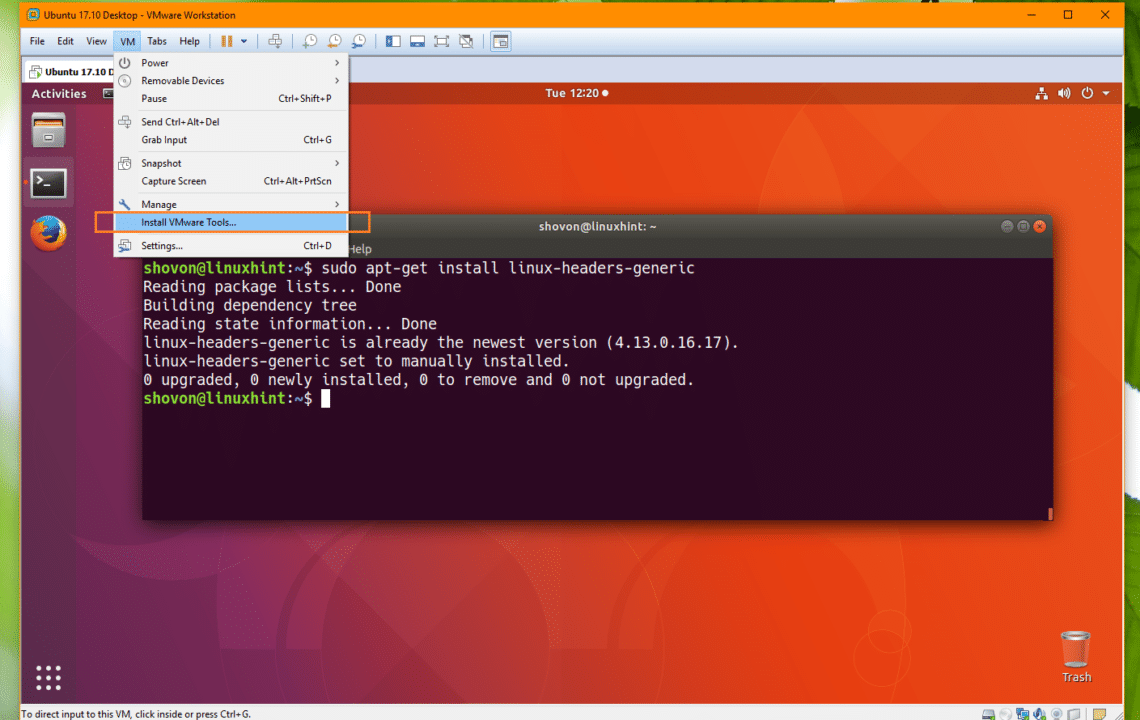
Now from VMware menu, go to VM and then click on Install VMware Tools…
VMware Tools CD should be inserted into the VM’s CD/DVD drive as you can see from the screenshot below. Now double click on the VMware Tools DVD icons as marked in the screenshot.

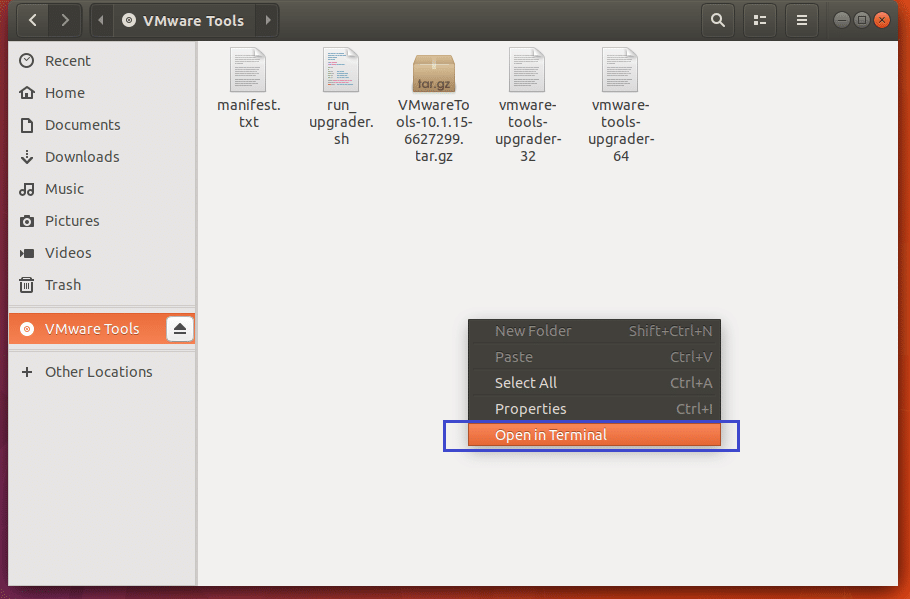
The contents of the CD/DVD should be opened with File Manager.

Now press the right mouse button and click on Open in Terminal as shown in the screenshot below.
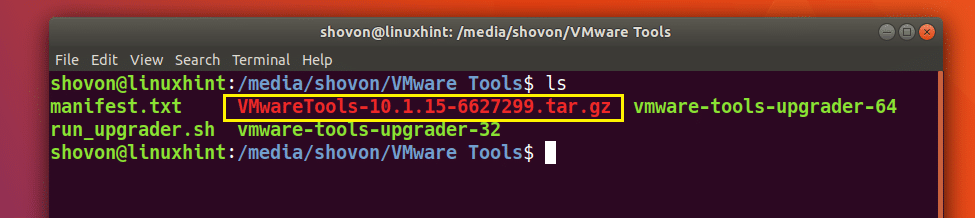
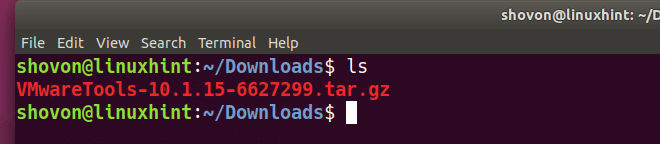
I listed the contents of the CD/DVD with ls command. As you can see from the marked section of the screenshot below, a .tar.gz file is there.
Copy the .tar.gz file to the ~/Downloads/ directory with the following command:

The file should be copied.

Now navigate to the ~/Downloads/ directory with the following command:

You should find the .tar.gz file you just copied here.
Now extract the .tar.gz archive with the following command:

The archive should be extracted.
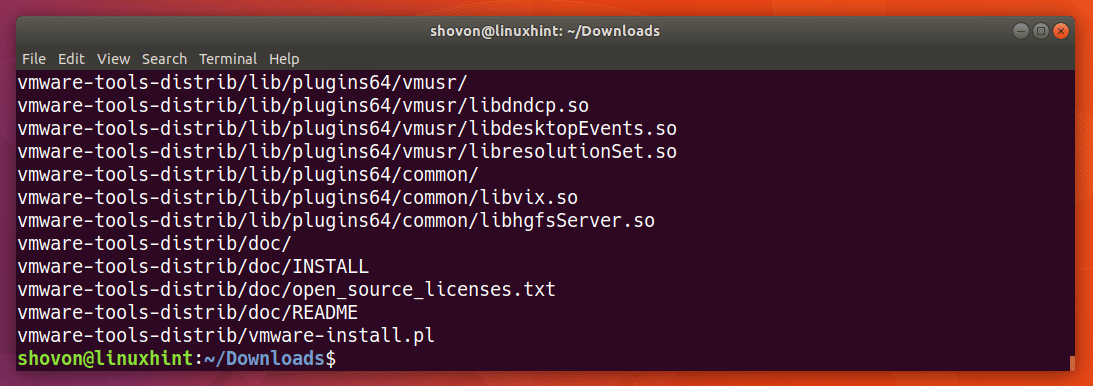
A new directory vmware-tools-distrib/ should be created.

Navigate to the vmware-tools-distrib/ directory with the following command:

If you list the contents of the vmware-tools-distrib/ directory, you should find the marked file as shown in the screenshot below. vmware-install.pl is the script file that you have to run as root to install VMware Tools.

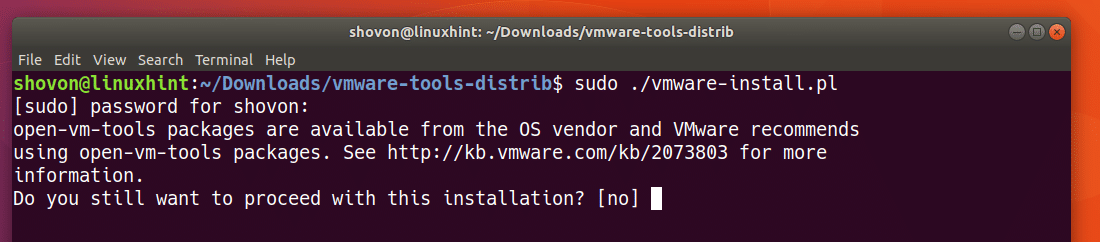
Run the following command to execute the vmware-install.pl script:

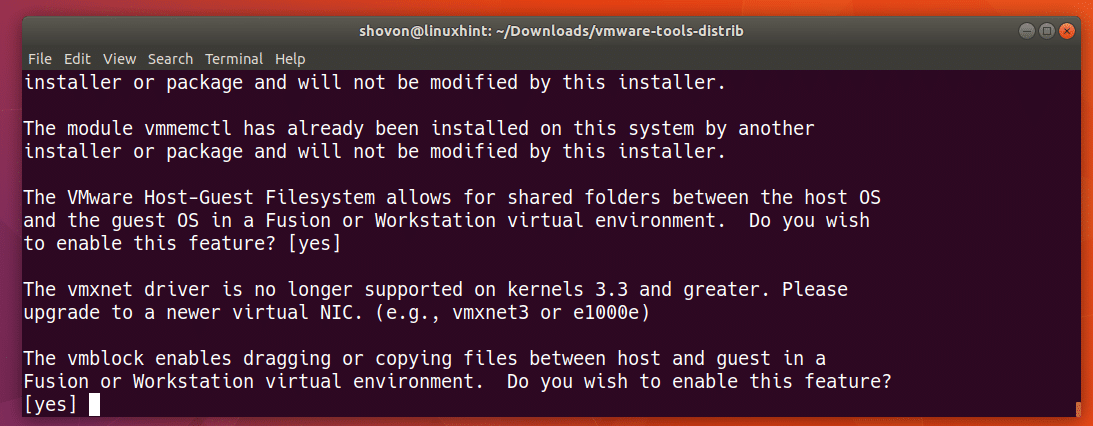
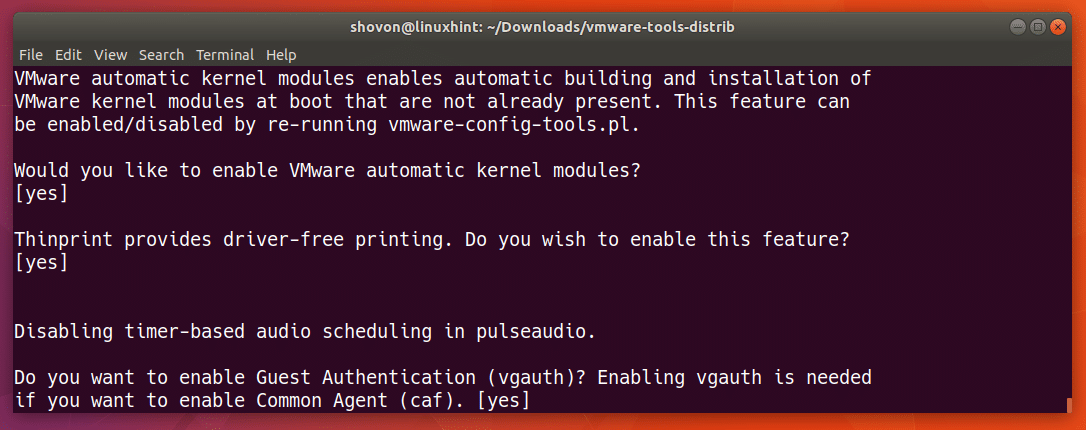
Now type in ‘yes’ and then press to continue.
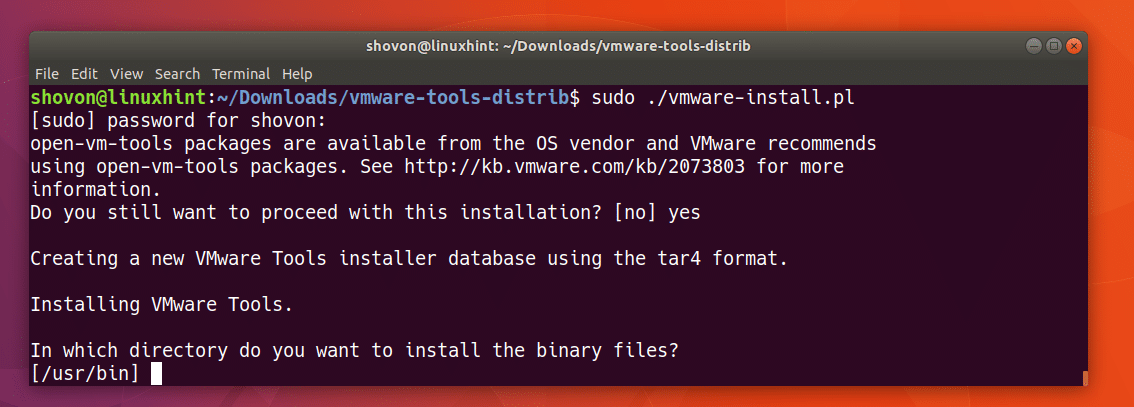
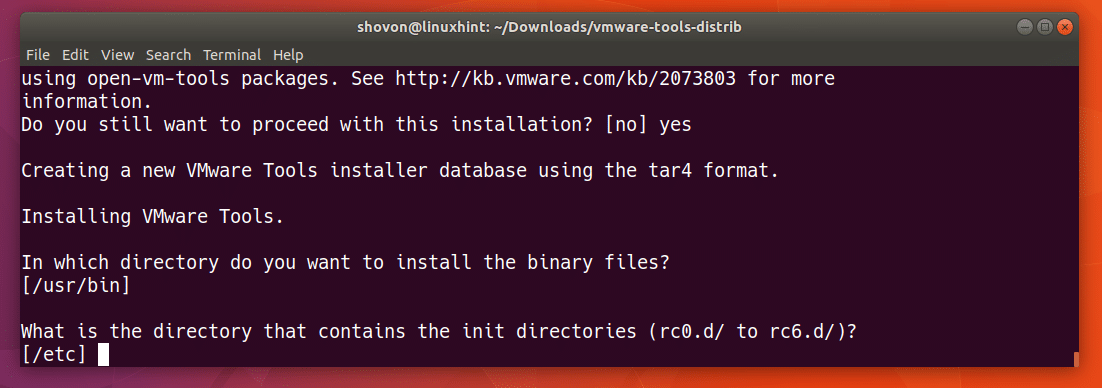
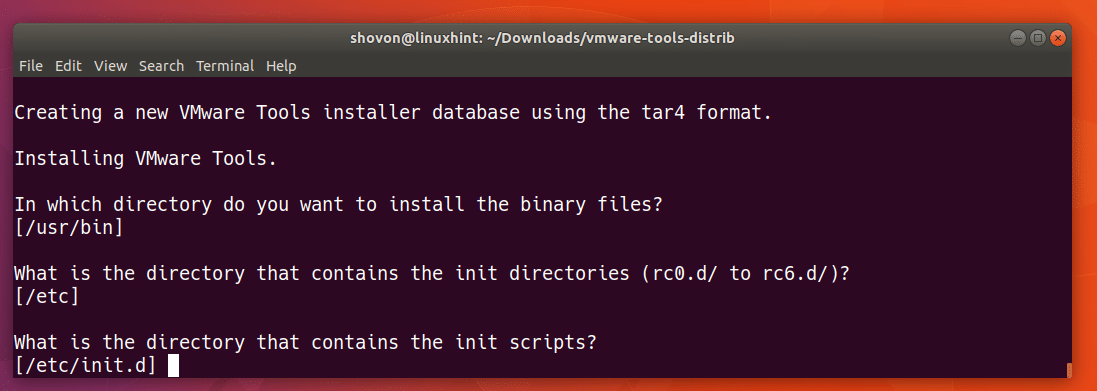
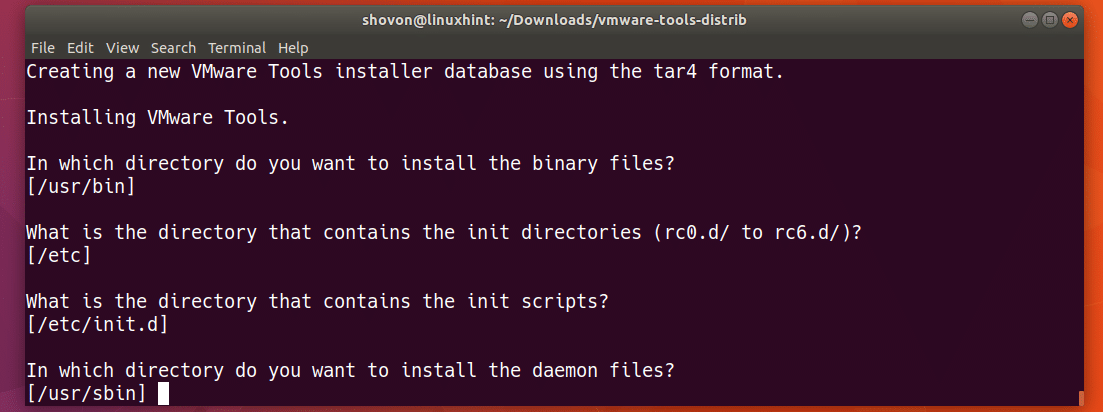
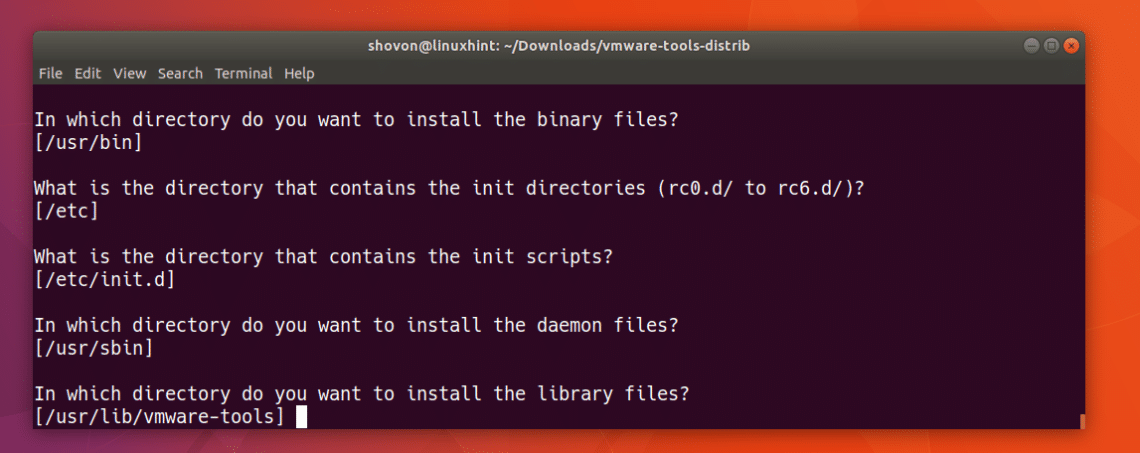
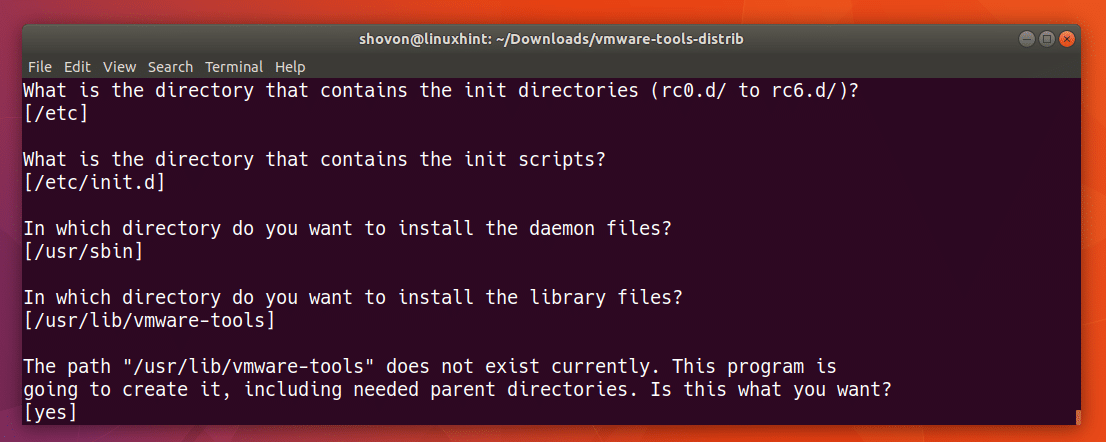
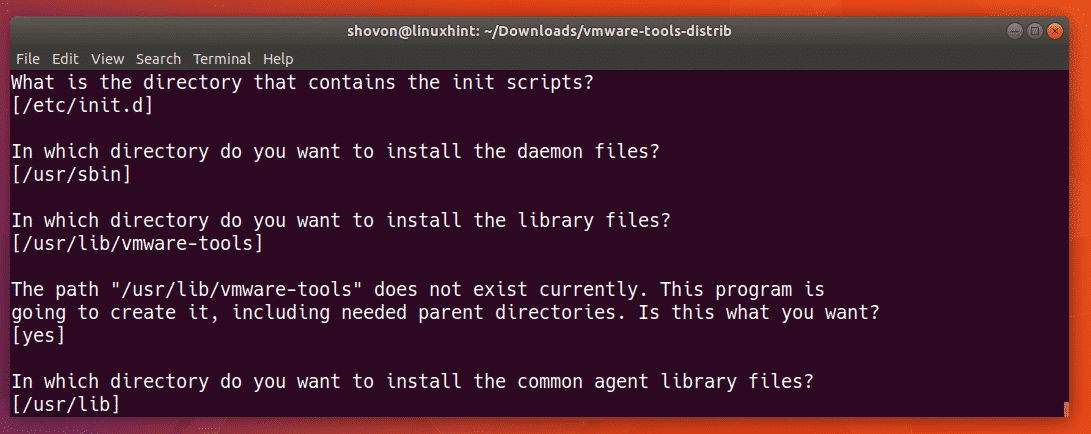
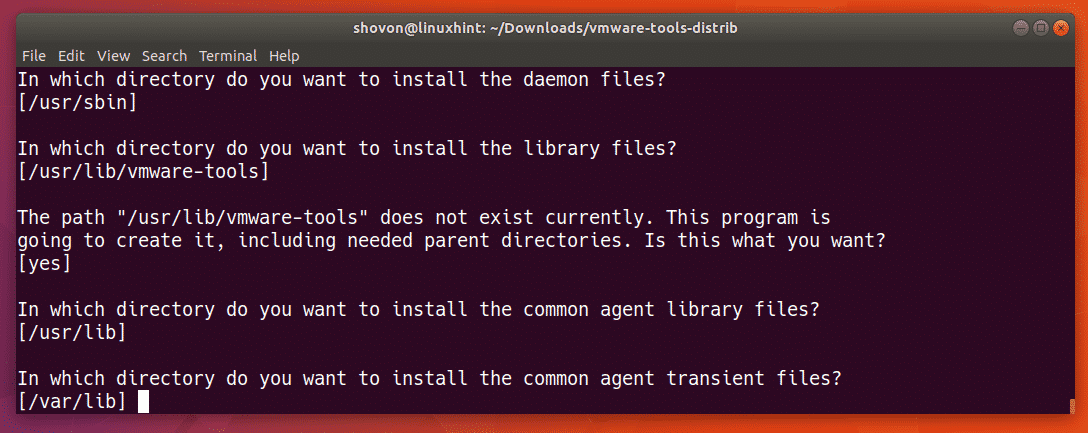
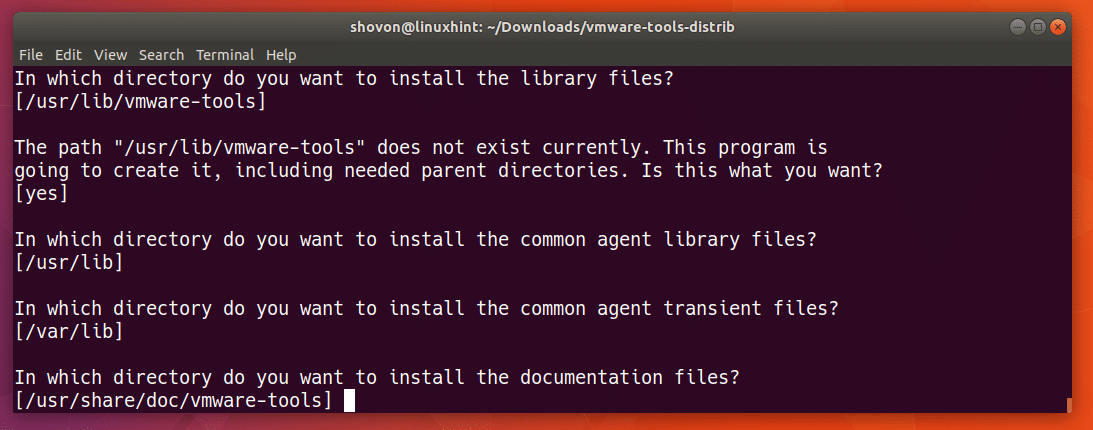
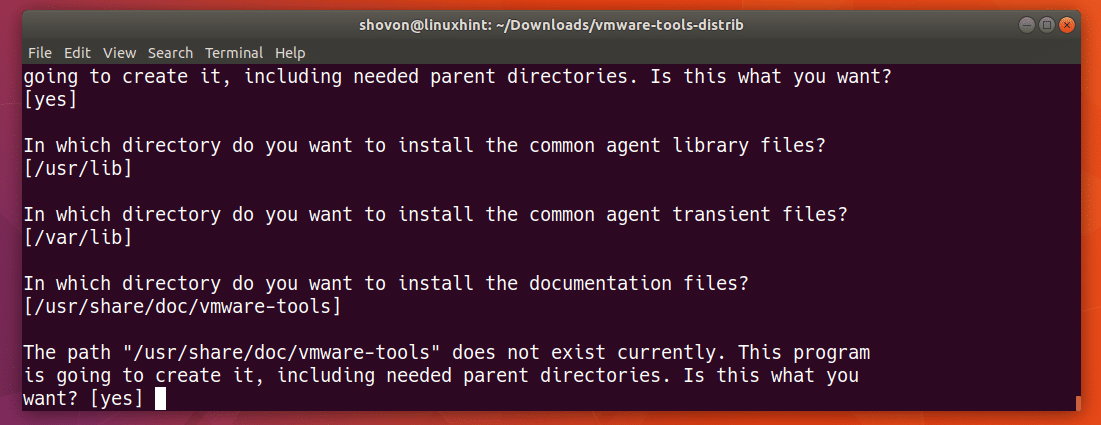
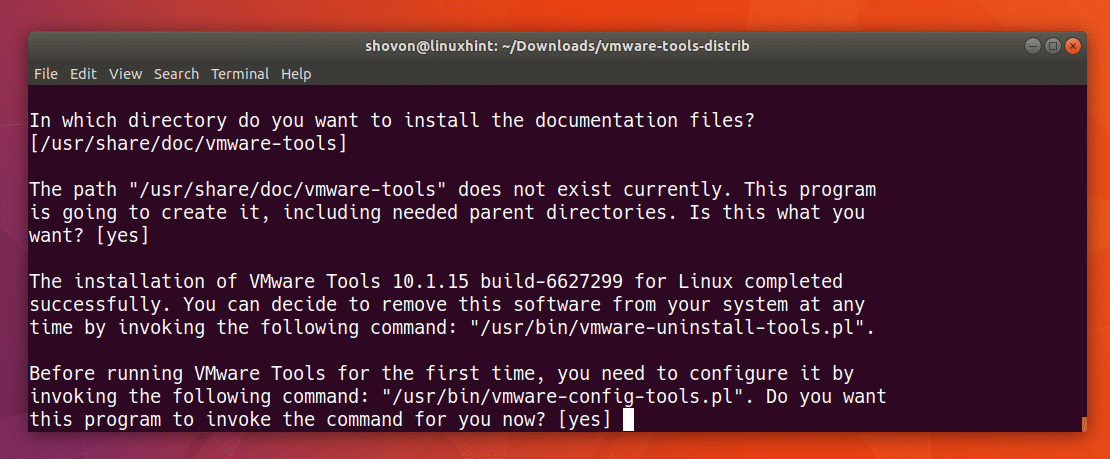
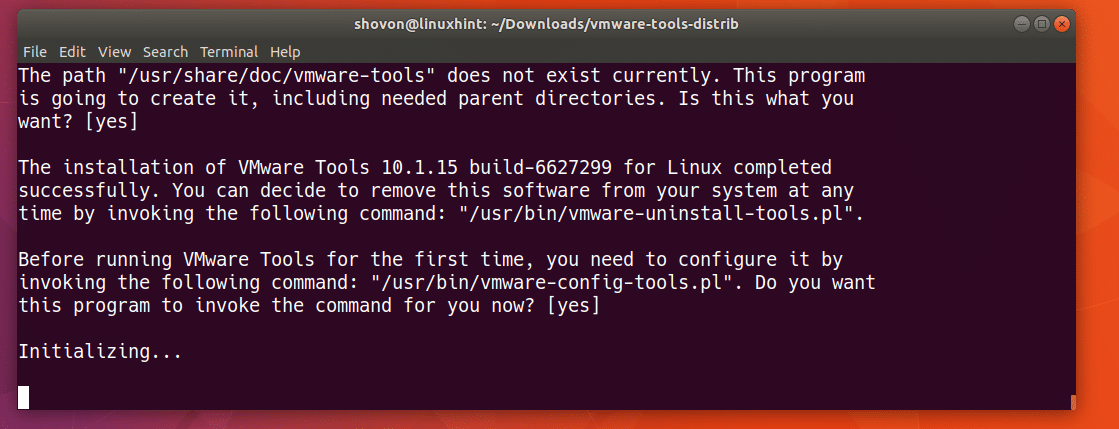
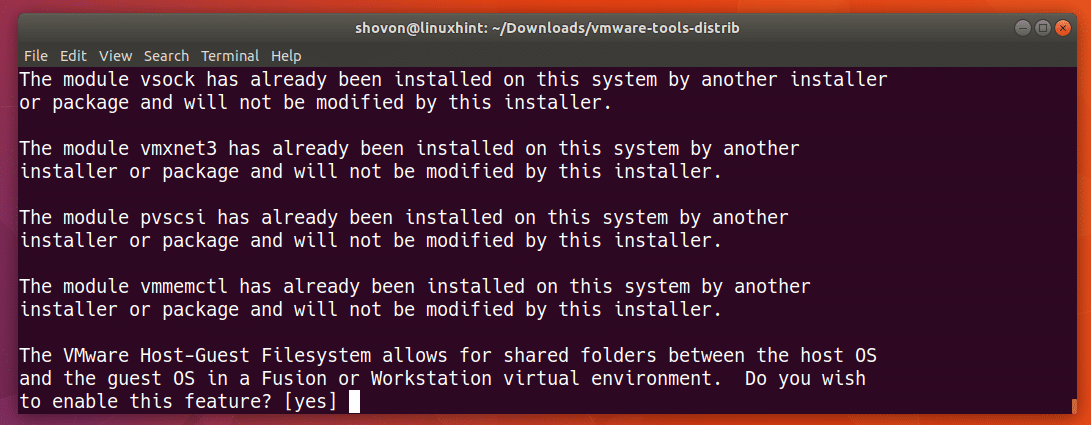
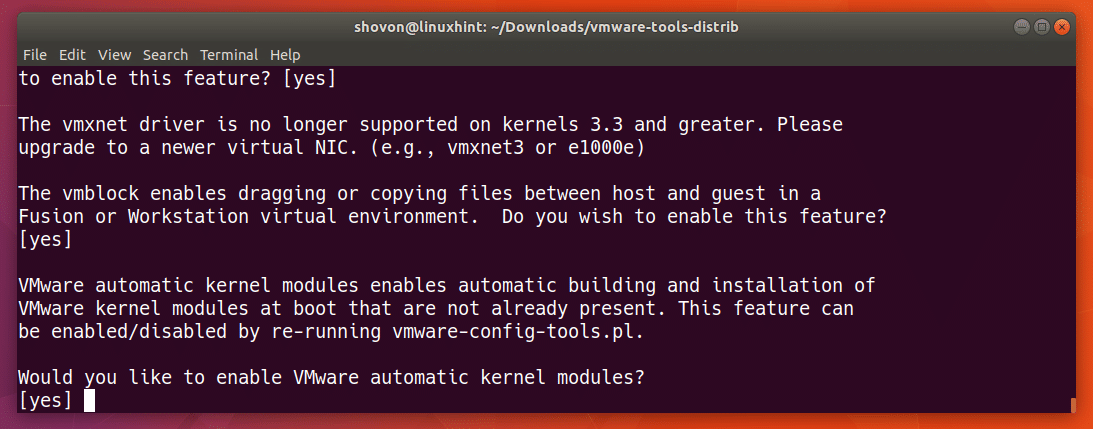
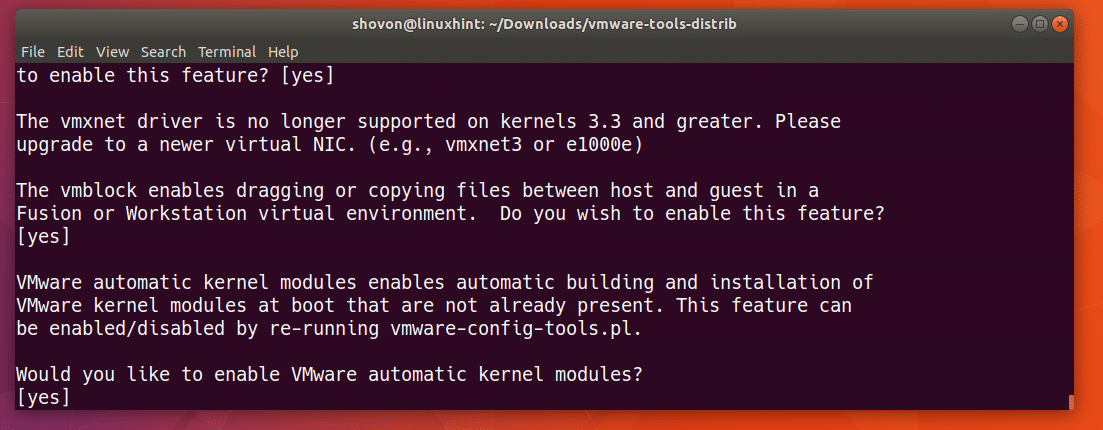
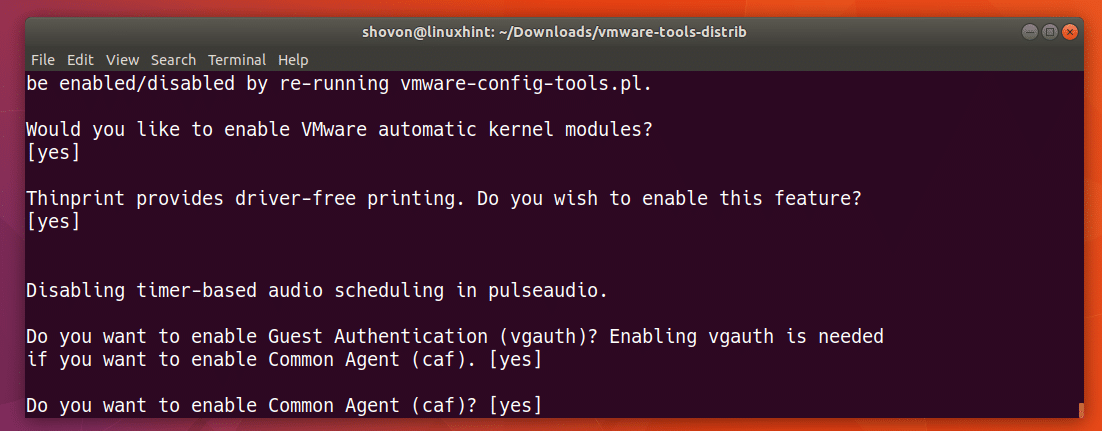
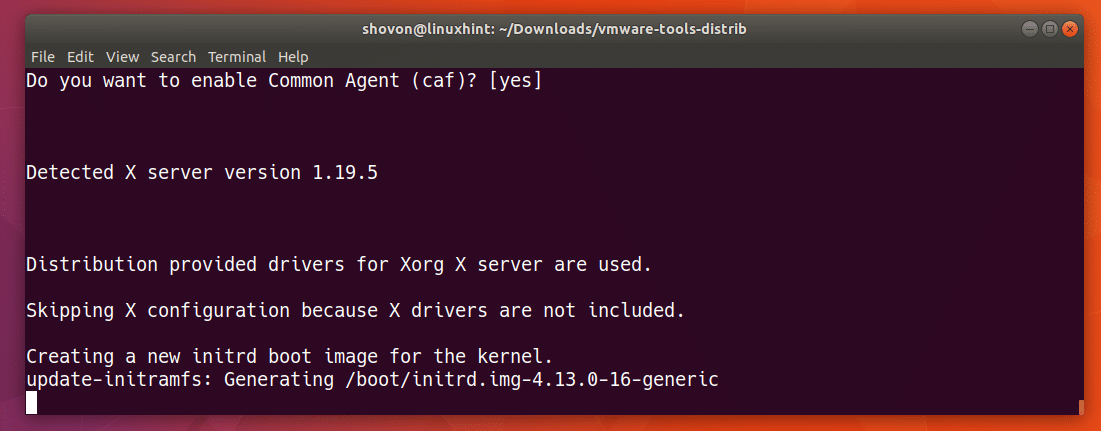
At this point, the VMware Tools configuration process is running.
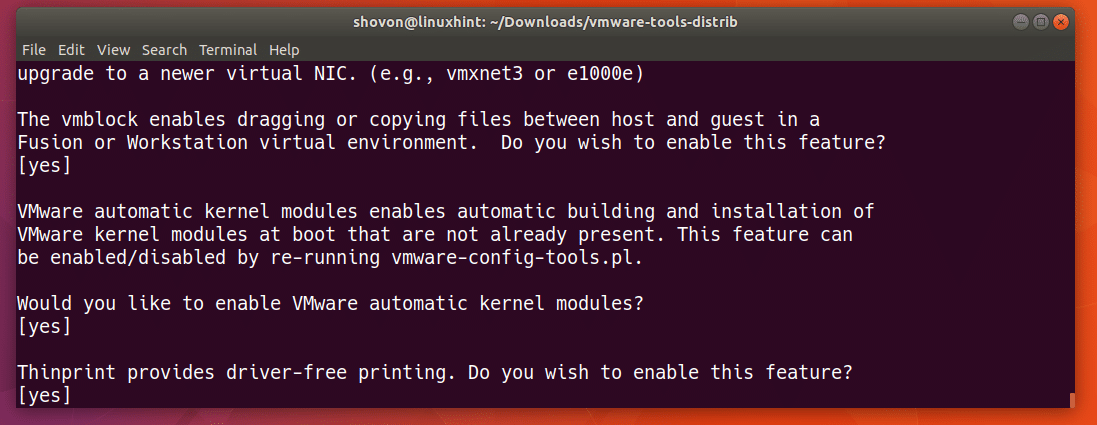
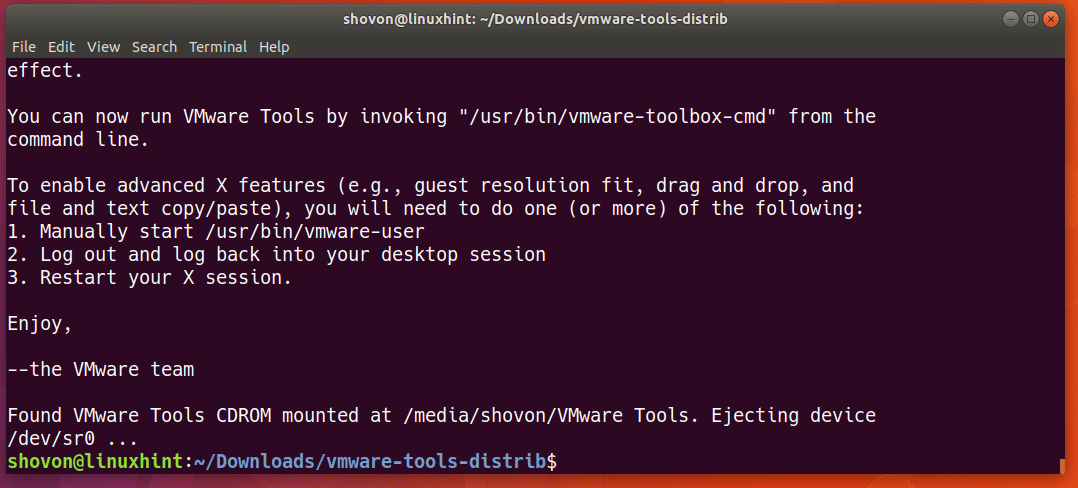
VMware Tools should be installed.
You can whether VMware Tools is installed correctly and working with the following command:
As you can see from the screenshot below, the version number is printed. It means it was installed correctly.

You can do a lot of configuration and find out a lot of information about your VM with VMware Tools.
For example, you can use vmware-toolbox-cmd command to check the speed of the processor as follows:

You can also run the following command to find out more about vmware-toolbox-cmd command:
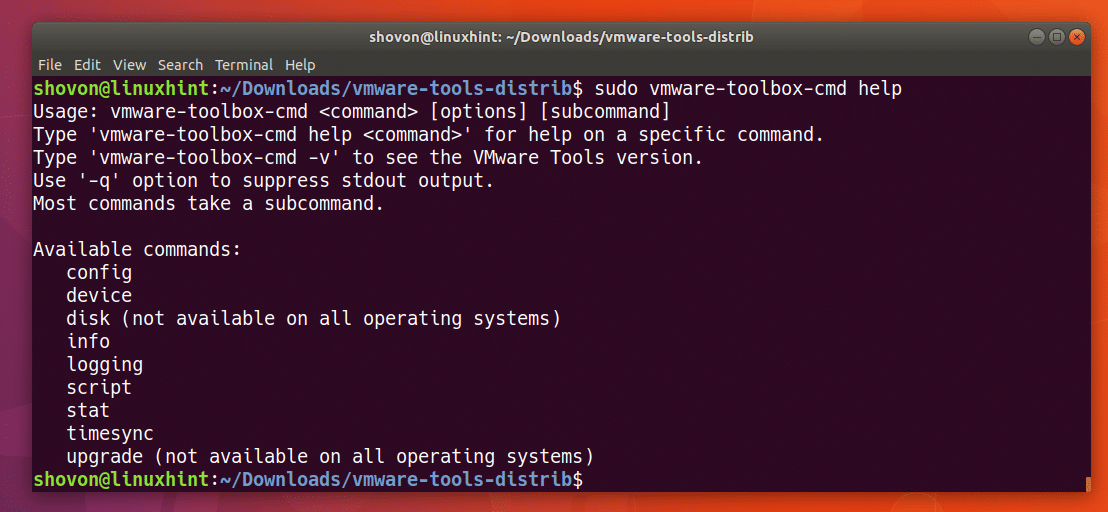
There are many more VMware Tools commands as you can see from the screenshot below. I can’t explain them in this article as it is out of the scope of this article. But take a look at VMware documentation for more information.

That’s how you install VMware Tools on Ubuntu Virtual Machine. Thanks for reading this article.
About the author
Shahriar Shovon
Freelancer & Linux System Administrator. Also loves Web API development with Node.js and JavaScript. I was born in Bangladesh. I am currently studying Electronics and Communication Engineering at Khulna University of Engineering & Technology (KUET), one of the demanding public engineering universities of Bangladesh.