- How to Install VMware Workstation Pro on Ubuntu 20.04
- System Requirements for VMware Workstation Pro
- Install VMware Workstation Pro On Ubuntu 20.04
- Post Installation of VMware Workstation Pro in Ubuntu
- Enter Licence Key For VMware Workstation Pro 16
- Uninstall VMware Workstation Pro 16 On Ubuntu
- Vmware workstation pro линукс
- Prerequisites
- Procedure
- Results
How to Install VMware Workstation Pro on Ubuntu 20.04
Creating a virtual machine is the most suitable solution if you want to go on a test drive of a new operating system without installing it on bare metal alongside your primary Operating System.
It gives you the flexibility to use multiple operating systems directly from your host operating system and also delete or reinstall it any number of times.
Now, to create virtual machines on a host system, VMware provides desktop virtualization software called VMware Workstation. The software is available in two variants: VMware Workstation Pro and VMware Workstation Player.
VMware Workstation Player is free software (not open source) available only for personal and non-commercial use. While Workstation Pro is a paid and extended version of Workstation Player providing better UI and more advanced features like UEFI Secure Boot and Snapshots.
In this article, I’ll show you how you can install VMware Workstation Pro 16 on Ubuntu 20.04 to set up and use multiple virtual machines (Guest OS) on your single physical machine (Host OS).
You can also follow the below installation step to install VMware Workstation Player on Linux by downloading it from the official page.
System Requirements for VMware Workstation Pro
If you want to run a 64-bit guest OS as a virtual machine, your host system must use either Intel CPU with VT-x support or AMD CPU with AMD-V support.
The host system should also have at least 2GB of RAM. For a better experience, you can have 4GB or above of RAM and disk space based on the space, you’ll allocate to the virtual machine.
Install VMware Workstation Pro On Ubuntu 20.04
Go to the VMware download page and click on “Download Now”. It will download the .bundle file (VMware-Workstation-Full-16.1.2-17966106.x86_64.bundle), which is basically a shell script with embedded binary data.
Once you download the file, you can simply run the below command with root privileges to install VMware software.
$ sudo bash VMware-Workstation-Full-16.1.2-17966106.x86_64.bundle

If you successfully install VMware in the last step, you can skip this step as it is just another method to install Workstation Pro. In this method, you can install the VMware .bundle file by first changing permission to make the file executable using either Properties (GUI way) or chmod command.
$ sudo chmod +x VMware-Workstation-Full-16.1.2-17966106.x86_64.bundle $ sudo ./VMware-Workstation-Full-16.1.2-17966106.x86_64.bundle
Before you open the VMware, you also need to install the required build packages unless you’ll get the below dialog box.
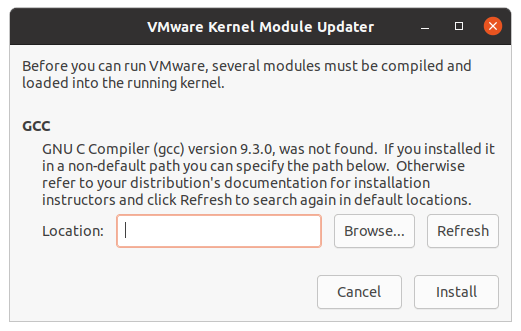
Run the command to install build packages that contain GCC, Binutils, and other important utility:
$ sudo apt install build-essential
Post Installation of VMware Workstation Pro in Ubuntu
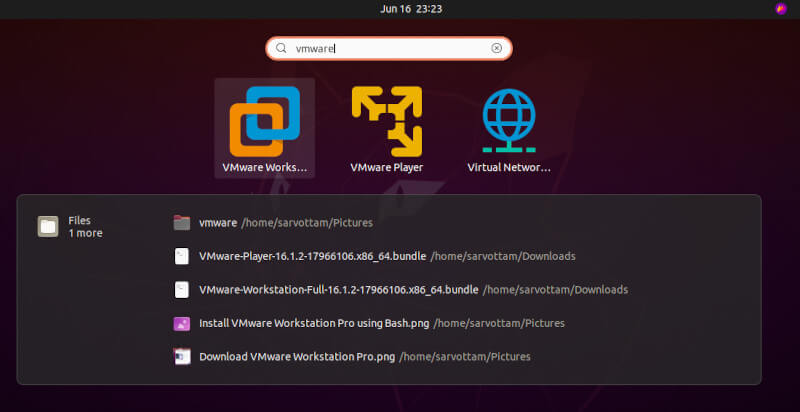
Now, you can go to Activities, search for “vmware” and open the VMware Workstation Pro. As you can see, installing Workstation Pro also install the Workstation Player.
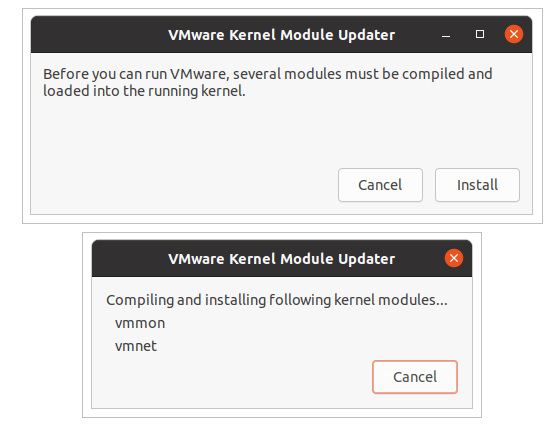
When you open the VMware, you’ll also get a prompt to install the required kernel modules. So, just click on “Install” and after installation, you will be headed to the one-time configuration page.
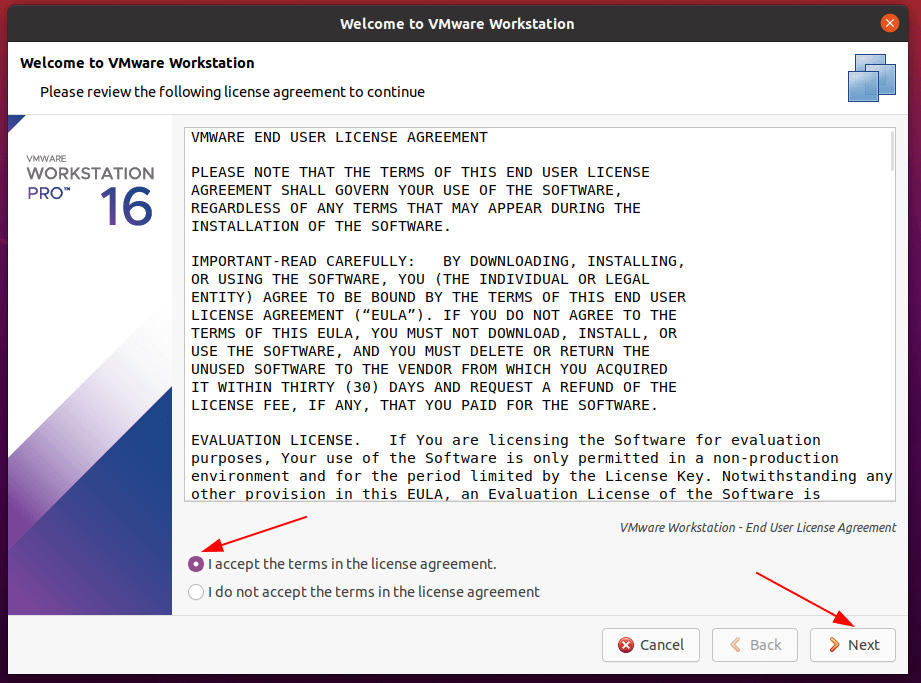
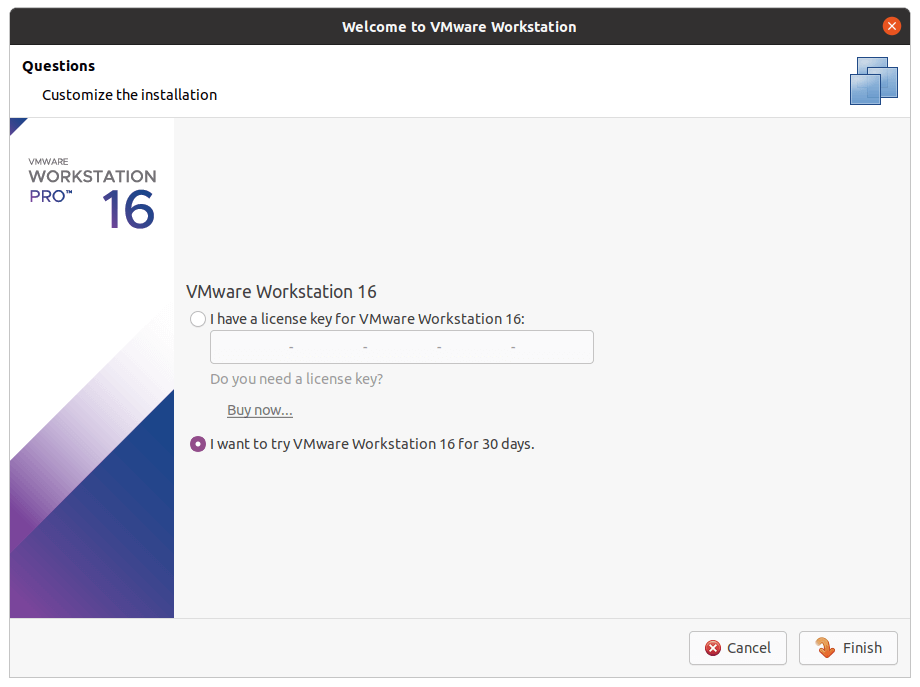
Before you start using VMware to create virtual machines, you first need to go through a configuration setup. As usual, the process starts with accepting the terms and clicking on next with the default configuration value.
Here, if you’ve already bought the license for Workstation Pro, you can enter the license key. Or else, you can choose the free trial version for 30 days and configure the license later.
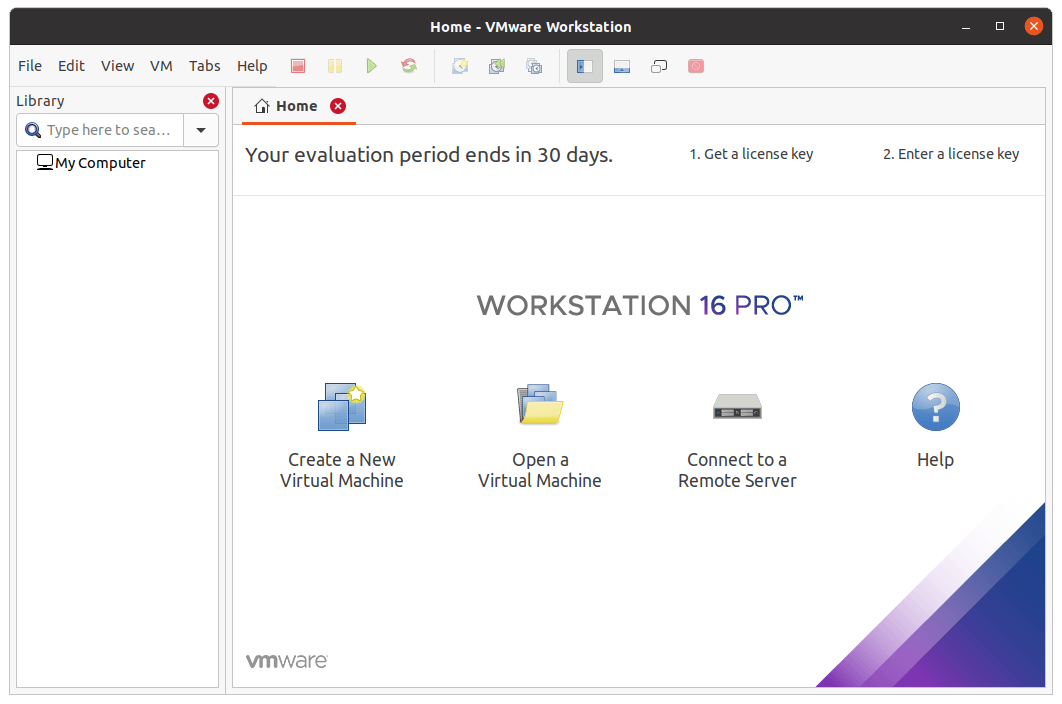
If all finish well, you’ll land on the home page of the VMware Workstation Pro 16 for Ubuntu.
Enter Licence Key For VMware Workstation Pro 16
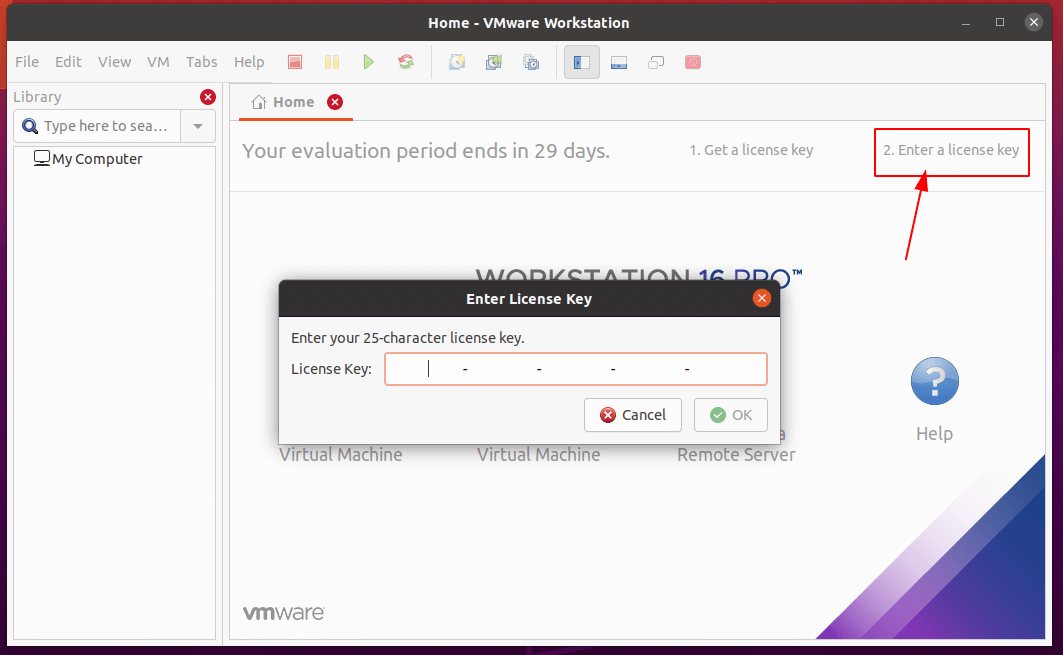
If you’ve missed entering the license key while installing VMware Workstation Pro, you can also enter the key after installation. The easiest way is to click on the “Enter a license key” button present on the home tab and enter the 25-character license key in a dialog box.
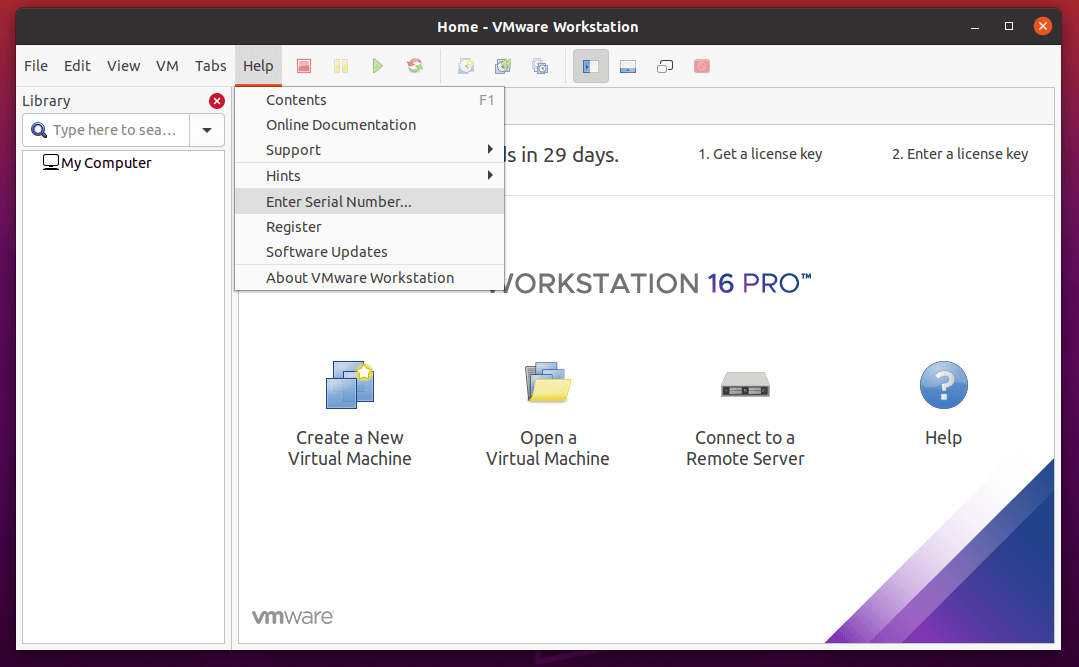
Or, you can also go to the Help menu and select the “Enter Serial Number…” option.
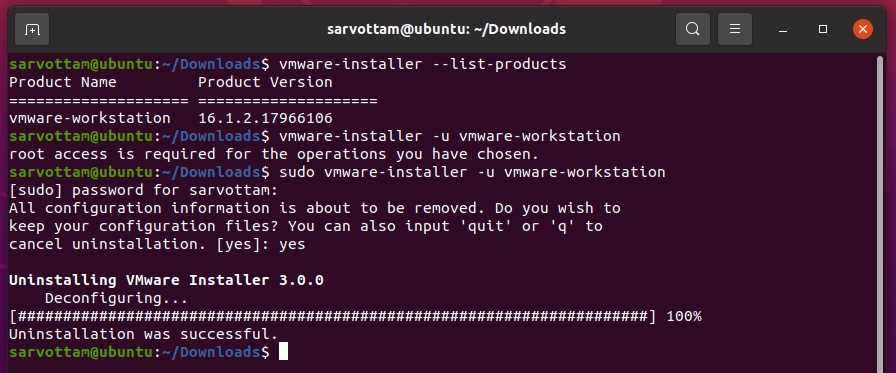
Uninstall VMware Workstation Pro 16 On Ubuntu
At some point, if you wish to completely remove VMware Workstation Pro from your Ubuntu system, you can easily uninstall it using the “vmware-installer” command.
You can first check the VMware products you’ve installed on your system and note down the name.
$ vmware-installer --list-products Or $ vmware-installer -l

Then using the below command you can uninstall it completely.
$ sudo vmware-installer --uninstall-product vmware-workstation Or $ sudo vmware-installer -u vmware-workstation
For more information about configuration, you can check out the official documentation of VMware Workstation Pro 16.
Vmware workstation pro линукс
You are using an outdated browser. Please upgrade your browser to improve your experience.
You run the Linux bundle installer to install Workstation Pro on a Linux host system. By default, Workstation Pro is installed silently, and the installation progress is displayed in the terminal. When Workstation Pro is launched for the first time, a dialog box asks you to accept the EULAs and configure necessary settings. At the same time, pure console installation is also supported. You can run the installer with the —console option to install and configure Workstation Pro in the terminal, without the first-time dialog box appearing during the first launch.
Remote connections and virtual machine sharing are enabled by default when you install Workstation Pro . With remote connections, you can connect to remote hosts and run remote virtual machines. With virtual machine sharing, you can create virtual machines that other instances of Workstation Pro can access remotely.
Prerequisites
- Verify that the host system meets the host system requirements. See Host System Requirements for Workstation Pro.
- Verify that no incompatible VMware products are installed on the host system. See Installing Workstation Pro with Other VMware Products.
- Obtain the Workstation Pro software and license key. See Obtaining the Workstation Pro Software and License Key.
- If you plan to use the Integrated Virtual Debugger for Eclipse, install it on the host system. See Installing the Integrated Virtual Debuggers for Eclipse.
- Compile the real-time clock function into the Linux kernel.
- Verify that the parallel port PC-style hardware option ( CONFIG_PARPORT_PC ) is built and loaded as a kernel module and that it is set to m when the kernel is compiled.
- Familiarize yourself with the Linux command-line installation options. You must use the —custom option to specify certain configuration settings. See Linux Command Line Installation Options.
- Verify that you have root access on the host system.
Procedure
- Log in to the host system with the user name that you plan to use when you run Workstation Pro .
- Become root.
xxxx-xxxxxxx is the version and build numbers, architecture is x86_64, and option is a command-line option.
If you are using the —console option or installing Workstation Pro on a host system that does not support the GUI wizard, press Enter to scroll through and read the license agreement or type q to skip to the [yes/no] prompt.
Results
After Workstation Pro is installed, vmware-workstation-server starts on the host system. When Workstation Pro starts, log in using your regular user name, not root. vmware-workstation-server starts whenever you restart the host system.