RecoveringUbuntuAfterInstallingWindows
This page documents how to restore or recover the boot-loader (GRUB) after installing Windows. Some reasons to repair your boot-loader might include installing Microsoft Windows after you have installed Ubuntu, adding or removing a hard drive, or changing hard drive settings.
Note: this tutorial does not apply if you had installed Ubuntu inside Windows (via the Wubi installer). In this case, please read this page.
Using the Ubuntu CD (Recommended)
The graphical way
- Insert your Ubuntu CD, reboot your computer and set it to boot from CD in the BIOS and boot into a live session. You can also use a LiveUSB if you have created one in the past.
- Install and run Boot-Repair
- Click «Recommended Repair».
- Now reboot your system. The usual GRUB boot menu should appear. If it does not, hold Left Shift while booting. You will be able to choose between Ubuntu and Windows.
The terminal way
* Open a terminal. As of Ubuntu 11.10 and 11.04, this can be done by opening the Unity Dash (you can click the Ubuntu logo in the top panel or use the Windows key on your keyboard) and typing in «Terminal», and clicking what comes up. On earlier versions, you can achieve this by going to Applications -> Accessories -> Terminal. Alternately use the Keyboard Shortcut: CTRL + ALT + T.
- You are then presented with a standard bash prompt, type — this only works to reinstall to MBR of a working system:
where XXX is the device of your Ubuntu install. (eg: grub-install /dev/sdb). Hint: You can also use /dev/disk/by-label/ if the partition you installed on has a label. You can determine the /dev node for such a device by running:
This will give the output of something like:
lrwxrwxrwx 1 root root 10 Oct 16 10:27 data -> ../../sdb2 lrwxrwxrwx 1 root root 10 Oct 16 10:27 data2 -> ../../sda2 lrwxrwxrwx 1 root root 10 Oct 16 10:27 fat -> ../../sda6 lrwxrwxrwx 1 root root 10 Oct 16 10:27 home -> ../../sda7 lrwxrwxrwx 1 root root 10 Oct 16 10:27 root -> ../../sda1 lrwxrwxrwx 1 root root 10 Oct 16 10:27 swap -> ../../sda5 lrwxrwxrwx 1 root root 10 Oct 16 10:27 windows -> ../../sdb1
You can also use fdisk if you do not see the /dev/disk/by-label:
$ sudo fdisk -l Disk /dev/sda: 160.0 GB, 160041885696 bytes 255 heads, 63 sectors/track, 19457 cylinders Units = cylinders of 16065 * 512 = 8225280 bytes Sector size (logical/physical): 512 bytes / 512 bytes I/O size (minimum/optimal): 512 bytes / 512 bytes Disk identifier: 0x0001bc54 Device Boot Start End Blocks Id System /dev/sda1 * 1 18725 150403072 83 Linux /dev/sda2 18725 19458 5884929 5 Extended /dev/sda5 18725 19458 5884928 82 Linux swap / Solaris
From here, find only the drive name, ignore the partition number, that is, for partitions labeled «root», «data2», «fat», «home» and «swap» it’s all still just sda. This is due to the fact that GRUB is installed in the MBR of the drive, and not on a partition.
Trouble? If other things are messed up, e.g. if you have deleted the partition from where Grub was previously installed, grub-install may return an error message such as «cannot find a device for /. (is /dev mounted?)». You may have to do grub-install a bit differently. Refer to the handy guide on fixing a broken system
Now reboot your system. The usual GRUB boot menu should appear. If it does not, hold Left Shift while booting. You will be able to choose between Ubuntu and Windows.
Using the Ubuntu Alternate CD
- Boot your system from the Ubuntu Alternate CD.
- When the Ubuntu splash screen comes up with the boot: prompt, type in rescue and press enter.
- Choose your language, location (country) and then keyboard layout as if you were doing a fresh install.
- Enter a host name, or leave it with the default (Ubuntu).
- At this stage you are presented with a screen where you can select which partition is your root partition (there is a list of the partitions on your hard drive, so you are required to know which partition number Ubuntu is on). This will be dev/discs/discY/partX, where the X is a partition number and Y is the number of the drive.
- Now proceed as described in «The terminal way» above.
See also
RecoveringUbuntuAfterInstallingWindows (последним исправлял пользователь iburst-41-56-112-193 2015-01-27 14:44:04)
The material on this wiki is available under a free license, see Copyright / License for details
You can contribute to this wiki, see Wiki Guide for details
Восстановление GRUB в Ubuntu
В первую очередь хотим затронуть решение для новичков. Справиться с восстановлением GRUB в Ubuntu поможет утилита Boot-Repair. От пользователя требуется только установить ее и запустить проверку на ошибки. После этого все найденные неполадки будут автоматически исправлены, а на экране появится детальный отчет. Дополнительно в этом инструменте можно установить дополнительные параметры, например, параллельное восстановление MBR или время на отображение меню загрузки. На нашем сайте уже имеется отдельный материал, посвященный отладке GRUB через Boot-Repair. Предлагаем ознакомиться с ним, воспользовавшись указанной ниже ссылкой, а мы переходим к следующим методам.
Способ 2: Ручное восстановление GRUB2
Преимущество этого способа заключается в том, что пользователю не придется устанавливать дополнительных компонентов, поскольку все инструменты для восстановления загрузчика уже имеются в дистрибутивах Ubuntu. Недостатки связаны только с надобностью ручного ввода команд в «Терминале», что иногда вызывает трудности у начинающих. Впрочем, если следовать приведенной далее инструкции, точно выполняя каждое действие, никаких проблем возникнуть не должно.
- Первым делом придется загрузиться с LiveCD, поскольку полная поломка загрузчика GRUB2 означает невозможность открытия стандартной оболочки. Детальное руководство по этой теме имеется на официальном сайте поддержки Ubuntu, нацеленное на новичков, поэтому разбирать его сейчас мы не будем.
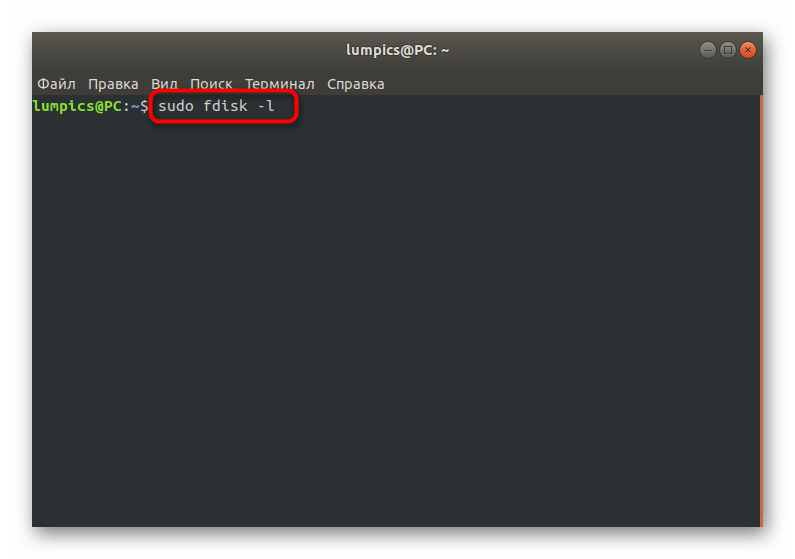
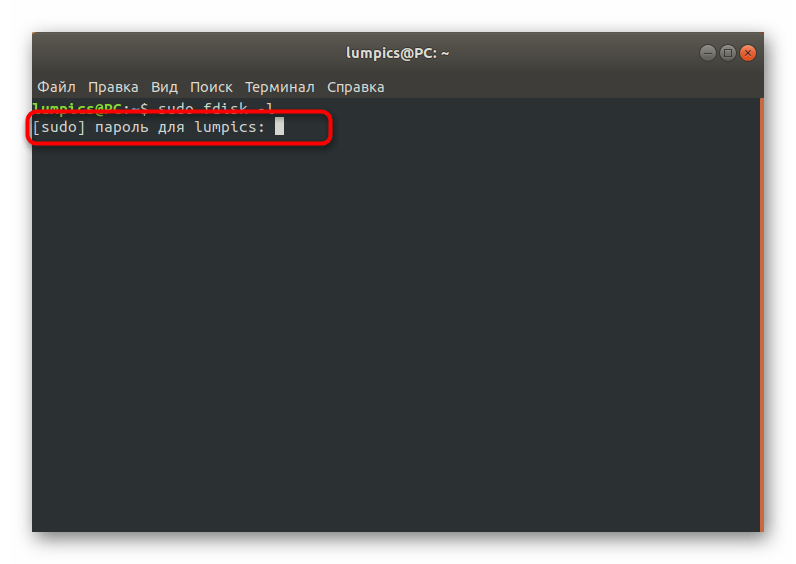
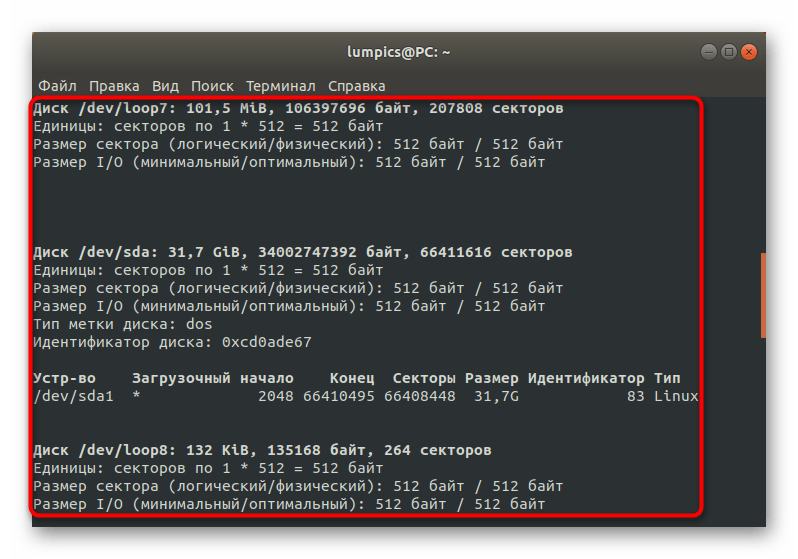
Units: sectors of 1 * 512 = 512 bytes
Sector size (logical/physical): 512 bytes / 512 bytes
I/O size (minimum/optimal): 512 bytes / 512 bytes
Disklabel type: dos
Disk identifier: 0x38972eb0 Device Boot Start End Sectors Size Id Type
/dev/sdc1 * 23949312 29882367 5933056 2,8G 7 HPFS/NTFS/exFAT
/dev/sdc2 29882368 30302207 419840 205M b W95 FAT32
/dev/sdc3 13551616 23949311 10397696 5G 83 Linux
/dev/sdc4 2048 12621823 12619776 6G b W95 FAT32

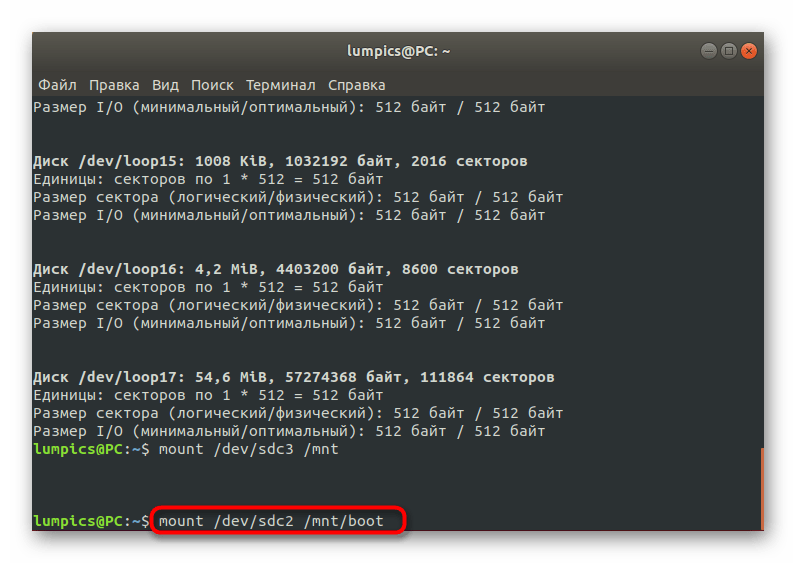
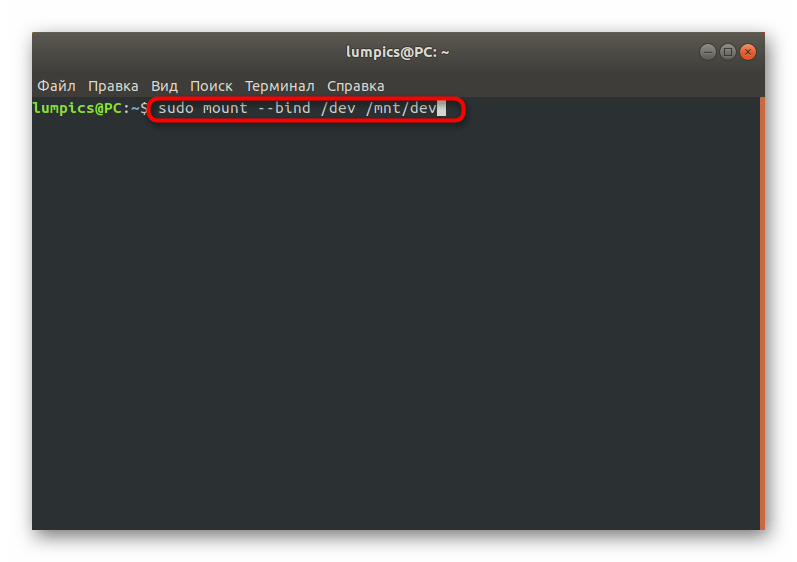
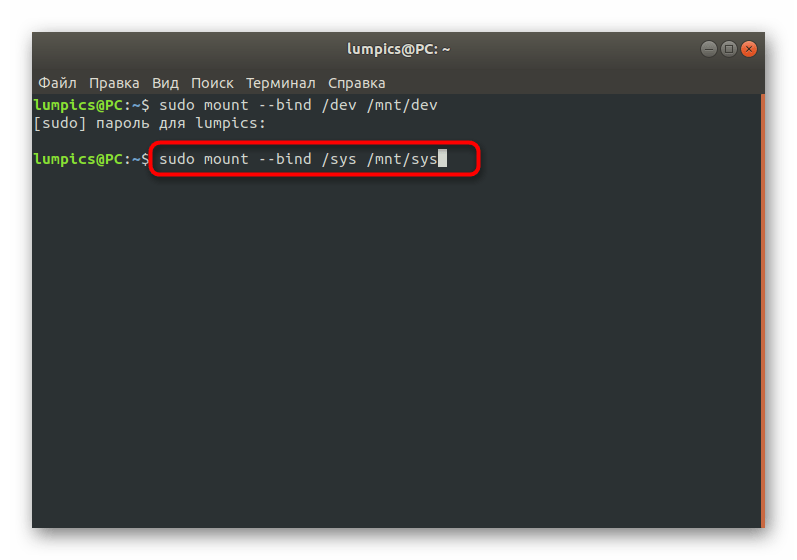
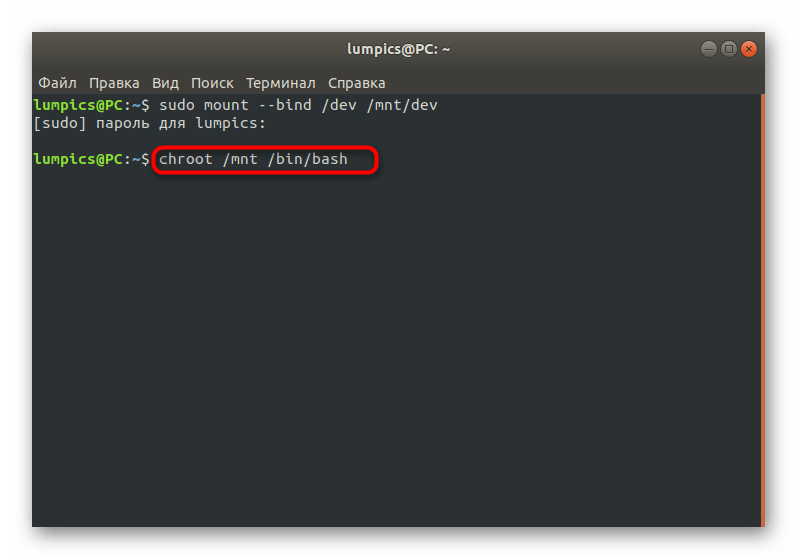
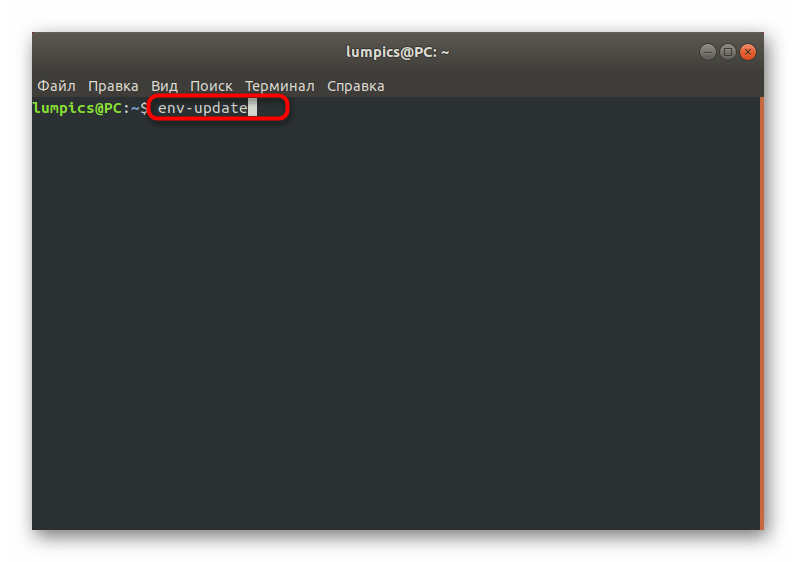
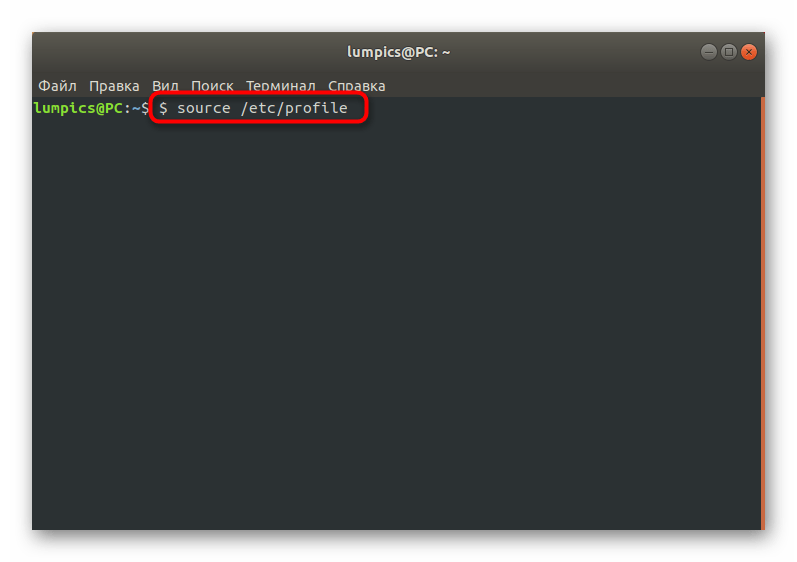

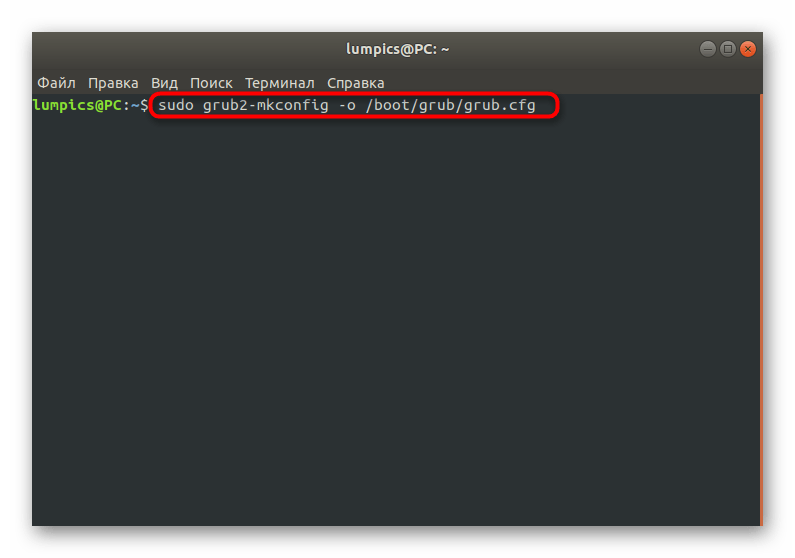
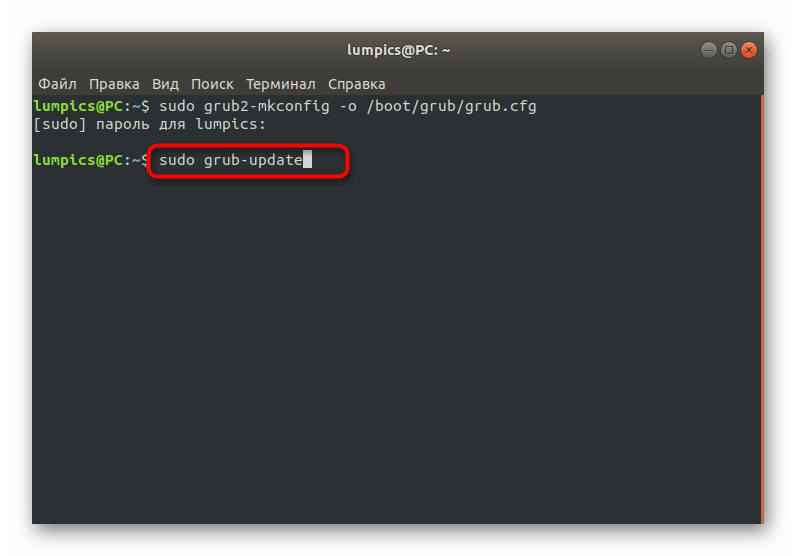
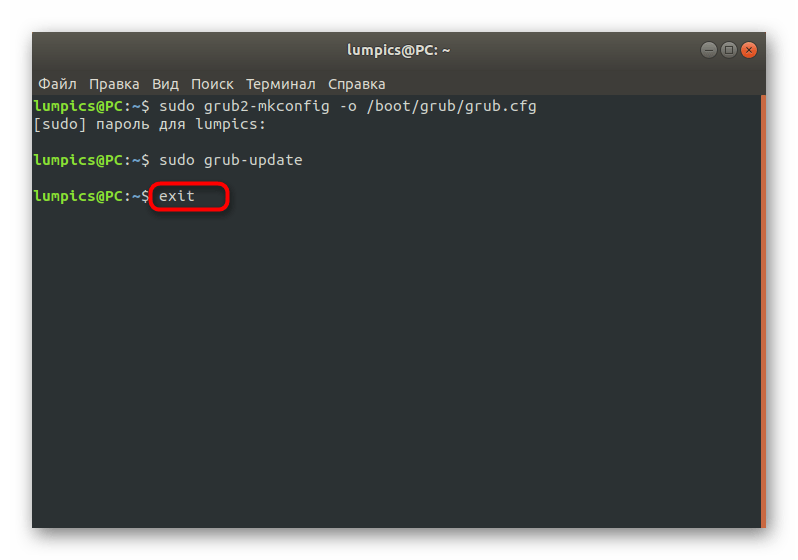
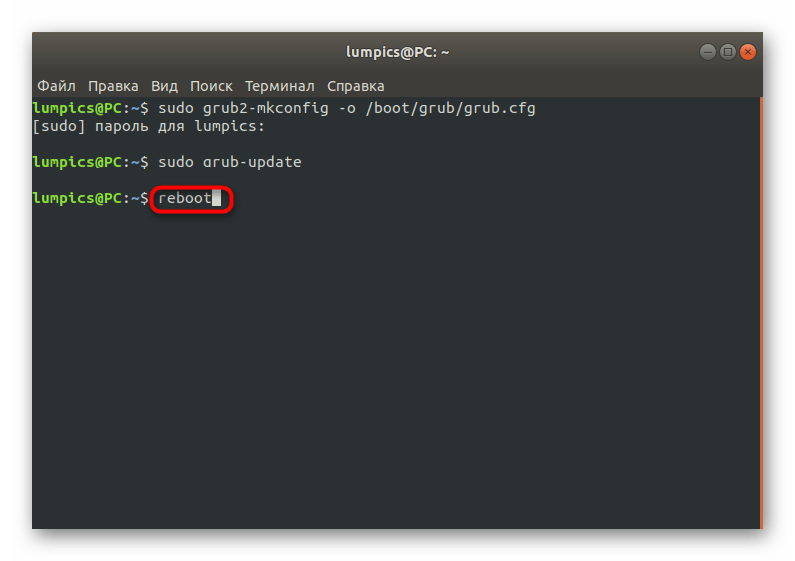
Как видите, ничего сложного в действиях восстановления GRUB2 при его полном отказе нет. В большинстве случаев требуется лишь по очереди использовать приведенные выше команды, чтобы добиться положительного результата, не получив при этом ни одной ошибки. Однако имеется более простой способ, который пригодится при неполной поломке загрузчика. О нем мы и поговорим далее.
Способ 3: Ручное восстановление без LiveCD
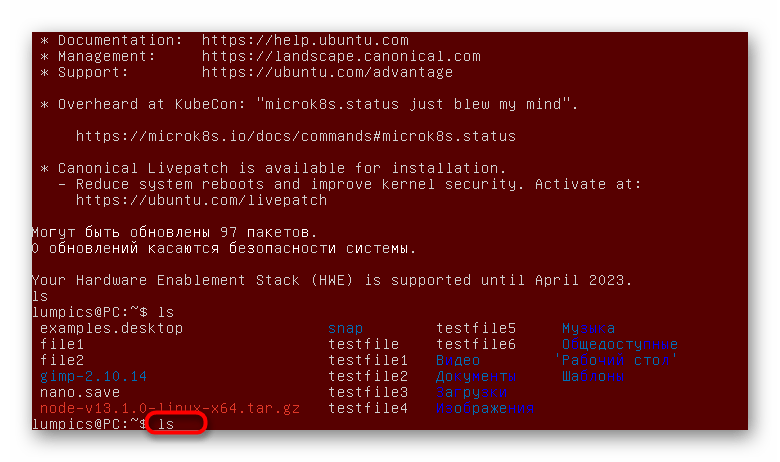
Иногда юзеры сталкиваются с ситуациями, когда загрузка Ubuntu невозможна, но при этом на экране появляется уведомление «Minimal BASH like line editing is supported», а внизу идет активная строка для ввода команд. Это называется минимальным окружением Bash, и через него тоже доступно восстановление GRUB более быстрым способом.
- В этой оболочке используйте команду ls , чтобы просмотреть список подключенных к компьютеру дисков. Он будет выглядеть примерно так: (hd2,msdos1, hd2,msdos2, hd2,msdos3, hd2,msdos4) .
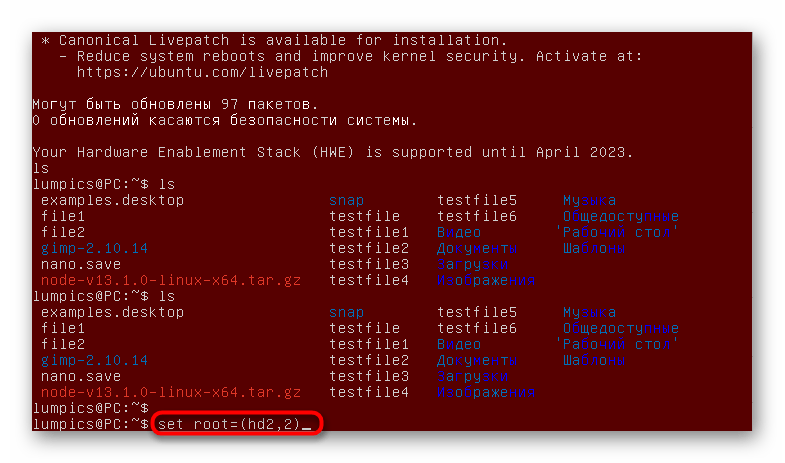
- В данном терминале можно взаимодействовать только с одним диском одновременно, поэтому выберите раздела с файлами загрузчика и присвойте ему переменные окружения, указав set root=(hd2,2) . hd2,2 замените на нужное название.
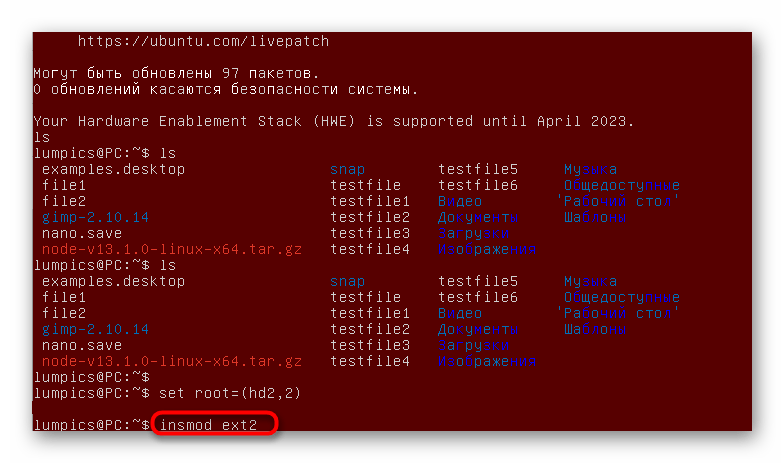
- Поочередно введите указанные ниже команды, чтобы осуществить открытие оболочки GRUB.
insmod ext2
insmod normal
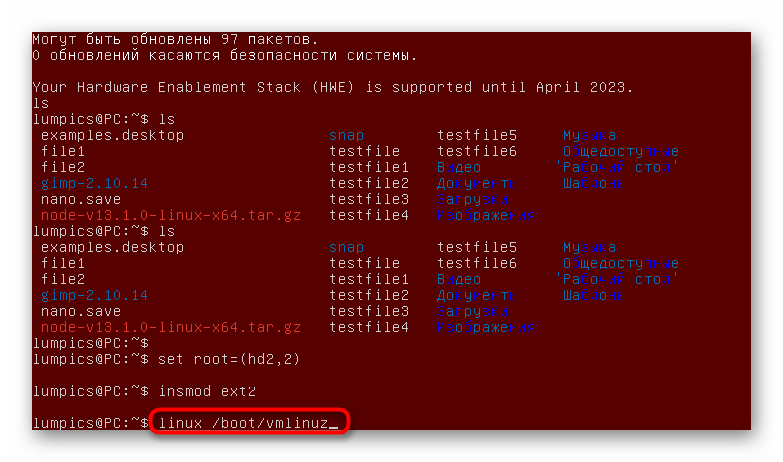
normal - Запустите ядро. В большинстве случаев для этого подходит команда linux /boot/vmlinuz .
- Осталось только выполнить стандартную загрузку и в «Терминале» операционной системы поочередно выполнить следующие команды: boot
sudo grub2-install /dev/sda
sudo grub2-mkconfig -o /boot/grub/grub.cfg
Теперь вы знакомы с целыми тремя способами восстановления GRUB в Ubuntu. Как видите, каждый из них подойдет в определенных ситуациях и подразумевает произведение абсолютно разного алгоритма действий. Вам осталось только подобрать оптимальный метод. Начинающим мы советуем обратить особое внимание на первый вариант, поскольку для этой категории юзеров он является максимально эффективным.
