- How can I run a html file from terminal? [closed]
- 9 Answers 9
- How do I serve index.html with Nginx
- How to install Nginx in CentOS
- How to enable Nginx in CentOS
- How to set firewall rules for Nginx in CentOS
- How to serve index.html file with Nginx
- Conclusion
- About the author
- Sharqa Hameed
- How to Host a Website on an Apache Web Server
- Install Apache Web Server in Linux
- Host a Simple HTML Website on Apache
- Linux Shell Tips
- Manage Apache Web Server in Linux
How can I run a html file from terminal? [closed]
Closed. This question does not meet Stack Overflow guidelines. It is not currently accepting answers.
This question does not appear to be about a specific programming problem, a software algorithm, or software tools primarily used by programmers. If you believe the question would be on-topic on another Stack Exchange site, you can leave a comment to explain where the question may be able to be answered.
KIRIM SMS GRATIS
Nomer HP:
Isi Pesan:
as you can see when the file is loaded it automatically clicks the submit button, and redirects it to http://xxxxxx how can I run this html file from terminal? I’m using this on openwrt with webserver installed on it.
Start researching headless browsers. Picking one for you and walking you through installing one up is out-of-scope for this site.
Also, you probably don’t want to do this. You should describe your actual problem for us, because writing an entire HTML document with embedded JavaScript for automatically submitting the form, just to programatically issue POST requests from the command line, is the worst solution to that problem. There’s probably a one-line CURL command that can do this for you.
9 Answers 9
For those like me, who have reached this thread because they want to serve an html file from linux terminal or want to view it using a terminal command, use these steps:-
Navigate to the directory containing the html file
If you have chrome installed,
google-chrome <filename>.html Navigate to the directory containing the html file
And Simply type the following on the Terminal:-
pushd <filename>.html; python3 -m http.server 9999; popd; Then click the I.P. address 0.0.0.0:9999 OR localhost:9999 (Whatever is the result after executing the above commands). Or type on the terminal :-
Using the second method, anyone else connected to the same network can also view your file by using the URL: 0.0.0.0:9999
Other users in the network can access said webpage if they navigate to
How do I serve index.html with Nginx
![]()
Nginx was first released in October 2004. Nginx is a freely available open-source web server that can be utilized for reverse proxy, caching, video streaming, email proxy, and load balancing. The developers aimed to design a web server that provides maximum performance and stability. It was originally envisioned as software to solve the C10k problem.
For the busiest websites on the internet, Nginx optimizes content and application delivery, increases security, and facilitates availability and scalability. It is also an ideal web server for serving your static website files or files generated by static site generators. In this post, we will set up a server and show you how to serve the index.html file with Nginx. Let’s start!
How to install Nginx in CentOS
If you do not have Nginx, then first install it on your system by following the given procedure:
In the first step, open up your CentOS terminal by pressing “CTRL+ALT+T” and then write out the below-given command:
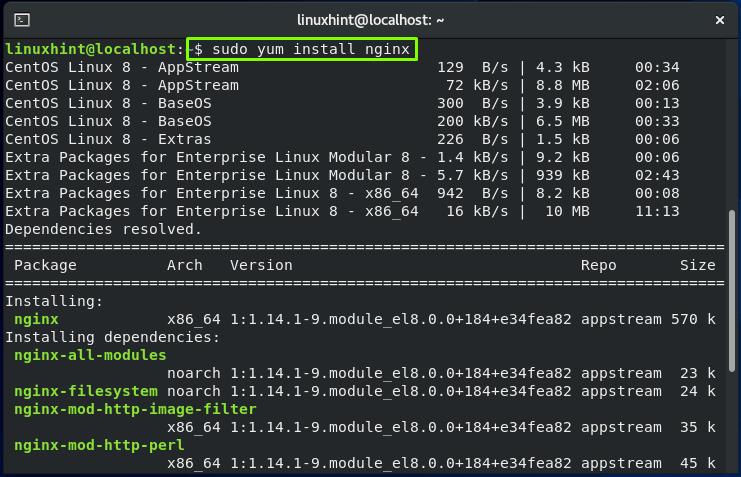
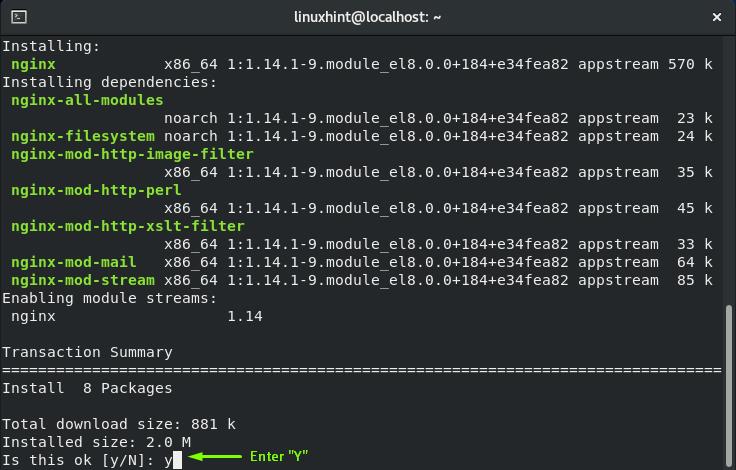
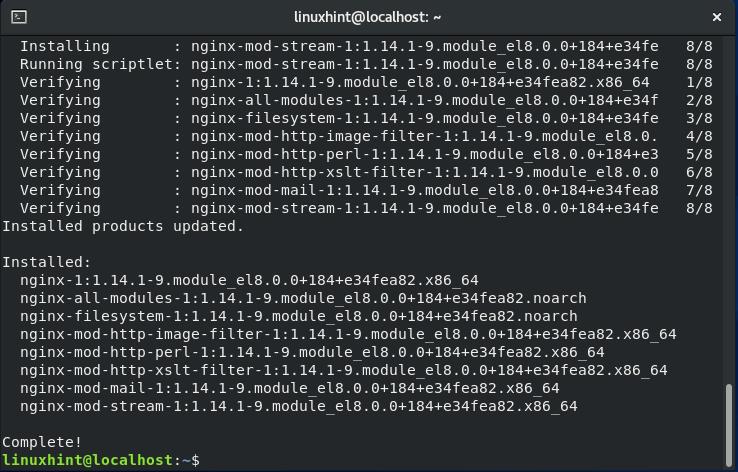
The error-free output declares that Nginx is successfully installed on your system.
How to enable Nginx in CentOS
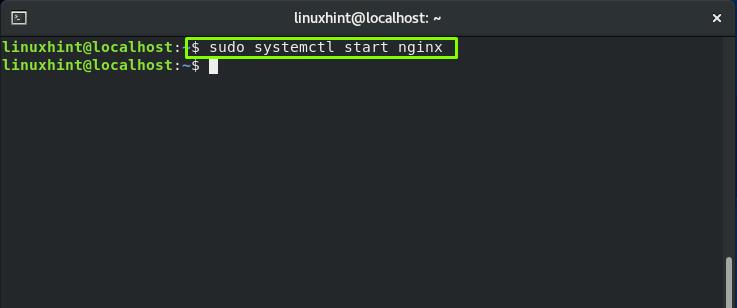
Now, utilize the below-given command for enabling Nginx on the CentOS system:
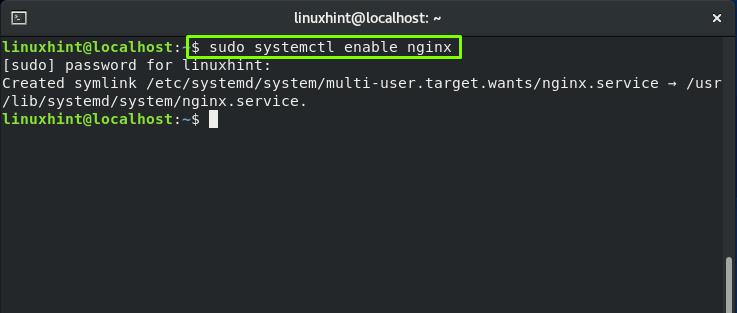
After that, start the Nginx service:
How to set firewall rules for Nginx in CentOS
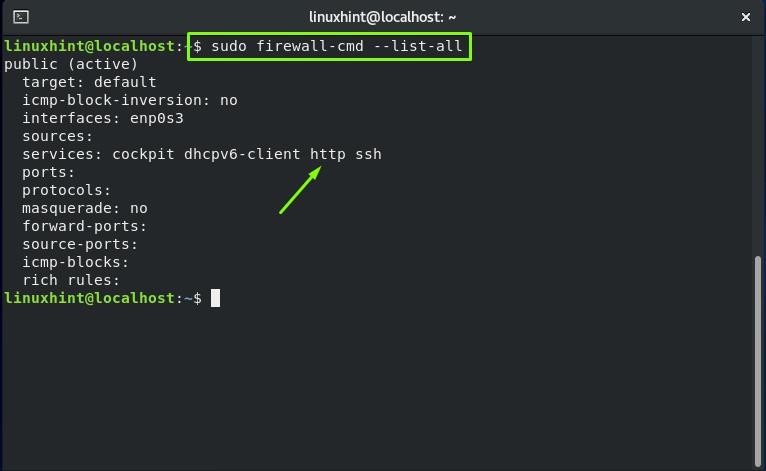
The next thing we are going to do is set the firewall settings to permit the external connections for the Nginx, running on port 80 by default. The firewall-cmd is the command that is utilized for managing permanent and runtime firewalld configuration.
For permanently enabling the HTTP connections on port 80, write out the below-given command in your CentOS terminal:

To verify if the HTTP firewall service was correctly added to the system, execute this command:
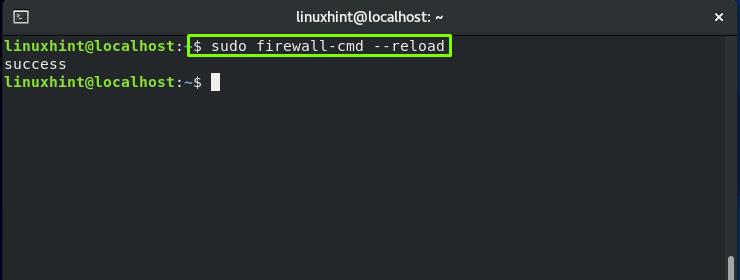
Now, reload the firewall service:
How to serve index.html file with Nginx
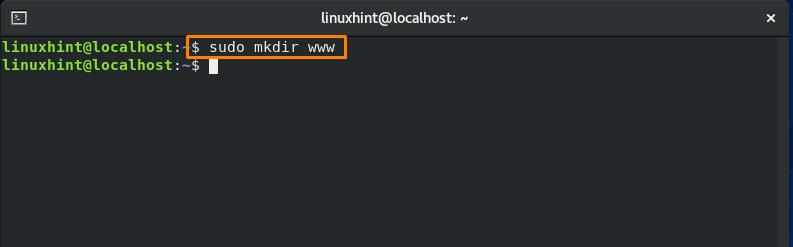
To follow the procedure of serving HTML files, we will create a “www” directory using the “mkdir” command. The “mkdir” command is utilized in Linux-based systems such as CentOS for creating one or more directories.
Execute the below-given command in your terminal for creating a “www” in the current working directory:
Next, we create a sample “index.html” file within our “www” directory:
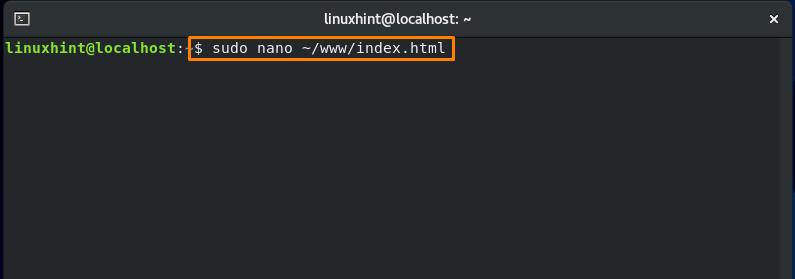
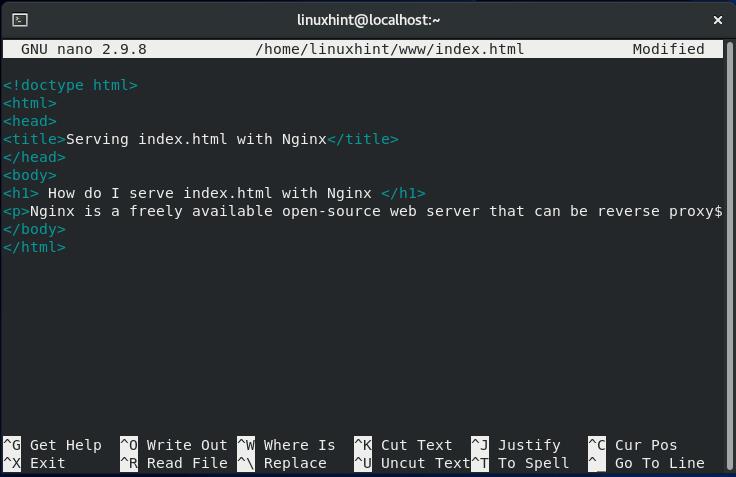
Add anything in the “index.html,” according to your requirement. However, we will add the following test content in our “index.html” file:
Serving index.html with Nginx < / title >
How do I serve index.html with Nginx < / h1 >
Nginx is a freely available open-source web server that can be reverse proxy, load balancing. < / p >
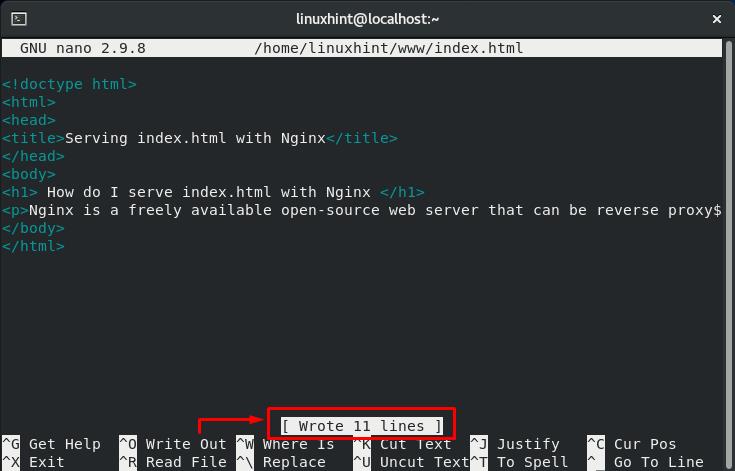
Now, press “CTRL+O” to save the content we have added in the “index.html” file present in the “www” directory:
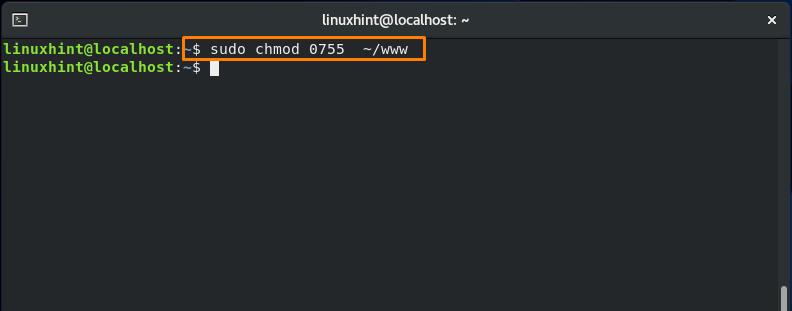
After that, we will change the permissions of the “www” directory using the “chmod” command. The “chmod” which stands for “change mode“, is a command that Linux users utilize for changing the file permissions.
Here in the below-given command, we will attempt to assign, read, write, and execute permissions to everyone who is going to use the “www” directory:
Now, open up the Nginx configuration file “/etc/nginx/nginx.conf” in the nano editor:
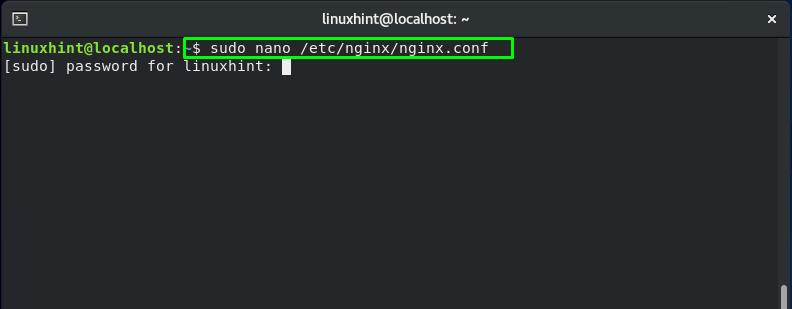
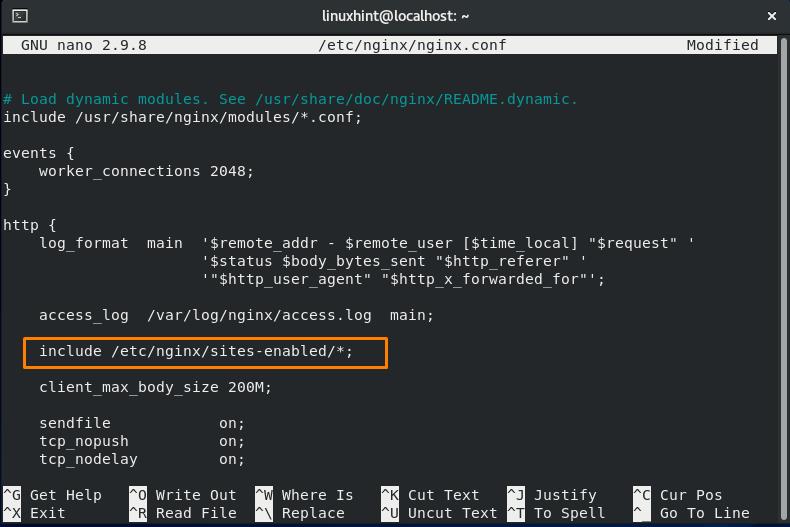
The “/etc/nginx/nginx.conf” file has different blocks such as http, server, and location for the Nginx configuration. Look for the following line in the file:
The above line declares that the configuration file present in the “site-available” is considered as a part of Nginx configuration:
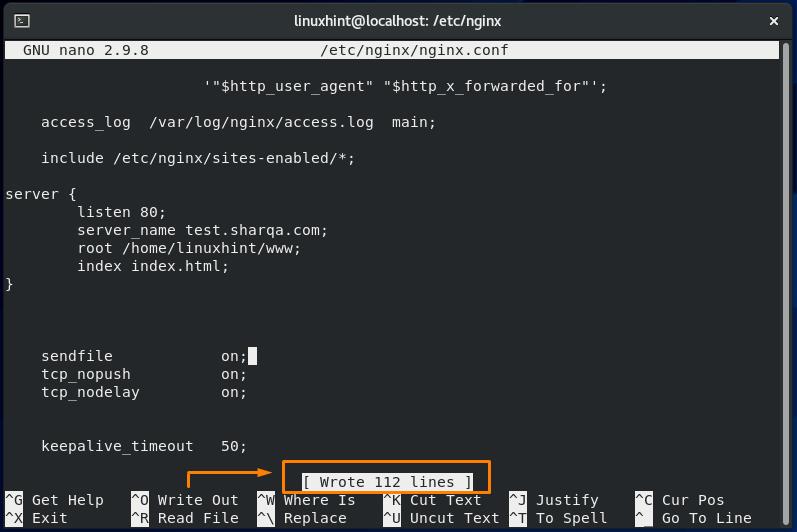
Now, add the following server block in the Nginx configuration file:
root / home / linuxhint / www;
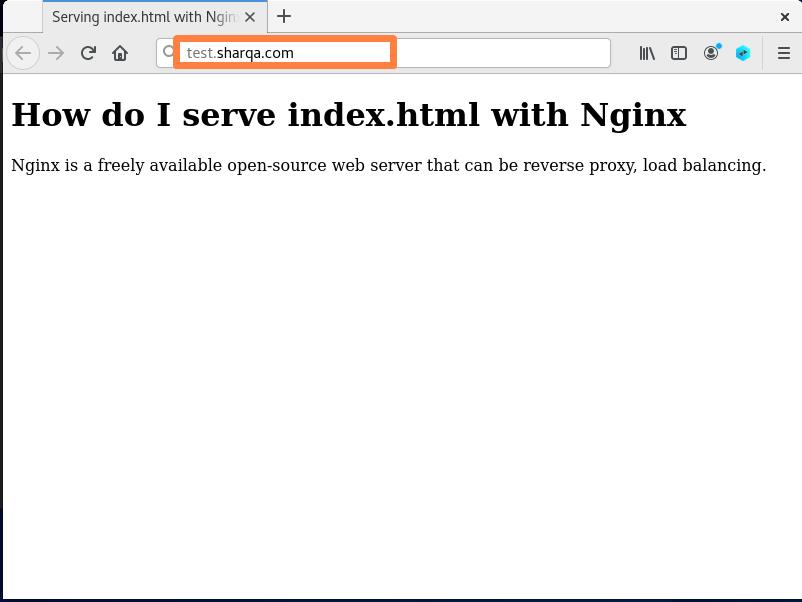
This server block specifies that for all connections, Nginx will listen at port “80”, our server name is “test.sharqa.com”, index file to serve with Nginx is “index.html” file, and all files related to the server are present in the “/home/linuxhint/www” directory:

Press “CTRL+O” to save the changes we have made into the opened file:
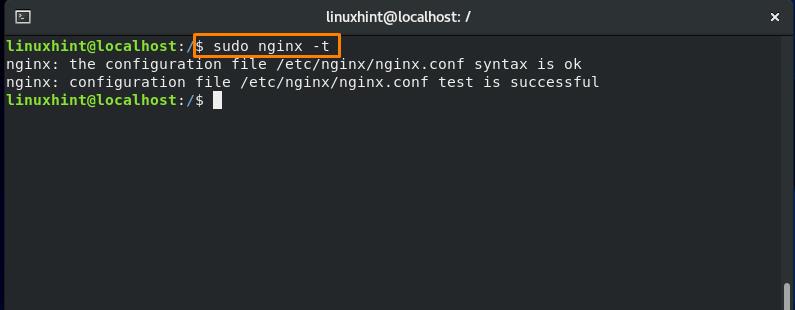
Execute the “nginx” command with the “-t” option to test the configuration file and its syntax:
Now, restart the Nginx service on your system:
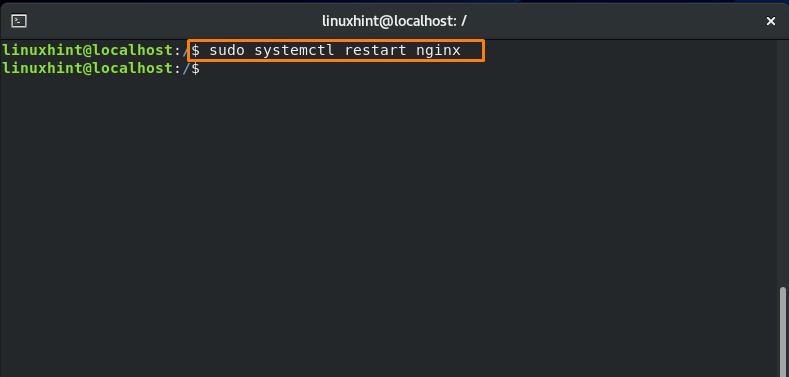
After restarting the Nginx service, visit your domain which you have added in the ”server_name”. As a result of this, your index.html web page will be served:
Conclusion
Nginx was designed to provide excellent performance as a web server, especially when there are many simultaneous connections or static content to handle. That’s why it is highly optimized for serving static files. You have seen the Nginx installation method and how I serve the index.html with Nginx on my system in this post.
About the author
Sharqa Hameed
I am a Linux enthusiast, I love to read Every Linux blog on the internet. I hold masters degree in computer science and am passionate about learning and teaching.
How to Host a Website on an Apache Web Server
The Apache HTTP Server (commonly referred to simply as Apache), is a free and open-source web server software brought to you by the Apache Software Foundation. Apache has been around for more than 2 decades and is considered beginner-friendly.
In this tutorial, you will learn how to install an Apache webserver to host a simple HTML website running on a Linux platform.
Install Apache Web Server in Linux
On Ubuntu Linux and other Debian-based distributions such as Linux Mint, Apache can be installed with the following command.
$ sudo apt install apache2 -y
On Red Hat Enterprise Linux and related distributions such as CentOS, Fedora, and Oracle Linux, Apache can be installed with the following command.
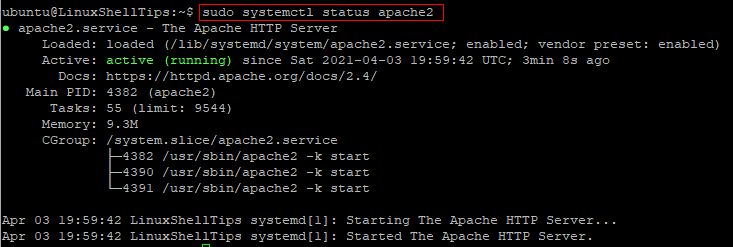
On Ubuntu Linux and other Debian-based distributions, you can start and check the status of the Apache webserver by running the commands below.
$ sudo systemctl start apache2 $ sudo systemctl status apache2
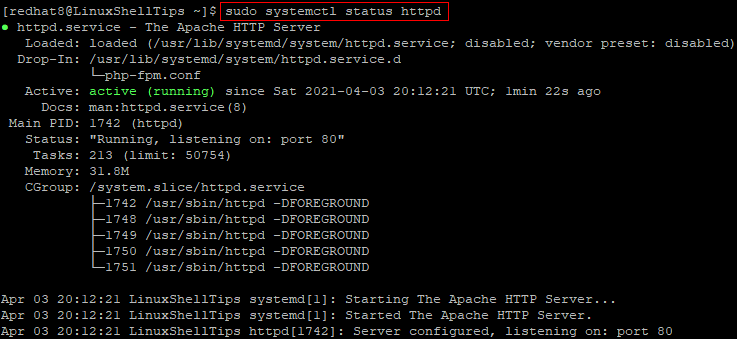
On Red Hat Enterprise Linux and related distributions, run the following commands to start and check the status of Apache.
$ sudo systemctl start httpd $ sudo systemctl status httpd
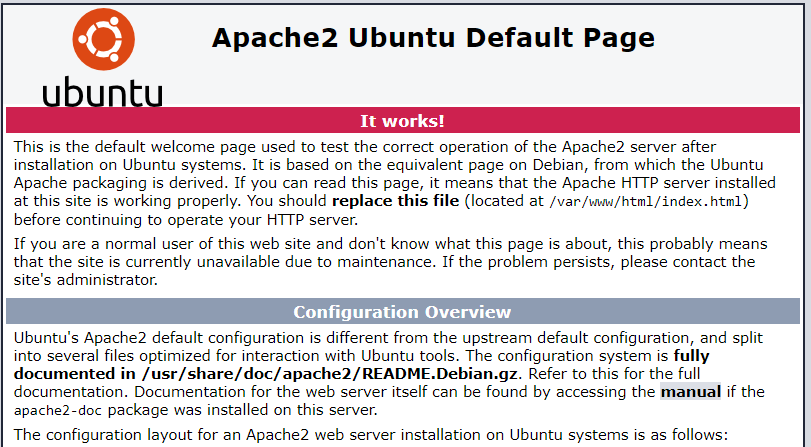
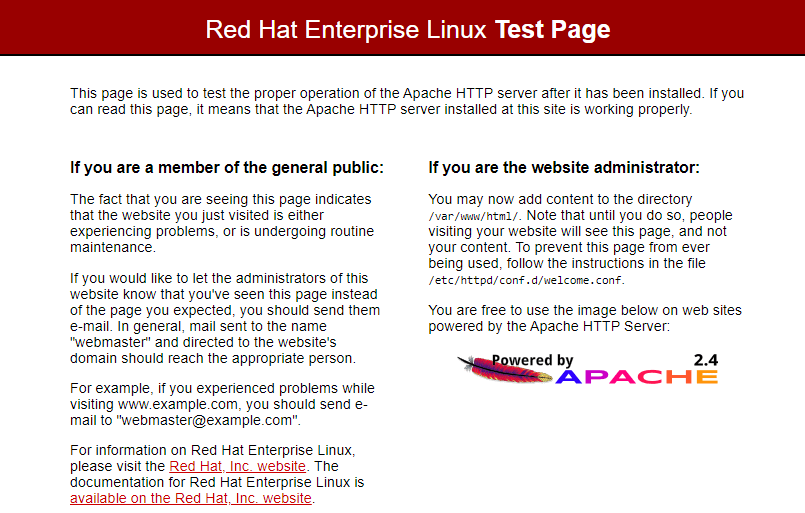
Once you have confirmed that Apache is active, open a web browser and enter the IP address of your Linux server. You may also enter localhost in place of your server IP.
You should see a test page that confirms that Apache is up and running properly.
http://IP-Addresss OR http://localhost
Host a Simple HTML Website on Apache
After you have confirmed that Apache is working properly, you are now ready to add your website content. On Apache, the default location where publicly accessible web content is stored in /var/www/html. This is commonly referred to as the website root.
The first page that is loaded when users visit your website is called the index page. Let us create one as follows.
Firstly, change into the website root with the command below.
On Ubuntu Linux, run the command below to rename the default index page file.
$ sudo mv index.html index.html.bk
On Red Hat, there is nothing to rename here as the default index page file is not stored in this location.
Next, create a new index file with:
Copy and paste the sample HTML code below into the open text editor.
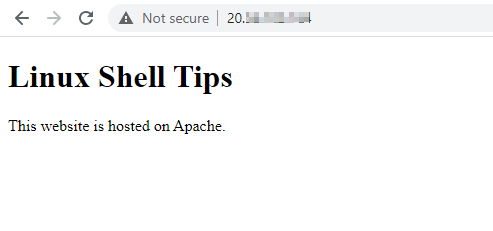
Linux Shell Tips
This website is hosted on Apache.
Save and close the index.html file.
Now, go back to your web browser and refresh the page. You should see your new website as shown in the image below.
Manage Apache Web Server in Linux
As we wrap up this tutorial, let us highlight some basic commands for managing Apache in addition to the ones that we have already used. As you may have noticed, the Apache web service is referred to as apache2 on Ubuntu while it is called httpd on Red Hat Linux.
To configure Apache to automatically start when the Linux server is rebooted, run:
$ sudo systemctl enable apache2 $ sudo systemctl enable httpd
To disable automatic starting of Apache when the Linux server is rebooted, run:
$ sudo systemctl disable apache2 $ sudo systemctl disable httpd
$ sudo systemctl restart apache2 $ sudo systemctl restart httpd
$ sudo systemctl stop apache2 $ sudo systemctl stop httpd
Conclusion
In this tutorial, we have described how to install Apache on Ubuntu Linux as well as Red Hat Linux. We also showed you how to replace the default Apache web page with your own content.