- Hosting a Website on Ubuntu 18.04
- Hosting an Apache Web Server on Ubuntu 18.04
- Installing Apache Web Server on Ubuntu 18.04
- Optimize Apache Web Server for a Linode 2GB
- How to Host a Website on an Apache Web Server
- Install Apache Web Server in Linux
- Host a Simple HTML Website on Apache
- Linux Shell Tips
- Manage Apache Web Server in Linux
- How to Host a Website on NGINX Web Server
- Install NGINX Web Server in Linux
- Host a Simple HTML Website on NGINX
- My website is live on NGINX!
- Manage NGINX Web Server in Linux
Hosting a Website on Ubuntu 18.04
Estamos traduciendo nuestros guías y tutoriales al Español. Es posible que usted esté viendo una traducción generada automáticamente. Estamos trabajando con traductores profesionales para verificar las traducciones de nuestro sitio web. Este proyecto es un trabajo en curso.
In this guide, you learn how to host a website on Ubuntu 18.04 using the LAMP stack (Linux, Apache, MySQL and PHP). First, you install the LAMP stack and then, you create or import a database. Finally, you upload files and add DNS records. By the time you reach the end of this guide, your Linode hosts one or more websites.
This guide is intended for small and medium-sized websites running on WordPress, Drupal, or another PHP content management system. If your website doesn’t belong in that category, you need to assess your requirements and install custom packages tailored for your particular requirements.
This guide is written for a non-root user. Commands that require elevated privileges are prefixed with sudo . If you’re not familiar with the sudo command, check the Users and Groups guide.
Hosting an Apache Web Server on Ubuntu 18.04
Hosting a website starts with installing a web server, which is an application on your Linode that delivers content through the Internet. This section helps you get started with Apache, the world’s most popular web server. For more information about Apache and other web servers, see the guides on web servers.
If you are using Ubuntu 18.04, instead of installing each component separately, use Tasksel to install a LAMP stack on your Linode. When Tasksel completes, skip the installation steps in each section below and continue on to the configuration steps of each part of the stack:
sudo tasksel install lamp-server Installing Apache Web Server on Ubuntu 18.04
Check for and install all system updates, and install Apache on your Linode:
sudo apt update && sudo apt upgrade sudo apt install apache2 Your Linode downloads, installs, and starts the Apache web server.
Optimize Apache Web Server for a Linode 2GB
Installing Apache is uncomplicated, but if you leave it running with the default settings, your server could run out of memory. That’s why it’s important to optimize Apache before you start hosting a website on your Linode.
These guidelines are designed to optimize Apache for a Linode 2GB, but you can use this information for any size Linode. These values are based on the amount of memory available. If you have a Linode 4GB, multiply all of the values by 2 and use those numbers for your settings.
- Make a copy of Apache’s configuration file. You can restore the duplicate apache2.backup.conf file if anything happens to the configuration file:
sudo cp /etc/apache2/apache2.conf /etc/apache2/apache2.backup.conf sudo nano /etc/apache2/apache2.conf How to Host a Website on an Apache Web Server
The Apache HTTP Server (commonly referred to simply as Apache), is a free and open-source web server software brought to you by the Apache Software Foundation. Apache has been around for more than 2 decades and is considered beginner-friendly.
In this tutorial, you will learn how to install an Apache webserver to host a simple HTML website running on a Linux platform.
Install Apache Web Server in Linux
On Ubuntu Linux and other Debian-based distributions such as Linux Mint, Apache can be installed with the following command.
$ sudo apt install apache2 -y
On Red Hat Enterprise Linux and related distributions such as CentOS, Fedora, and Oracle Linux, Apache can be installed with the following command.
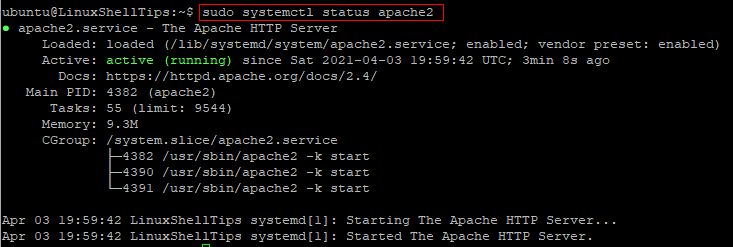
On Ubuntu Linux and other Debian-based distributions, you can start and check the status of the Apache webserver by running the commands below.
$ sudo systemctl start apache2 $ sudo systemctl status apache2
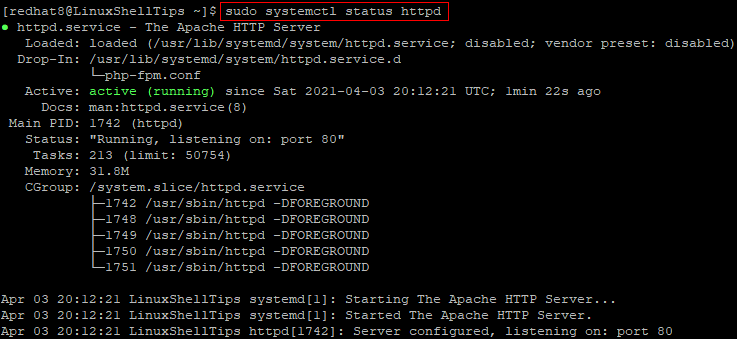
On Red Hat Enterprise Linux and related distributions, run the following commands to start and check the status of Apache.
$ sudo systemctl start httpd $ sudo systemctl status httpd
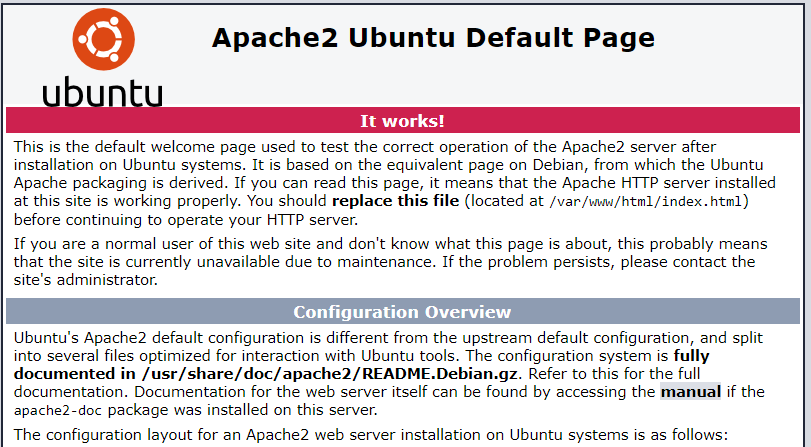
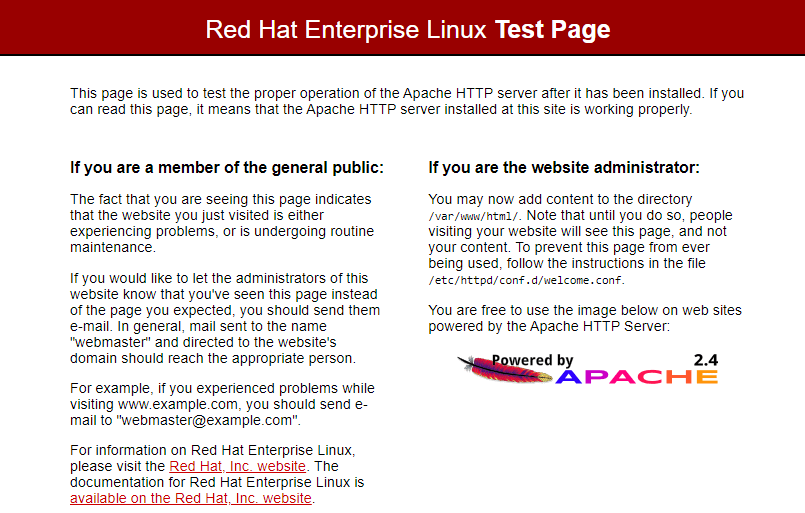
Once you have confirmed that Apache is active, open a web browser and enter the IP address of your Linux server. You may also enter localhost in place of your server IP.
You should see a test page that confirms that Apache is up and running properly.
http://IP-Addresss OR http://localhost
Host a Simple HTML Website on Apache
After you have confirmed that Apache is working properly, you are now ready to add your website content. On Apache, the default location where publicly accessible web content is stored in /var/www/html. This is commonly referred to as the website root.
The first page that is loaded when users visit your website is called the index page. Let us create one as follows.
Firstly, change into the website root with the command below.
On Ubuntu Linux, run the command below to rename the default index page file.
$ sudo mv index.html index.html.bk
On Red Hat, there is nothing to rename here as the default index page file is not stored in this location.
Next, create a new index file with:
Copy and paste the sample HTML code below into the open text editor.
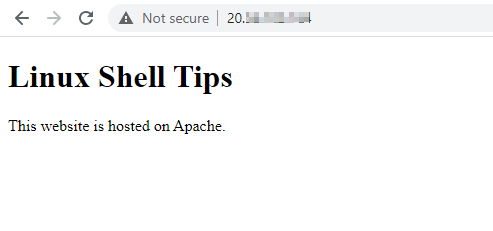
Linux Shell Tips
This website is hosted on Apache.
Save and close the index.html file.
Now, go back to your web browser and refresh the page. You should see your new website as shown in the image below.
Manage Apache Web Server in Linux
As we wrap up this tutorial, let us highlight some basic commands for managing Apache in addition to the ones that we have already used. As you may have noticed, the Apache web service is referred to as apache2 on Ubuntu while it is called httpd on Red Hat Linux.
To configure Apache to automatically start when the Linux server is rebooted, run:
$ sudo systemctl enable apache2 $ sudo systemctl enable httpd
To disable automatic starting of Apache when the Linux server is rebooted, run:
$ sudo systemctl disable apache2 $ sudo systemctl disable httpd
$ sudo systemctl restart apache2 $ sudo systemctl restart httpd
$ sudo systemctl stop apache2 $ sudo systemctl stop httpd
Conclusion
In this tutorial, we have described how to install Apache on Ubuntu Linux as well as Red Hat Linux. We also showed you how to replace the default Apache web page with your own content.
How to Host a Website on NGINX Web Server
NGINX (pronounced as Engine-X) is a free and open-source web server software, load balancer, and reverse proxy optimized for very high performance and stability. NGINX offers low memory usage and high concurrency — which is why it is the preferred web server for powering high-traffic websites.
In this tutorial, you will learn how to install an NGINX webserver to host a simple HTML website running on a Linux platform.
Install NGINX Web Server in Linux
On Ubuntu and Debian-based distributions, run the command below to install NGINX.
On Red Hat Linux and related distributions, you might need to first add the EPEL repository with the command below.
$ sudo yum install epel-release
Next, update the repository with:
Now, you may run the following command to install NGINX on Red Hat and related distributions.
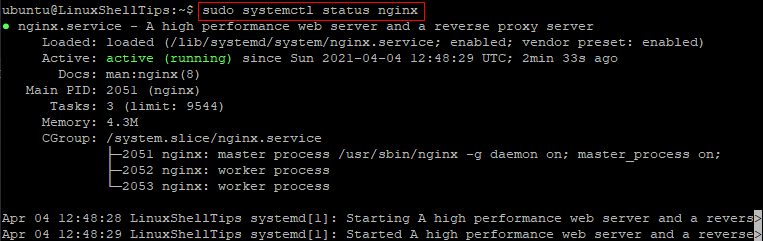
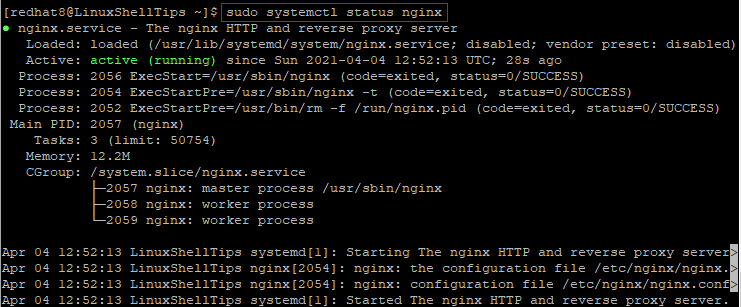
Once installed, you can start and check the status of NGINX as follows.
$ sudo systemctl start nginx $ sudo systemctl status nginx
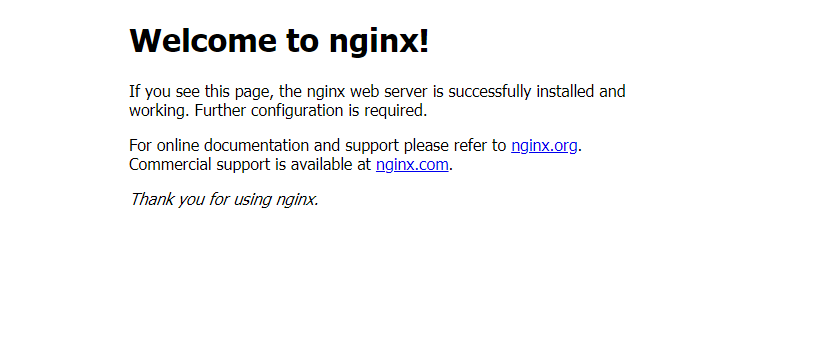
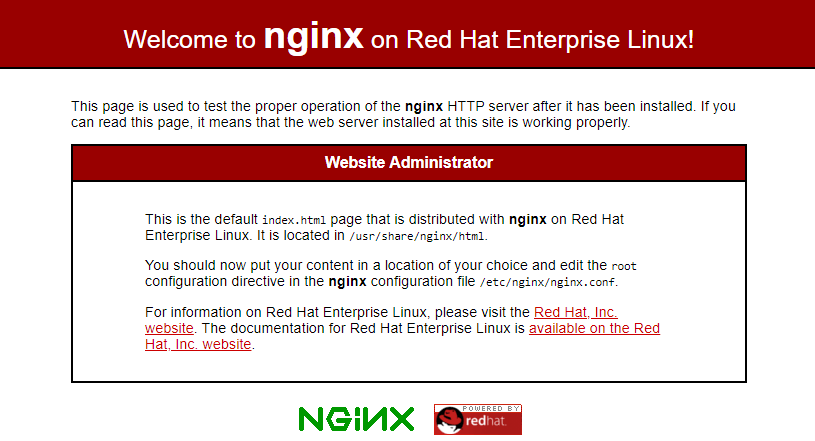
After you have successfully installed NGINX and confirmed that it is running, open a web browser and enter the IP address of your Linux server.
http://IP-Addresss OR http://localhost
You should see the test page for NGINX as shown in the images below.
Host a Simple HTML Website on NGINX
On Ubuntu and Debian-related distributions, the default website root is /var/www/html and this is where you should put your website content.
Change into the default website root with:
As for Red Hat, as indicated on the NGINX test page, the default website root is /usr/share/nginx/html and this is where you should put your website content.
Go into the default website root with:
Once you are in the default website root, run the command below to rename any existing index.html file.
$ sudo mv index.html index.html.bk
Note: On Ubuntu, you may get a message saying that the file does not exist. It’s okay to move on to the next step.
Now, run the following command to create your own index.html file.
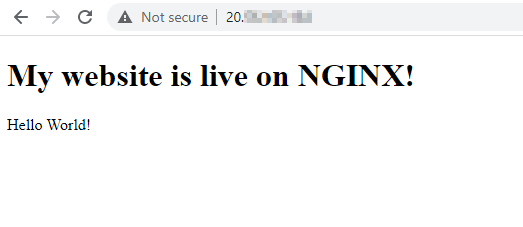
Copy and paste the sample HTML code below into the text editor.
My website is live on NGINX!
Hello World!
Save and close the index.html file.
Finally, refresh your web browser to see your new website.
Manage NGINX Web Server in Linux
Here are some additional commands for the basic management of your NGINX web server.
To configure NGINX to automatically start when the Linux server is rebooted, run:
$ sudo systemctl enable nginx
To disable automatic starting of NGINX when the Linux server is rebooted, run:
$ sudo systemctl disable nginx
To restart NGINX, run:
$ sudo systemctl restart nginx
To reload NGINX configuration settings without restarting the service, run:
$ sudo systemctl reload nginx
To stop NGINX, run:
$ sudo systemctl stop nginx
Conclusion
In this guide, you have learned how to install NGINX on Ubuntu/Debian as well as Red Hat Linux distributions. We also showed you how to add your own website content.