- Новые функции и установка Linux Mint 21 XFCE Edition
- Что нового в Linux Mint 21?
- Предпосылки
- Шаг 1. Загрузите ISO-образ Linux Mint 21 XFCE
- Шаг 2. Установка рабочего стола Linux Mint 21 XFCE
- New Features
- Hypnotix
- Thingy
- Sticky Notes
- Theme Changes
- Printing and Scanning improvements
- XApps improvements
- Other improvements
Новые функции и установка Linux Mint 21 XFCE Edition
Linux Mint 21 под кодовым названием «Ванесса» был официально выпущен 31 июля 2022 г. Linux Mint 21 основан на Ubuntu. 22.04 и будет поддерживаться до апреля 2027 года. Linux Mint 21 поставляется в трех редакциях: MATE и XFCE.
В этом руководстве мы проведем вас через процесс установки Linux Mint 21 XFCE Edition.
Что нового в Linux Mint 21?
Linux Mint 21 содержит следующие улучшения.
- Расширенная поддержка заметок.
- Blueman Bluetooth Manager заменяет Blueberry.
- Улучшена поддержка эскизов. Благодаря проектам Xapp-thumbnailers поддерживаются дополнительные форматы файлов, включая форматы изображений AppImage, Webp, .ePub и RAW.
- Сканирование и печать без драйверов.
- Улучшения Xapp.
Предпосылки
Прежде чем приступить к установке редакции Linux Mint 21 XFCE, убедитесь, что у вас выполнены следующие требования:
- USB-накопитель емкостью 16 ГБ для установочного носителя.
- Широкополосное подключение к Интернету для загрузки образа ISO.
Кроме того, убедитесь, что ваша система соответствует следующим минимальным рекомендуемым требованиям.
- Минимум 2 ГБ оперативной памяти.
- Двухъядерный процессор с тактовой частотой не менее 1 ГГц.
- 30 ГБ свободного места на жестком диске.
- Графическая карта HD и монитор.
Шаг 1. Загрузите ISO-образ Linux Mint 21 XFCE
Чтобы начать установку, перейдите на страницу Официальное создание загрузочного USB-накопителя, чтобы создать загрузочный USB-накопитель с использованием образа ISO.
Имея под рукой загрузочный носитель USB, подключите его к компьютеру и перезагрузите компьютер. Обязательно установите загрузочный USB-носитель в качестве первого приоритета загрузки в настройках BIOS. Сохраните изменения и продолжите загрузку.
Шаг 2. Установка рабочего стола Linux Mint 21 XFCE
В меню GRUB выберите первую запись, как показано.

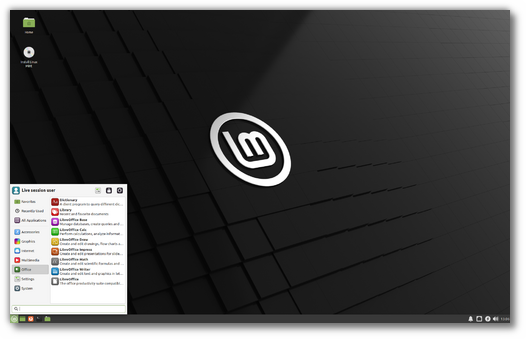
Это приведет вас прямо к среде рабочего стола Linux Mint 21 Live. Вы можете попробовать Linux Mint и открыть для себя новые функции. Поскольку наша цель — установить Linux Mint, щелкните значок Установить Linux Mint на рабочем столе.

Будет запущен установщик, который проведет вас через ряд шагов по установке Linux Mint. Сначала выберите предпочитаемый язык установки и нажмите «Продолжить».

Затем выберите предпочтительную раскладку клавиатуры и нажмите «Продолжить».

Далее вам будет предложено установить мультимедийные кодеки. Это настоятельно рекомендуется, поскольку кодеки обеспечивают поддержку различных видеоформатов и улучшают взаимодействие с пользователем.

На этом шаге вам потребуется настроить разбиение жесткого диска. Вам будут предложены следующие варианты: «Стереть диск и установить Linux Mint» и «Что-то еще». Давайте посмотрим, что делает каждый из них.
- Стереть диск и установить Linux Mint. Этот параметр полностью удаляет все содержимое вашего жесткого диска, включая любую существующую ОС. Кроме того, он автоматически разбивает ваш жесткий диск на разделы, и по этой причине это более предпочтительный вариант для новичков или тех, кто не может разбить жесткий диск вручную.
- Что-то еще. Этот вариант позволяет вручную разбивать жесткий диск на разделы и изменять его размер. Это особенно полезно, если вы хотите настроить двойную загрузку.
В этом руководстве мы выберем первый вариант: «Стереть диск и установить Linux Mint». Затем нажмите «Установить сейчас».

В появившемся всплывающем окне нажмите «Продолжить», чтобы изменения были записаны на ваш жесткий диск.

На следующем шаге выберите свое географическое положение на предоставленной карте мира и нажмите «Продолжить».

Затем создайте пользователя для входа и нажмите «Продолжить».

Отсюда программа установки скопирует все файлы из образа ISO на жесткий диск и сделает все необходимые настройки. Этот процесс занимает около 20 минут, и это отличный момент, чтобы не торопиться.

После завершения установки вы получите всплывающее окно с предложением перезагрузить компьютер. Поэтому нажмите «Перезагрузить сейчас», чтобы перезагрузить систему.

На экране входа введите свой пароль для входа и нажмите ENTER.

Это вводит вас в среду рабочего стола Linux Mint, как показано на рисунке. Вы можете запустить терминал и запустить утилиту neofetch, чтобы извлечь больше информации об ОС.

Вот и все. Мы провели вас через процесс установки Linux Mint 21 XFCE Edition. Веселиться!
New Features
Linux Mint 20.3 is a long term support release which will be supported until 2025. It comes with updated software and brings refinements and many new features to make your desktop experience more comfortable.
Linux Mint 20.3 «Una» Xfce Edition
Hypnotix
The Hypnotix IPTV player looks better than ever, thanks to Dark Mode support and a new set of flags:
A new search function was added so you can easily find TV channels, movies and series.
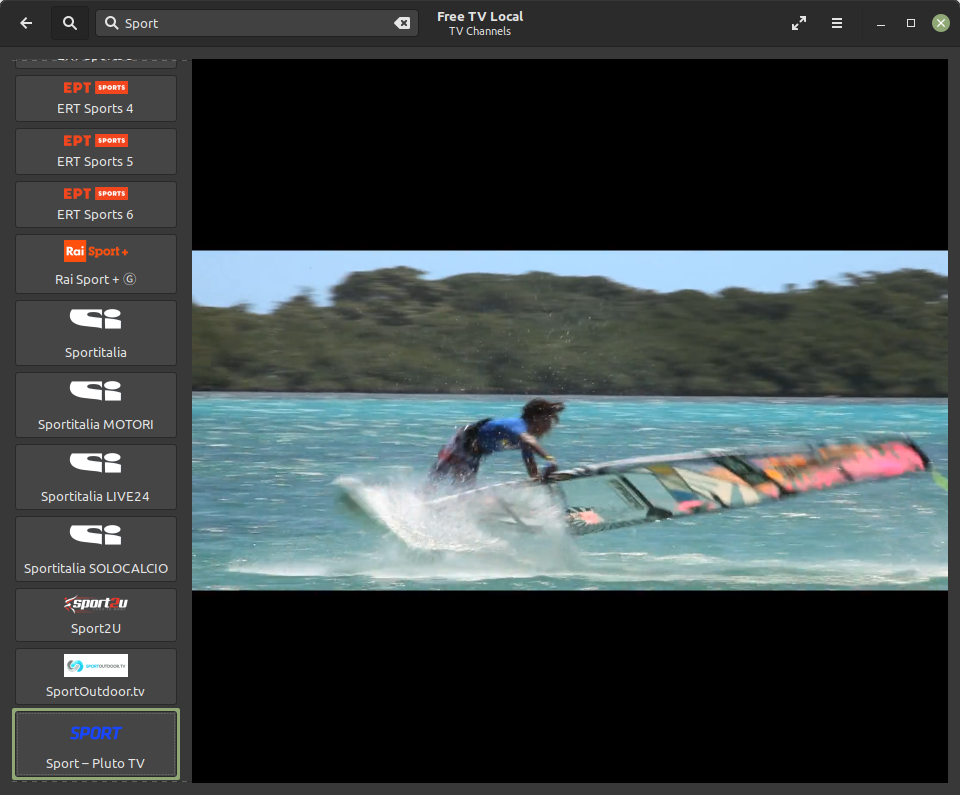
Searching for TV channels
In addition to M3U and local playlists, the IPTV player now also supports the Xtream API.
Thingy
Linux Mint 20.3 introduces a brand new XApp called Thingy.
Thingy is a Document Manager. It gives you a quick access to your favorite and recently opened documents and keeps track of your reading progress.
Sticky Notes
The Sticky Notes application now has a search function:

Search function in Sticky Notes
The look of the notes was improved by embedding the title within the note.
A new control was added inside the notes toolbar to control the size of the text.
Theme Changes
Linux Mint 20.3 features an updated look and feel with larger titlebar buttons, rounded corners, a cleaner theme and support for dark mode.
Titlebars and corners
The titlebars were quite small. We made them rounder with bigger buttons to make the desktop look more pleasant and generous. The hover zone around the icons was also widened to make it easier to press the buttons.
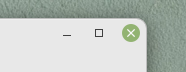
Rounded titlebars and large window buttons
The maximize/unmaximize icon is more intuitive than before.
Accents and colors
An «accent» is a part of the theme which uses a vibrant color to catch your attention and look more noticeable than the rest of the theme.
Accents make the theme look nice, catchy, vibrant, fun even, especially on top of grey which can be quite austere. But they come at a cost. They compete for your attention and distract you from the actual content.
To make the default Mint-Y theme more pleasant accents and feature colors were removed on some of the widgets (toolbar buttons, menus, filebrowser’s sidebar) and the base color was changed to a brighter shade of grey.
Accents were kept on small widgets such as sliders, checkboxes, radios and the close button continue to provide your favorite highlight color while the rest of the theme takes a step back and looks cleaner than before.
Dark Mode
In the context of the Linux desktop, Dark Mode is the ability for certain applications to look dark without using a dark theme. In other words it makes it possible for some applications to be dark while the rest of the desktop remains light.
Linux Mint 20.3 features full dark mode support and takes advantage of this to give multimedia apps a distinctive look.

The video player takes advantage of Dark Mode support.
In the Xfce edition, the following applications are shipped in dark:
Other improvements
The «darker» variants which mixed dark toolbars with light windows and had poor compatibility with mono icon themes was discontinued.
Legacy and Configuration
Visual preferences are always subjective. Although we received very good feedback on the changes we made in 20.3, we thought it was also important to support users who wanted to keep things as they were.
For this reason the original version of the Mint-Y theme was renamed as «Mint-Y-Legacy» and made available in the repositories.
If you want to make Linux Mint look exactly as it did before simply install the «mint-themes-legacy» package and change your theme to select the Legacy one.
In our default software selection, dark mode is also configurable everywhere it is used. If you don’t like Hypnotix or Celluloid to be dark, open up their preferences and simply disable the option.
Printing and Scanning improvements
HPLIP was upgraded to version 3.21.8 to bring the latest support for HP printers and scanner.
The latest versions of ipp-usb and sane-airscan were also backported and are available in the Linux Mint 20.3 repositories. Try them out if you can’t get your printer or scanner to work with software drivers.
XApps improvements
The Xreader PDF reader received proper manga support. In Right-to-left mode, the direction of the arrow keys is now also inverted, so going left goes forward in the document, like it would when you read a manga.
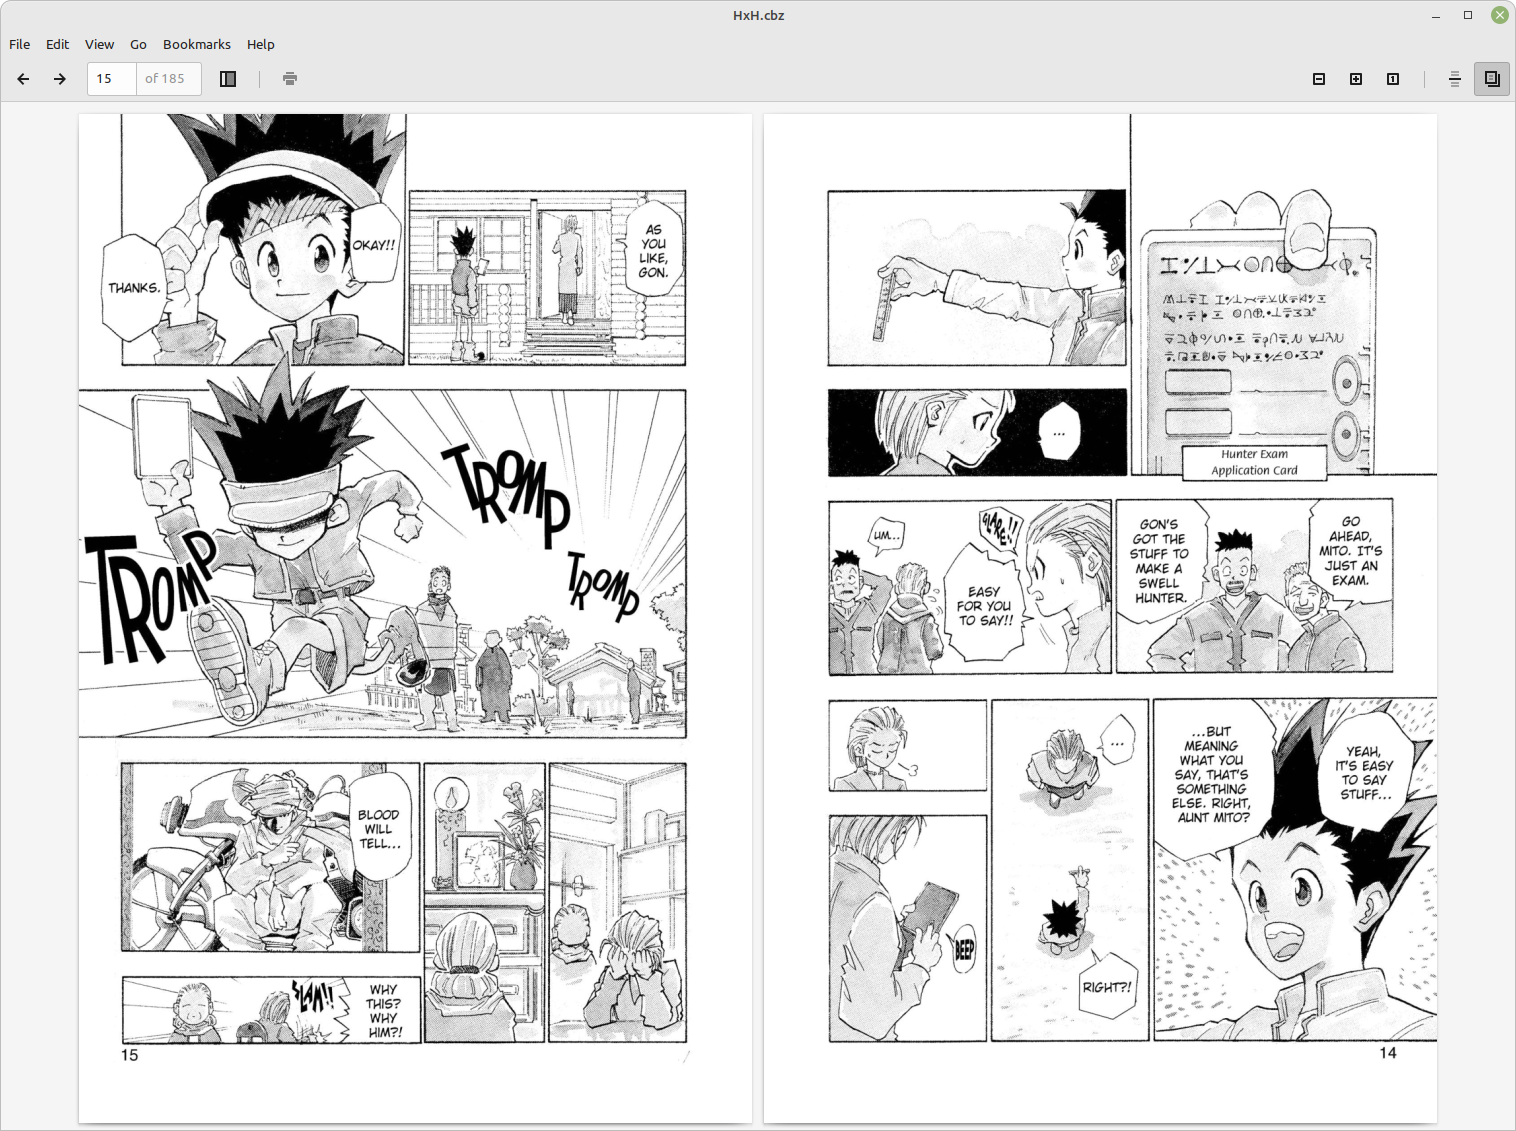
Proper manga support in Xreader
The Xviewer image viewer was given the ability to quickly fit the image to either the height or the width of the window.
In the Xed text editor you can now navigate through tabs with Ctrl-Tab and Ctrl-Shift-Tab.
Xed and Xreader feature an option to hide the menubar. When it is hidden the application uses less space and fits in smaller screen resolutions. Pressing the Alt key makes the menubar visible momentarily.
Xreader no longer shows its toolbar in fullscreen mode.
Other improvements
To save battery life and reduce resource usage, the system reports, which previously ran every hour, now only run once a day.
A new report was added to ensure the filesystem is merged (according to the usrmerge specifications). By default new installations of Linux Mint 20.3 and 20.2 are merged, but this isn’t necessarily the case for users who upgraded.
The WebApp manager has a new column to show which browser is used for each of the WebApps.
Bluetooth can now be turned on or off straight from the bluetooth tray menu.