FIX: WiFi is Connected but No Internet (Windows 10/8/7)

The WiFi is Connected but No Internet or Limited Access issue(s) can be faced on any Windows based computer after setting up your PC to access the Wireless network. The error message «Limited Access» indicates that you are connected to the network but with no Internet access.
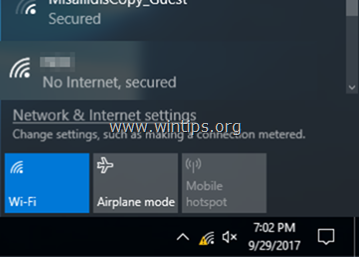
The «Limited Access – No Internet access» problem on WiFi or LAN network connection may occur for several reasons, so follow the steps mentioned below to resolve the problem.
This tutorial contains detailed instructions to resolve the following issues when you are trying to connect to the Internet using the Wireless or LAN Adapter on Windows 10, 8/8.1 or 7 OS:
«Limited Access»
«No Internet Access»
«Connected with Limited Access»
«This connection has limited or no connectivity. No Internet access.»
How to FIX: LAN or WiFi is Connected but No Internet Access.
Step 1. Run Network Troubleshooter.
Step 2. Restart the local Router.
Step 3. Disconnect from Network and Re-Connect.
Step 4. Scan for viruses.
Step 5. Uninstall Antivirus/Security applications.
Step 6. Reset TCP/IP Protocol & WINSOCK Catalog.
Step 7. Uninstall and Reinstall the Network adapter.
Step 8. Check if the Required Network Services are Running.
Step 1. Run Network Troubleshooter.
The first step to resolve the «No Internet Access» issue is to run the Network work troubleshooter. To do that:
1. Right click on Wi-Fi (or the LAN) icon on the bottom right side of the Taskbar, and select Troubleshoot Problems.
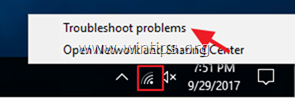
2. Follow the on-screen instructions to resolve the problem.
Step 2. Restart Internet Router.
The second step to resolve the Wi-Fi «No Internet» access issue is to restart your local router:
1. Unplug the power cord from your Internet Router for at least 30sec.
2. Plug the power cord again and then restart you computer.
3. Finally check to see if you have Internet access.
Step 3. Disconnect from the Wireless Network and Re-Connect.
As a third action, disconnect your computer from the Wireless network and then re-connect to it again. To disconnect from a Wireless network, follow the instructions below:
How to Forget Wireless Network on Windows 10 & 8.1
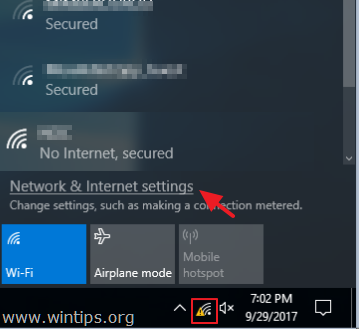
1. Press the Wireless icon in system tray and select Network settings.
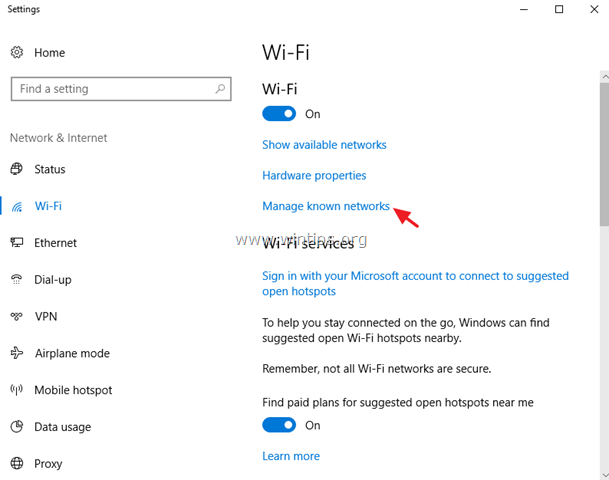
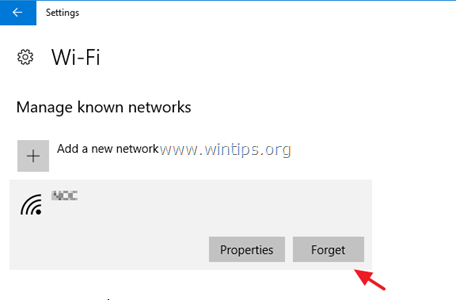
2. Select Wi-Fi on the left pane and select Manage known networks.
3. Select the Wireless Network that you ‘re connected to and press Forget.
How to Forget Wireless Network on Windows 7.
1. Press the Wireless icon in system tray and select Open Network and Sharing center.
2. Then click Manage Wireless Networks in the left pane.
3. Select the wireless network that you want to delete (forget) and then click Remove.
4. Finally confirm your decision clicking Yes on the confirmation box.
Step 4. Scan your computer for viruses.
Viruses or malicious programs can cause Network & Internet connections problems. So, before you continue to troubleshoot your connection problems, use this Malware Scan and Removal Guide to check and remove viruses or/and malicious programs that may be running on your computer.
Step 5. Disable or Uninstall your Antivirus/Security Suite.
In some cases I have seen that some antivirus programs, like Avast or AVG Antivirus, may cause network connectivity problems after updating their engine or after a Windows Update. In these cases I prefer to uninstall and reinstall the security protection program.
So, if you use an antivirus or firewall program that protects you from Internet traffic, try to disable the Internet (Web) protection or – better – totally uninstall the security program from your computer. Next, if your Internet connectivity problem is fixed, then re-install your security protection program again.
Step 6. Reset TCP/IP Protocol & WINSOCK Catalog.
In many cases the «Limited Access» issue can be faced because the TCP/IP protocol has been corrupted and you have to reset it to its default values.
How to Reset TCP/IP automatically.
1. To reset TCP/IP protocol, automatically download and run the Microsoft Fix, from this page.
2. After running the FIX, restart your computer and test your Internet connection. If you still have problems to access the Internet, try to reset TCP/IP protocol manually.
How to Reset TCP/IP manually.
1. Open Command Prompt as Administrator. To do that:
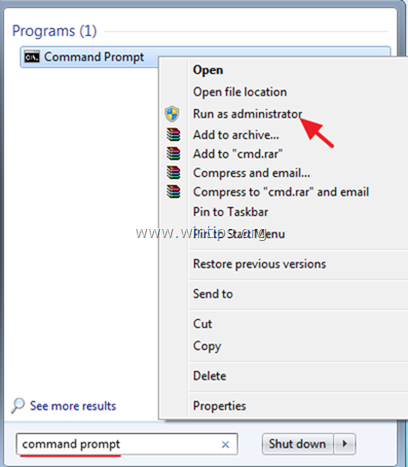
a. In the Search box type: cmd or command prompt
b. Right click on the command prompt (result) and select Run as Administrator.
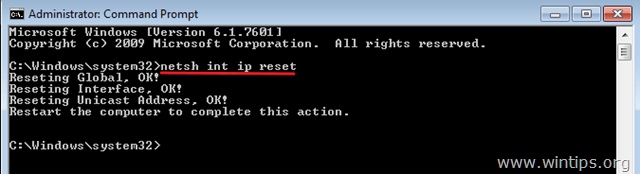
2. In command prompt type the command below and press Enter:
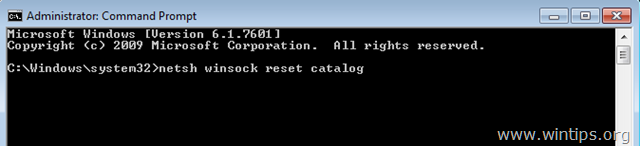
3. Restart your computer and test your Internet connection. If you still have problems, open again Command prompt as Administrator and give the following command to reset the «Winsock» catalog to default settings:
4. Reboot your computer, as instructed and then test your Internet connection.
Step 7. Uninstall and Reinstall Network Adapter.
Important: Before uninstalling the network adapter from your PC, proceed and download the required drivers for the device that you want to uninstall from manufacturer’s support site. If you ‘re going to uninstall the Wireless adapter your can connect your computer to Internet by using an Ethernet cable (LAN) otherwise you have to use another PC to download the required drives.
– To uninstall the Network Adapter:
1. Open Device Manager. to do that:
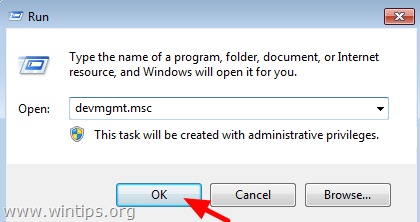
1. Simultaneously press the Windows + R keys to open run command box.
2. Type “devmgmt.msc” and press Enter.
2. Expand Network Adapters.
3. Right click on the Wireless Adapter and select Uninstall.
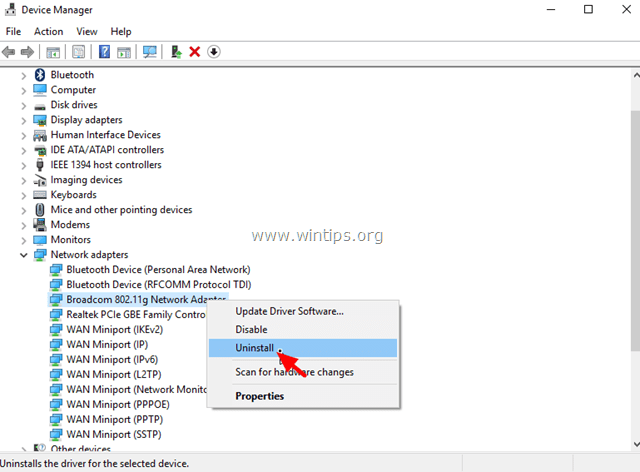
4. Press OK at the warning message to remove the installed Wi-Fi adapter.
5. When the driver uninstall is completed, right click at the computer name on the top (or at the Action menu on the top) and select Scan for hardware changes.
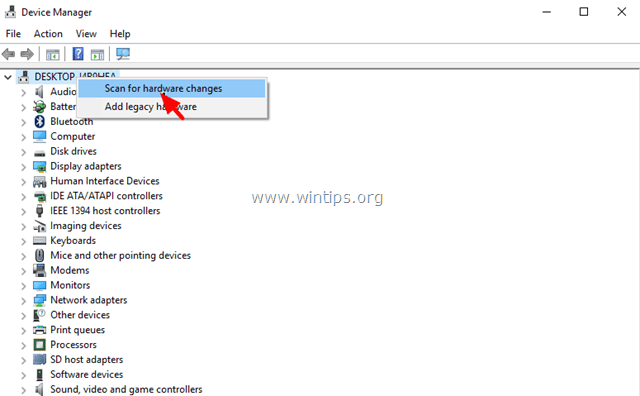
6. Wait until Windows installs the Wireless driver. *
* Note: If Windows cannot find a driver for your Wireless adapter, then download the latest driver from manufacturer’s support site.
7. Restart your computer.
Step 8. Check if the Required Network Services are Running.
Check if the following required services for the Internet access are up and running.
1. COM+ Event System (for WZC issues)
2. Diagnostic Policy Service
3. DHCP Client
4. DNS Client
5. Network Connections
6. Network Location Awareness
7. Remote Procedure Call (RPC)
8. Server
9. TCP/IP Netbios helper
10. WLAN AutoConfig
11. Workstation
To check if a required service is running:
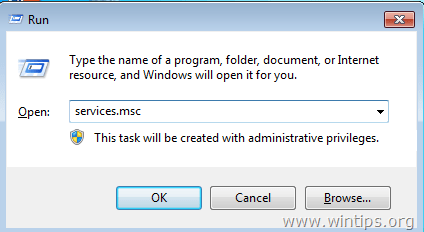
1. Simultaneously press the Windows + R keys to open run command box.
2. In run command box, type: services.msc and press Enter.
3. Locate one by one all the services from the above list and see if the ‘Status’ is Running.
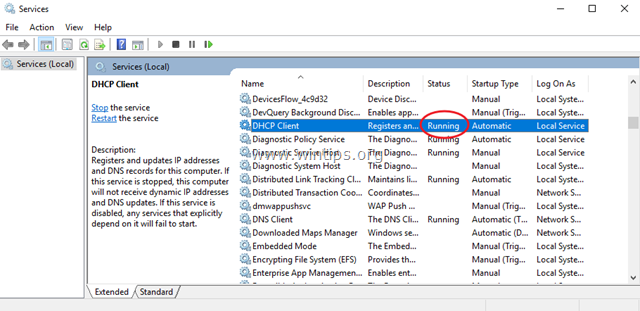
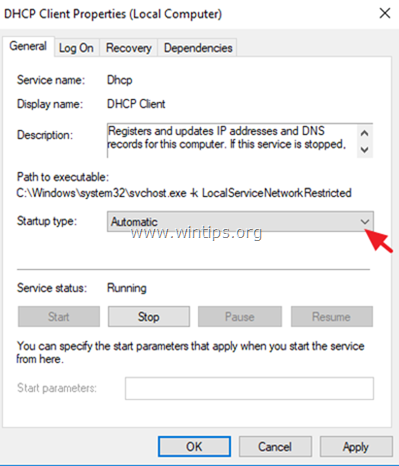
4. If you locate that a service is not running, then right click on the service and select Properties.
5. Set the Startup type, to Automatic and then click OK.
6. Restart your computer.
7. After the restart, make sure that the service is started and test your Internet connection.
That it! Let me know if this guide has helped you by leaving your comment about your experience. Please like and share this guide to help others.