Laptop Keeps Disconnecting from WiFi [FIXED]
If your laptop keeps disconnecting from your WiFi network, you’re not the only one! Many laptop users are reporting that their Internet connection breaks frequently when their laptop is connected to a wireless network.
This is very annoying. It’s very inconvenient that you can’t connect your laptop to WiFi. But don’t worry, your issue can be fixed…
Try these fixes!
The following are a few methods that have helped many laptop users. You may not have to try them all; just work your way down the list until you find the one that works for you.
Method 1: Restart your laptop and network devices
When your laptop keeps dropping out from your wireless network, the first thing you should try is to restart your laptop and router/modem. This helps you reset your network settings and fix your network issues.
1) Shut down your laptop, then disconnect the power cable from it.
2) Turn off your router/modem, and then unplug the power cable from them.
3) Leave all your devices for about one minute.
4) Plug the power cables to your laptop and your router/modem.
5) Turn on your router/modem, then your laptop.
Now try connecting your laptop to your wireless network. Hopefully, this fixes your disconnecting issue. But if not, don’t worry. There are still three fixes you can try.
Method 2: Disable your network adapter power saving setting
Your wireless network issue may occur because your system turns off your wireless network adapter to save power. You should disable this setting to see if this fixes your issue.
To check your network adapter power saving setting:
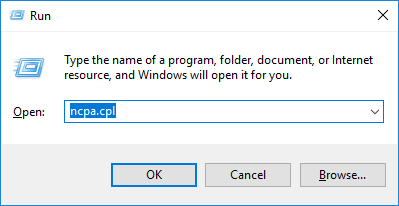
1) On your laptop, press the Windows logo key and R on your keyboard to open the Run box. Then type “ncpa.cpl” and press Enter.
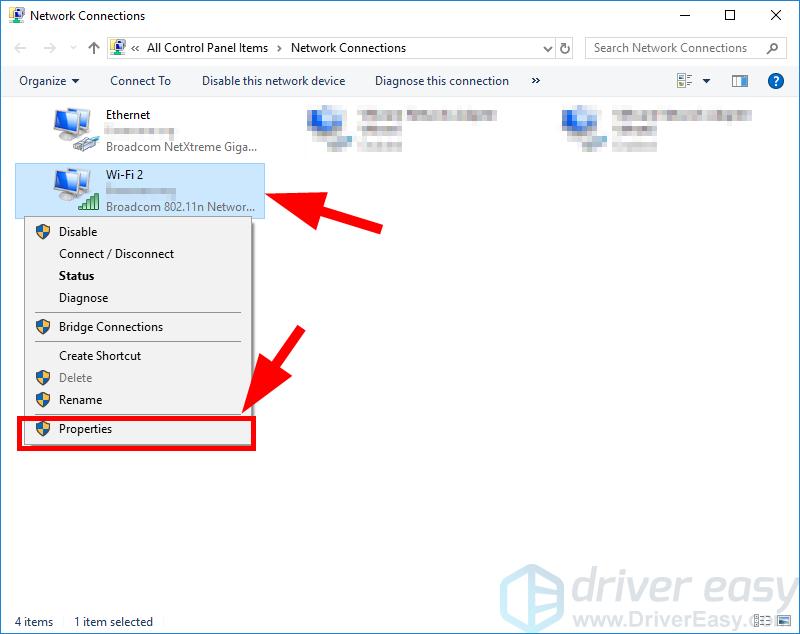
2) Right click your Wireless/WiFi network adapter, then click Properties.
3) Click the Configure button.

4) Select the Power Management tab, make sure Allow the computer to turn off this device to save power is not checked, and then click OK.

Hopefully, this fixes your wireless connection issue. But if not, you may need to try other fixes listed below.
Method 3: Update your network driver
Your laptop may keep disconnecting from WiFi because you’re using a wrong network driver or it’s out of date. You should update this driver to see if that’s the case for you.If you don’t have the time, patience or skills to update your drivers yourself, you can do it automatically with Driver Easy.
Driver Easy will automatically recognize your system and find the correct drivers for it. You don’t need to know exactly what system your computer is running, you don’t need to be troubled by the wrong driver you would be downloading, and you don’t need to worry about making a mistake when installing.
You can update your drivers automatically with either the FREE or the Pro version of Driver Easy. But with the Pro version it takes just 2 steps (and you get full support and a 30-day money back guarantee):
We recommend you use a network (Ethernet) cable to connect your laptop to the Internet so you can download your driver. But if you don’t have one, you can use the offline scan feature of Driver Easy to update your network driver.
1) Download and install Driver Easy.
2) Run Driver Easy and click the Scan Now button. Driver Easy will then scan your computer and detect any problem drivers.

3) Click the Update button next to your network adapter to automatically download the correct driver for your computer, then you can manually install it. Or click Update All to automatically download and install the correct version of all the drivers that are missing or out of date on your system (this requires the Pro version – you’ll be prompted to upgrade when you click Update All).

If you have any issue with Driver Easy, please contact Driver Easy’s support team at support@drivereasy.com for advice. You should attach the URL of this article so they can help you better.
Method 4: Change Scan Valid Interval
You can also increase your Scan Valid Interval to fix your wireless network issue.
Scan Valid Interval is the amount of time before your network adapter looks for a better network access point after reaching a threshold. The higher its value, the less time the adapter spends to scan for an access point.
To increase your Scan Valid Interval:
1) On your laptop, press the Windows logo key and R on your keyboard to open the Run box. Then type “ncpa.cpl” and press Enter.
2) Right click your Wireless/WiFi network adapter, then click Properties.
3) Click the Configure button.
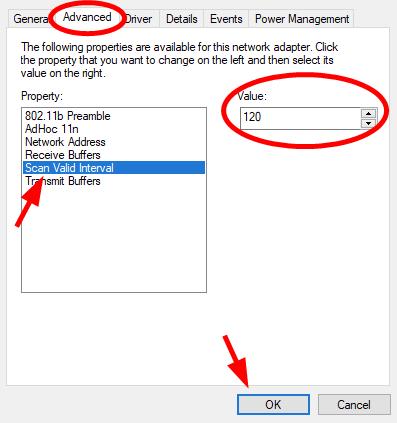
4) Select the Advanced tab, then click Scan Valid Interval. Change its value to 120, and click OK.
Method 5: Repair corrupted system files
If you are facing persistent issues and none of the previous solutions have proven effective, it is possible that your corrupted system files are to blame. To rectify this, repairing the system files becomes crucial. The System File Checker (SFC) tool can assist you in this process. By executing the “sfc /scannow” command, you can initiate a scan that identifies problems and repairs missing or corrupted system files. However, it is important to note that the SFC tool primarily focuses on scanning major files and may overlook minor issues.
In situations where the SFC tool falls short, a more powerful and specialized Windows repair tool is recommended. Restoro is an automated Windows repair tool that excels in identifying problematic files and replacing malfunctioning ones. By scanning your PC comprehensively, Restoro can provide a more comprehensive and effective solution for repairing your Windows system.
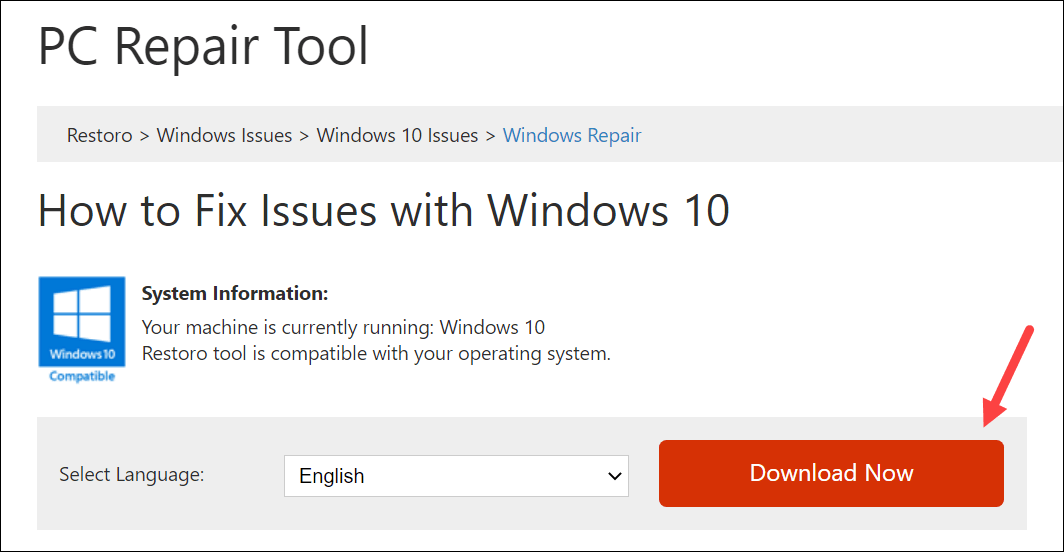
- Download and install Restoro.

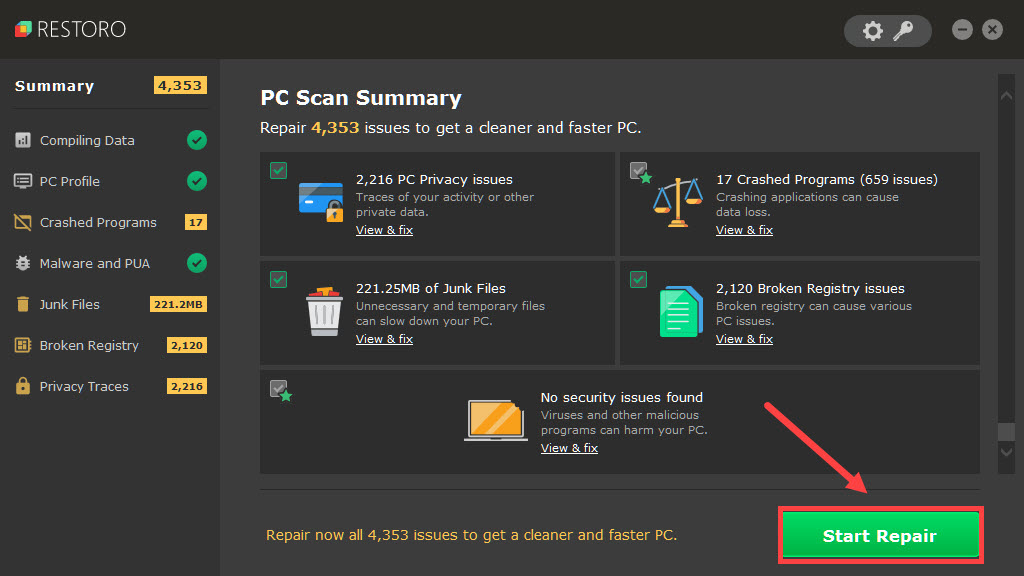
- Open Restoro and run a free scan of your PC. Wait a few minutes, and it will give you a detailed report of your PC status.
- If Restoro detects any issues on your PC, click Start Repair to start the repair process.
The repair is available with the paid version of Restoro that comes with full money-back guarantee and full technical support. If you need any assistance, feel free to contact their support team.
Once finished with the repair, check if the error has been resolved.
We hope one of these fixes works for you. If you have any questions, leave us a comment below.