- How to enable X11 forwarding from Red Hat Enterprise Linux (RHEL), Amazon Linux, SUSE Linux, Ubuntu server to support GUI-based installations from Amazon EC2
- Prerequisites
- Solution
- Step 1: Install required X11 packages
- Step 2: configure X11 forwarding
- Step 3: Configure putty and Xming to perform X11 forwarding connect and verify X11 forwarding
- Step 4: Configure the EC2 Linux session to forward X11 if you are switching to different user after login to run GUI-based installation / commands
- Conclusion
- Configure SSH X11 Forwarding on Debian 10
- Configuring the Server:
- Configuring the Client:
- Problems Running GNOME Apps Remotely:
- About the author
- Shahriar Shovon
How to enable X11 forwarding from Red Hat Enterprise Linux (RHEL), Amazon Linux, SUSE Linux, Ubuntu server to support GUI-based installations from Amazon EC2
In this post, I discuss enabling X11 forwarding from Red Hat Enterprise Linux (RHEL), Amazon Linux, SUSE Linux, Ubuntu servers running on Amazon EC2. This is helpful for system and database administrators, and application teams that want to perform software installations on Amazon EC2 using GUI method. This blog provides detailed steps around SSH and x11 tools, various network and operating system (OS) level settings, and best practices to achieve the X11 forwarding on Amazon EC2 when installing databases like Oracle using GUI.
There are several techniques to connect Amazon EC2 instances to manage OS level configurations. Typically, you use SSH clients (such as PuTTY or SSH client) to establish the connection from the Windows OS-based bastion or jump servers to connect with Amazon EC2 instances running linux-based OS. Most commonly, database administrators use a common Database Management, bastion host, or jump servers to connect database servers. They do this instead of directly using their laptops connecting to the database servers. They can install all the needed tools in one server to perform database administrative or support activities. During the application installation or configuration, you might need to install software such as an Oracle database or a third-party database using GUI methods. This blog talks about steps that must be done in order to forward the X11 screen to your highly secure Windows OS-based bastion hosts. You can consider using NICE DCV as an alternative option for running GUI-based applications. Please refer to the prior link for more details and steps to enable NICE DCV.
Prerequisites
To complete this walkthrough the following is required:
- Ensure that you have a bastion host running on Amazon EC2 with Windows OS for this blog. This OS must have access to the EC2 machines running Linux such as RHEL, Amazon Linux, SUSE Linux, and Ubuntu servers. If not, please configure a bastion host using Windows operating system with needed SSH access via port 22 to EC2 instance running linux-based operating systems. You can use any OS-based systems as a bastion host as long you have corresponding client tools installed or X11 supported by that OS.
- I recommend having bastion hosts in the same Availability Zone or Region as the EC2 Linux hosts that you plan to connect and forward X11 to. This is to avoid any high latency in X11 forwarding during your application installations.
- Install tools such as PuTTY and Xming on the Windows-based bastion host from which you want to SSH to Linux EC2 host and X11 forwarding.
- In order to securely configure or install PuTTY, refer to the section Configuring ssh-agent on Windows in the blog post Securely Connect to Linux Instances Running in a Private Amazon VPC.
- You may need sudo permission to run X11 forwarding commands as a root user in order to complete the setup.
Solution
Connect to your EC2 instance using SSH client, and perform following setup as needed.
Step 1: Install required X11 packages
Install X11 packages with following command based on your operating system release and version:
Installing xclock or xterm packages are optional as this is installed in this post to test the X11 forwarding using xclock or xterm commands.
Amazon Linux 2:
To install X11 related packages:
$ sudo yum install xorg-x11-xauth
To install X11 testing tools:
$ sudo yum install xclock xterm
Red Hat Enterprise Linux 8:
To install X11 related packages:
$ sudo yum install xorg-x11-xauth
To install X11 testing tools:
Note: The xorg-x11-apps package has been provided in the CodeReady Linux Builder Repository for RHEL8. So, I skipped installing this package, which has xclock and I used only xterm to test the X11 forwarding.
SUSE Linux Enterprise Server 15 SP1:
To install X11 related packages:
$ sudo zypper install xauth
To install X11 testing tools:
$ sudo zypper install xclock
Ubuntu Server 18:
To install X11 related packages and tools:
Step 2: configure X11 forwarding
To enable X11 Forwarding, change the “X11Forwarding” parameter using vi editor to “yes” in the /etc/ssh/sshd_config file if either commented out or set to no.
$ sudo vi /etc/ssh/sshd_config
To Verify X11Forwarding parameter:
$ sudo cat /etc/ssh/sshd_config |grep -i X11Forwarding
You should see similar output as the following:
To restart ssh service if you changed the value in /etc/ssh/sshd_config:
Amazon Linux 2, RHEL 8 and SUSE Linux OS:
$ sudo service sshd restart
Ubuntu Servers:
Step 3: Configure putty and Xming to perform X11 forwarding connect and verify X11 forwarding
Log in to your Windows bastion host. Then, open a fresh PuTTY session, and use a private key or password-based authentication per your organization setup. Then, test the xclock or xterm command to see x11 forwarding in action.
- Select Session from the Category pane on left. Set Host Name as your private IP, port 22, and Connection Type as SSH. Please note that you use the Private IP of EC2 instance later when you connect inside from the VPC/network.

- Go to Connection, and click Then, set Auto-login username as ec2-user, Ubuntu (Ubuntu OS), or whichever user you are allowed to logging in as.
- Go to Connection, select SSH, and then click Then, click on Browse to select the private key generated earlier If you are using key based authentication.
- Go to Connection, select SSH, and then click on Then, select enable X11 forwarding.
- Set X display location as localhost:0.0

- Go back to Session and click on Save after creating a session name in Saved session.
Now that you set up PuTTY, xming, and configured the x11 settings, you can click on load button and then Open button. This opens up a new SSH terminal with x11 forwarding enabled. Now, I move on to the testing X11 forwarding.
Test the X11 from the use you logged in:
You should see the sample output and xclock or xterm window opened similar to the following image. This means your x11 forwarding setup working as expected, and you can start using GUI-based application installation or configuration by running the installer or configuration tools.

Step 4: Configure the EC2 Linux session to forward X11 if you are switching to different user after login to run GUI-based installation / commands
In this example: ec2-user is the user logged in with SSH and then switched to oracle user.
From the Logged User to identify the xauth details:
$ xauth list | grep unix`echo $DISPLAY | cut -c10-12` > /tmp/xauth
Switch to the user where you want to run GUI-based installation or tools:
You should see the sample output and xclock or xterm window opened similar to the following image. This means your x11 forwarding setup is working as expected even after switched to different user. You can start using GUI-based application such as running the installer or configuration tools.

Conclusion
In this blog, I demonstrated how to configure Amazon EC2 instances running on various linux-based operating systems to forward X11 to the Windows OS-based bastion host. This is helpful to any application installation that requires GUI-based installation methods. This is also helpful to any bastion hosts that provide highly secure and low latency environments to perform SSH related operations including GUI-based installations as this does not require any additional network configuration other than opening the port 22 for standard SSH authentication. Please try this tutorial for yourself, and leave any comments following!
Configure SSH X11 Forwarding on Debian 10
![]()
OpenSSH server on Debian 10 supports X11 Forwarding. So, you can not only manage your server remotely via SSH, you can also install a graphical user interface on your server, enable X11 Forwarding and use the graphical applications installed on the server remotely. In this article, I am going to show you how to configure X11 forwarding on Debian 10 Buster and use graphical applications installed on the server remotely via SSH. So, let’s get started.
Configuring the Server:
If your server doesn’t have openssh-server package installed, you must install it from the official package repository of Debian 10.
First, update the APT package repository cache with the following command:

The APT package repository cache should be updated.

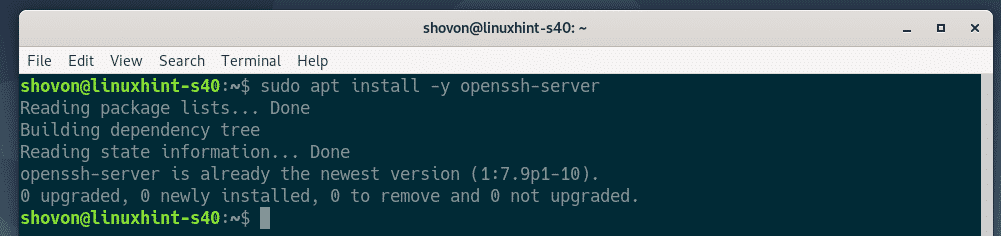
Now, install openssh-server package with the following command:

openssh-server package should be installed.
Now, open the OpenSSH server configuration file /etc/ssh/sshd_config with the following command:

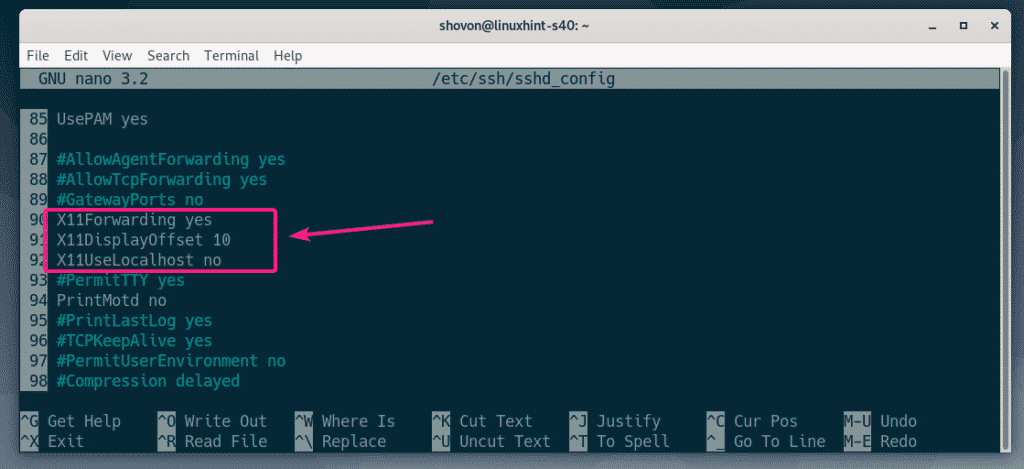
Now, locate the lines X11Forwarding, X11DisplayOffset and X11UseLocalhost, uncomment them (by removing #) and set X11Forwading to yes, X11DisplayOffset to 10 and X11UseLocalhost to no.
The final configuration file is shown in the screenshot below. Once you’re done, save the configuration file by pressing + X followed by Y and .
Now, restart the sshd service with the following command:
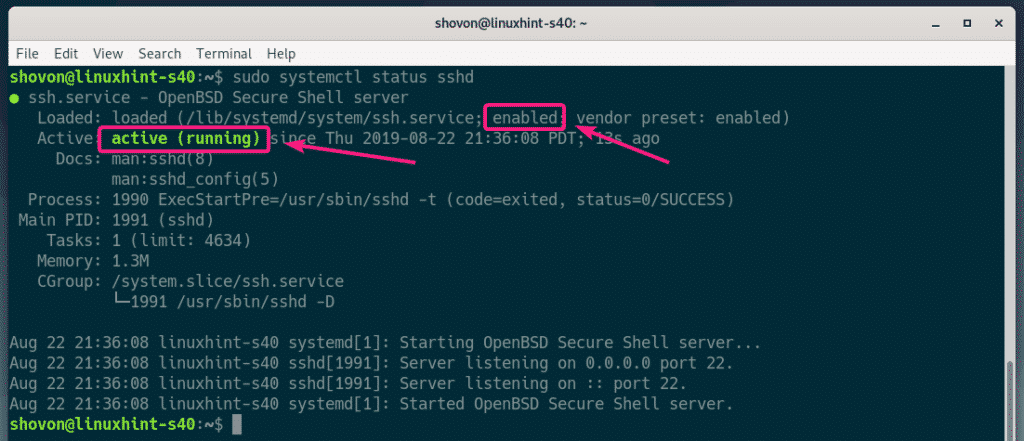
Now, check whether the sshd service is running with the following command:
As you can see, sshd service is running. It’s also enabled. So, it will start automatically on boot.
If the sshd service is not running in any case, then start it with the following command:
If the sshd service is not enabled, then, enable it with the following command.
Configuring the Client:
To connect to the remote server for X11 forwarding via SSH, you need to know the login username and the IP address of the remote server.
You can find the login username of the remote server with the following command:

You can find the IP address of the remote server with the following command:
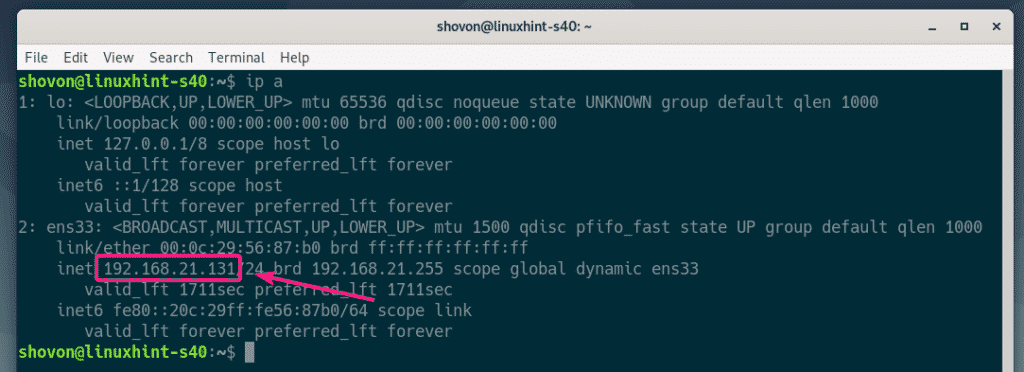
In my case, the IP address is 192.168.21.131 and the username is shovon. It will be different in your case. Make sure to replace these with yours from now on.
On your client computer, you must have openssh client tools installed.
On Ubuntu/Debian machines, you can install openssh client tools with the following command:
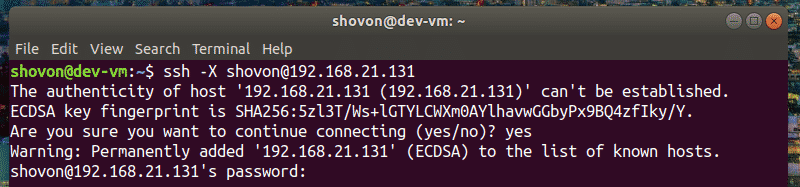
Now, login to the remote server for X11 forwarding with the following command:

If you’re SSHing into the remote server for the first time, then you will see the following prompt. Just type in yes and press to continue.

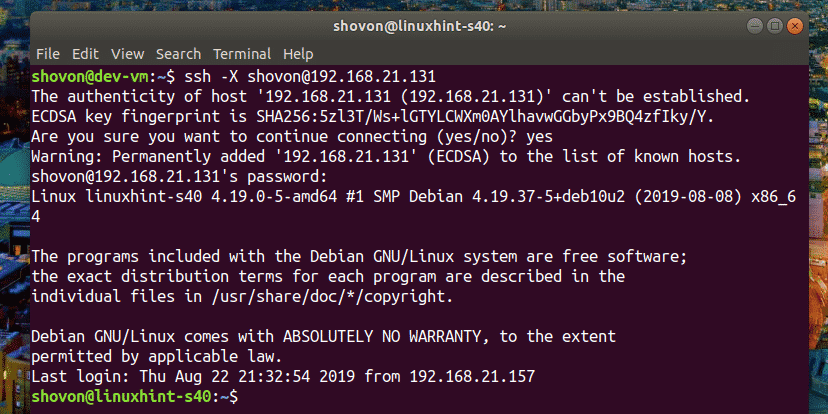
Now, type in the password of the login user of the remote server and press .
You should be connected to the remote server.
Now, to run a graphical application over SSH, run the command that starts the program.
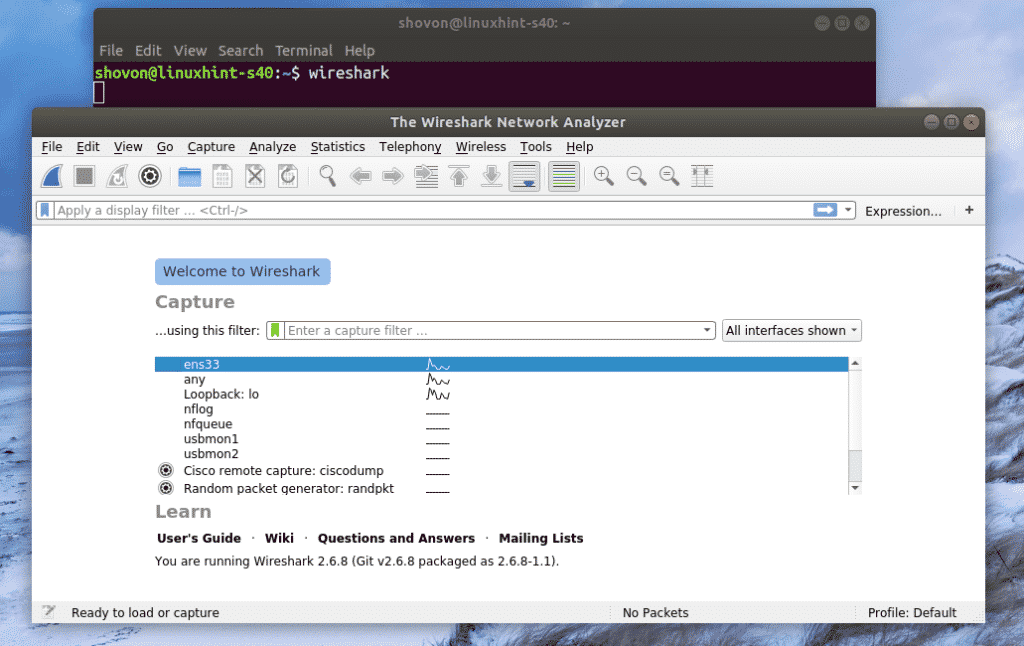
For example, to start wireshark, run the following command:

Wireshark should start on your client computer as you can see in the screenshot below. Wireshark is actually running on the remote server. But, you can use it from the client computer without having it installed on the client computer. Nice isn’t it!
If you run a graphical application like I’ve shown above, you won’t be able to use SSH to run any more command on the remote server.
To run a graphical application remotely and still able to run other commands, start the program as follows:
This way, the graphical application process will run as a background process and the shell will be usable.
Problems Running GNOME Apps Remotely:
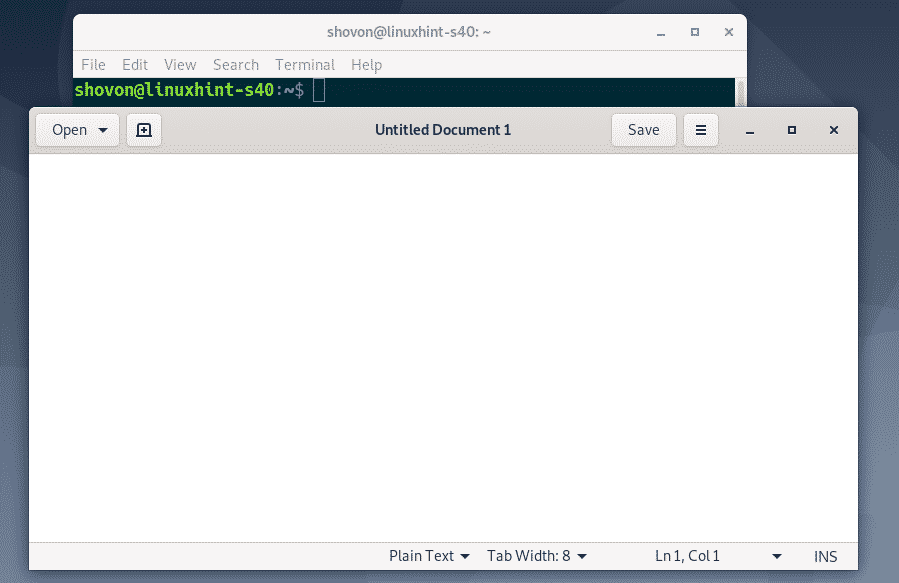
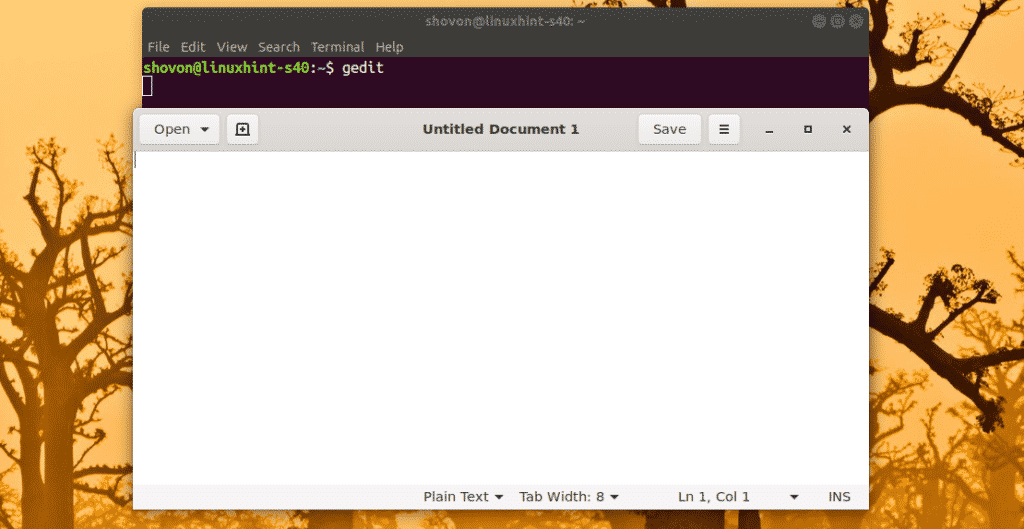
If you’re logged into the remote server already and try to run a GNOME official software such as Gedit, GNOME Disks remotely over SSH. The program will run on the remote server, not on the client as you can see in the screenshot below.
Command executed on the client

Gedit started on the remote server, not on the client.
To solve this issue, you must log out on the remote server.

Then, you should be able to run official GNOME apps remotely over SSH. As you can see, I am running Gedit remotely. It’s working just fine.
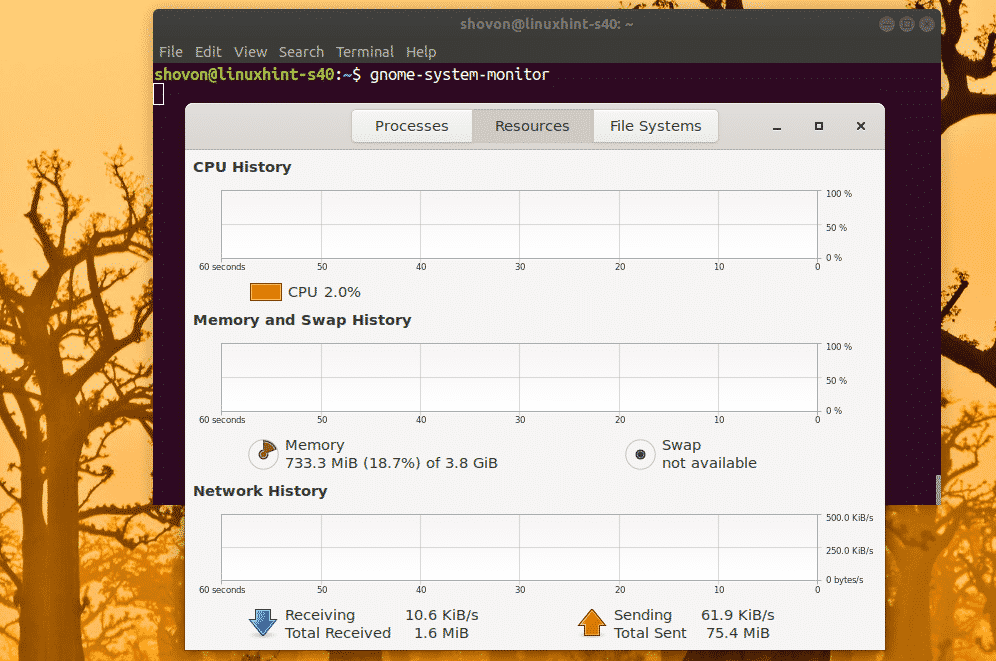
I can also use GNOME System Monitor.
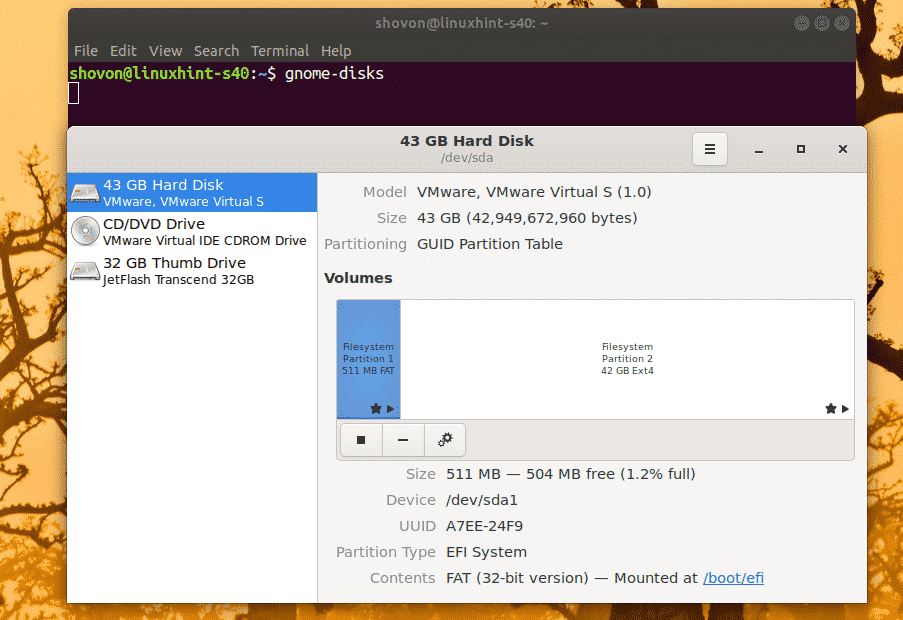
GNOME Disks works as well.
So, that’s how you configure SSH X11 Forwarding on Debian 10 and access graphical applications remotely. Thanks for reading this article.
About the author
Shahriar Shovon
Freelancer & Linux System Administrator. Also loves Web API development with Node.js and JavaScript. I was born in Bangladesh. I am currently studying Electronics and Communication Engineering at Khulna University of Engineering & Technology (KUET), one of the demanding public engineering universities of Bangladesh.