- How To Install XAMPP on Linux Mint 20
- Install XAMPP on Linux Mint 20 Ulyana
- How to install XAMPP Server on Linux Mint 20
- Method of Installing XAMPP on Linux:
- Step # 1: Verifying the Installation of “net-tools”:
- Step # 2: Downloading XAMPP via the Internet:
- Step # 3: Making the Downloaded File Executable:
- Step # 4: Installing XAMPP on Linux:
- Step # 5: Verifying the Installation of XAMPP on Linux:
- Method of Uninstalling XAMPP in Linux:
- Conclusion:
- About the author
- LinuxWays Team
- Xampp on linux mint
- Установка XAMPP под Linux Mint 17
- Пакет инсталляции XAMPP под Linux Mint
- Установка WordPress под XAMPP в Linux Mint
How To Install XAMPP on Linux Mint 20
In this tutorial, we will show you how to install XAMPP on Linux Mint 20. For those of you who didn’t know, XAMPP is a cross-platform web server that is designed for testing your web applications based on Apache, MySQL, Perl, and PHP distribution that’s compatible with Linux, Microsoft Windows, and Mac OS X operating systems. The best tool for those who want to install a fully functional web development environment.
This article assumes you have at least basic knowledge of Linux, know how to use the shell, and most importantly, you host your site on your own VPS. The installation is quite simple and assumes you are running in the root account, if not you may need to add ‘ sudo ‘ to the commands to get root privileges. I will show you through the step-by-step installation of XAMPP on a Linux Mint 20 (Ulyana).
Prerequisites
- A server running one of the following operating systems: Linux Mint 20 (Ulyana).distribution like Linux Mint.
- It’s recommended that you use a fresh OS install to prevent any potential issues.
- A non-root sudo user or access to the root user . We recommend acting as a non-root sudo user , however, as you can harm your system if you’re not careful when acting as the root.
Install XAMPP on Linux Mint 20 Ulyana
Step 1. Before running the tutorial below, it’s important to make sure your system is up to date by running the following apt commands in the terminal:
Step 2. Installing Net-Tools.
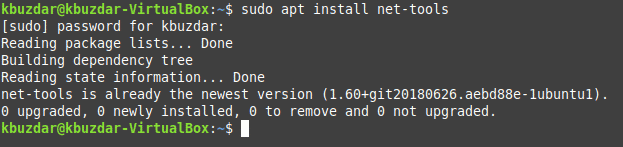
XAMPP requires the “net-tools” package to be installed on your system. This package can be installed by running the following command in the terminal:
sudo apt install net-tools
Step 3. Installing XAMPP on Linux Mint 20.
Now we download XAMPP from the official website:
wget https://www.apachefriends.org/xampp-files/7.4.15/xampp-linux-x64-7.4.15-0-installer.run
Once the XAMPP file has been downloaded on your system, you need to make it executable so that it can be installed successfully:
sudo chmod + x xampp-linux-x64-7.4.15-0-installer.run
Next, install it by running the following command:
sudo ./xampp-linux-x64-7.4.15-0-installer.run
The setup wizard will open, follow the installation instruction. Click next.

We are going to start XAMPP by running the following in the terminal:
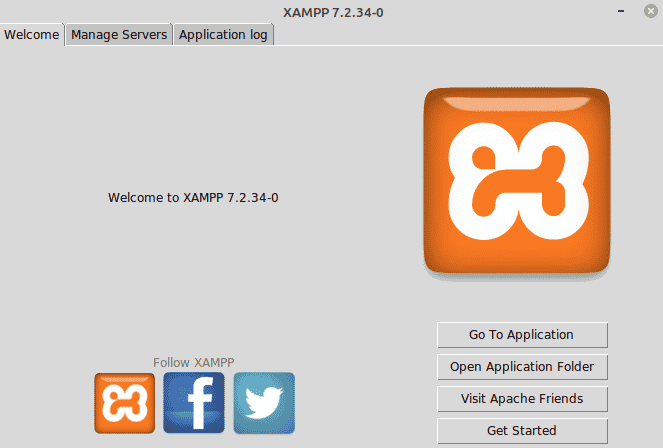
Step 4. Accessing XAMPP on the Linux Mint system.
Once the setup is finished, XAMPP should be available for its usage on your Desktop or open your browser and follow this link: http://localhost/
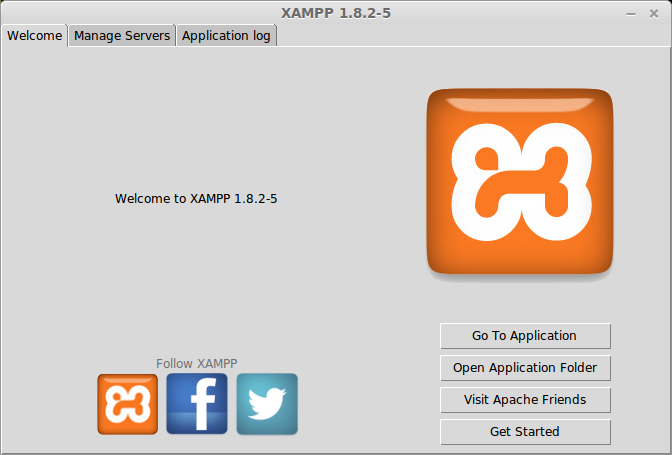
Congratulations! You have successfully installed XAMPP. Thanks for using this tutorial for installing the latest version of the XAMPP on the Linux Mint system. For additional help or useful information, we recommend you check the official XAMPP website.
If you don’t have time to do all of this stuff, or if this is not your area of expertise, we offer a service to do “VPS Manage Service Offer”, starting from $10 (Paypal payment). Please contact us to get the best deal!
How to install XAMPP Server on Linux Mint 20
![]()
XAMPP is a cross-platform web server that is designed for testing your web applications based on Apache, MySQL, Perl, and PHP. This webserver was developed by Apache Friends and it has been in use since 2002. Today, we will learn the method of installing XAMPP on Linux Mint 20. However, the same series of steps can be performed on Debian 10 for installing XAMPP on it.
Method of Installing XAMPP on Linux:
For having XAMPP installed on your Linux system, you should perform all the steps listed below:
Step # 1: Verifying the Installation of “net-tools”:
XAMPP requires the “net-tools” package to be installed on your system. This package can be installed by running the following command in the terminal:

Since the net-tools package was already installed on our system that is why we got the message shown in the image below on our terminal:
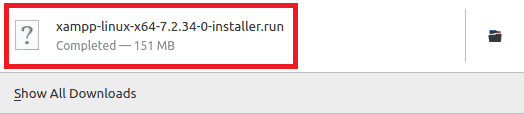
Step # 2: Downloading XAMPP via the Internet:
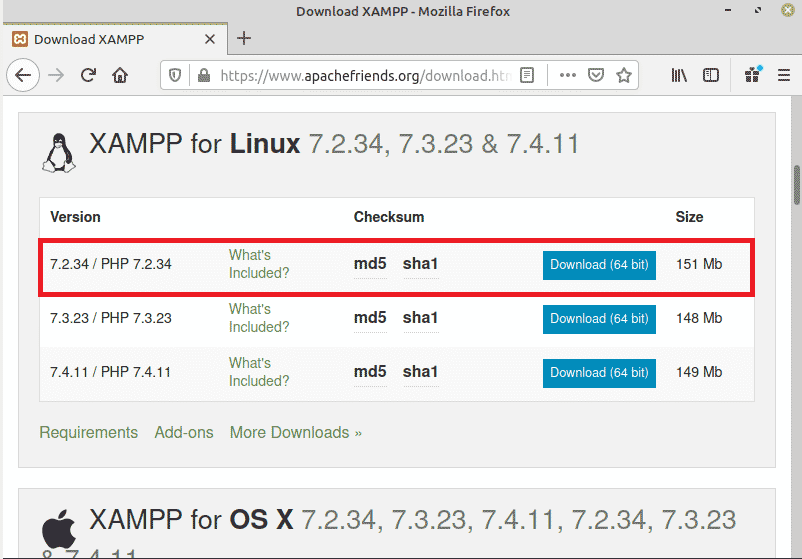
Now you need to visit the following website for downloading XAMPP:
Once you will visit this website, you need to download the latest version of XAMPP for Linux as highlighted in the image shown below:
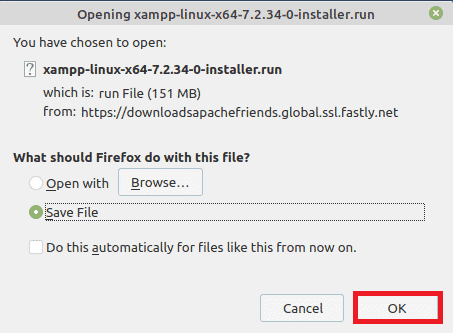
When you will click on the “Download” button, a dialogue box will appear on your screen from which you are supposed to select the “Save” option and then click on the “OK” button.
After doing this, XAMPP will start downloading and when it has been downloaded successfully, you will see the following message on your browser:
Step # 3: Making the Downloaded File Executable:
Once the XAMPP file has been downloaded on your system, you need to make it executable so that it can be installed successfully. For making this file executable, you need to navigate to your Downloads directory and then execute the command stated below:

Running this command will set the execute permissions for your downloaded XAMPP file.
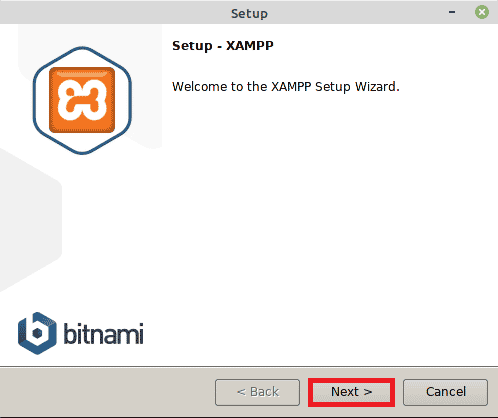
Step # 4: Installing XAMPP on Linux:
When we have made this file executable, we can easily install it by running the following command in our terminal:

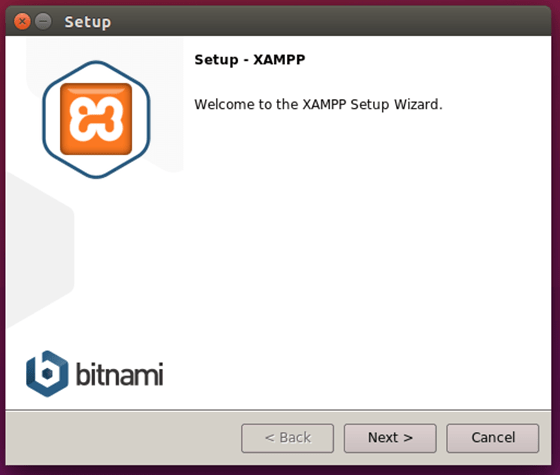
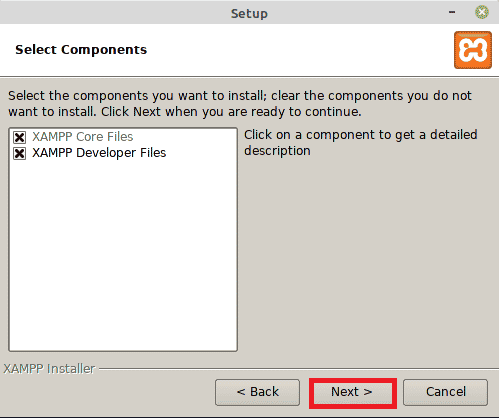
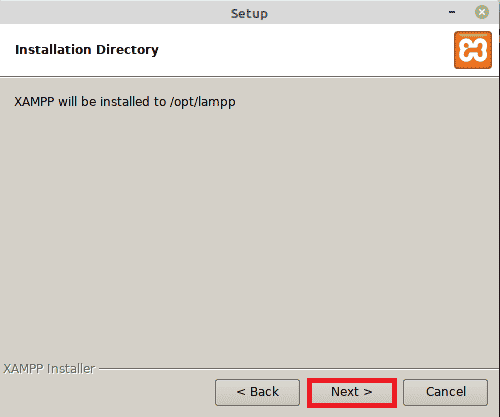
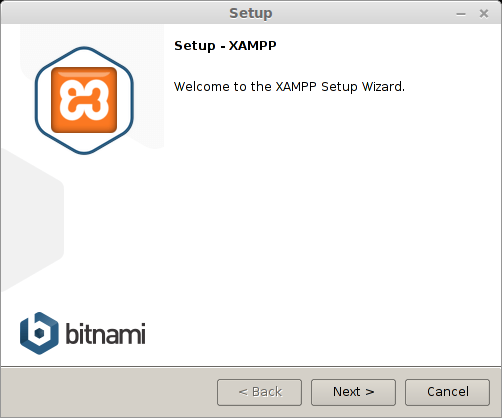
After doing that, the installation wizard will appear on your screen. You are required to go with all the options that are selected by default and just press the Next button at every screen that appears. However, we have still shown all the screens below for your convenience. The welcome screen of XAMPP is shown in the image below:
After clicking the Next button on the welcome screen, you will be asked to select the components for XAMPP. Just go with the default selected components and click on the Next button as highlighted in the following image:
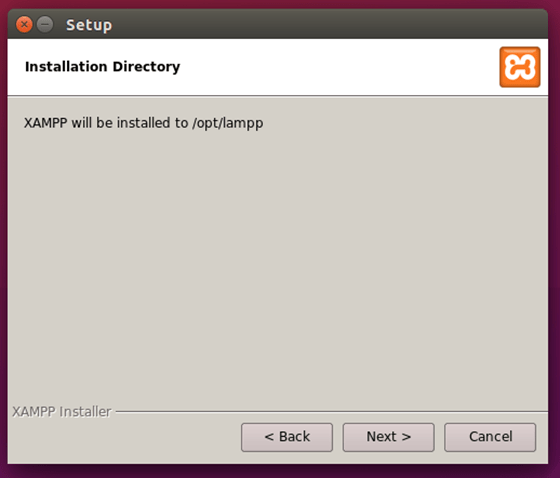
Now select an installation directory and click on the Next button.
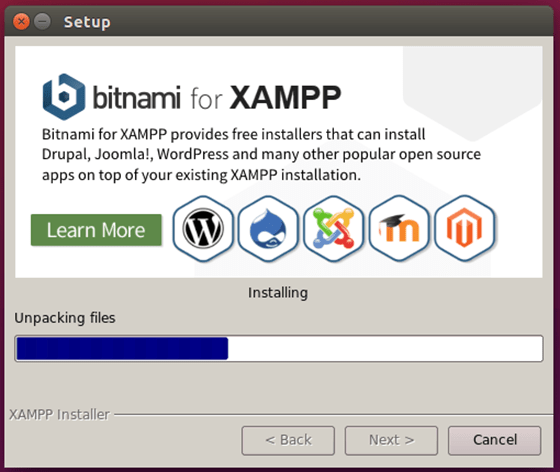
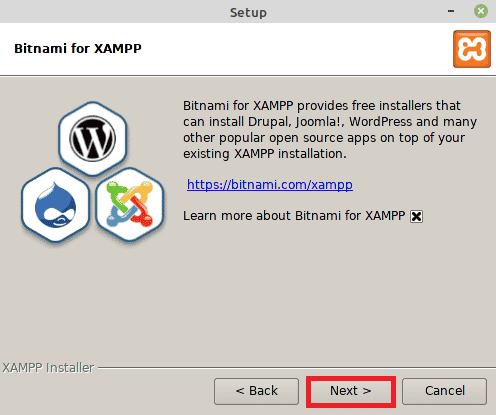
On the Bitnami for the XAMPP screen, you are again supposed to click on the Next button.
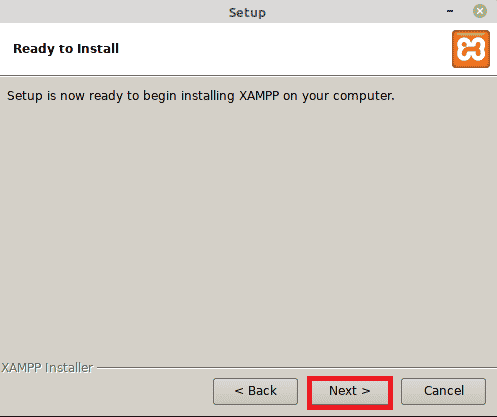
Then the installation wizard will tell you that the setup is ready to install as shown in the image below:
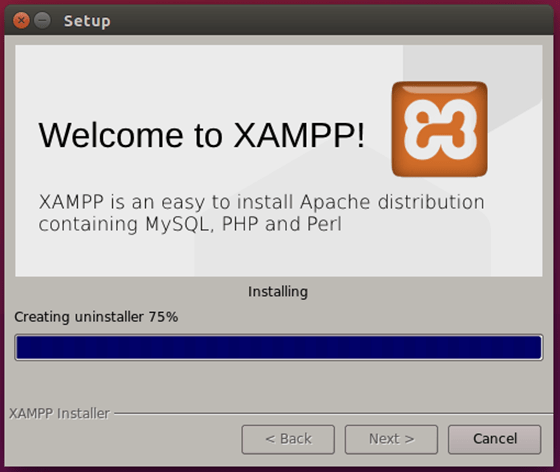
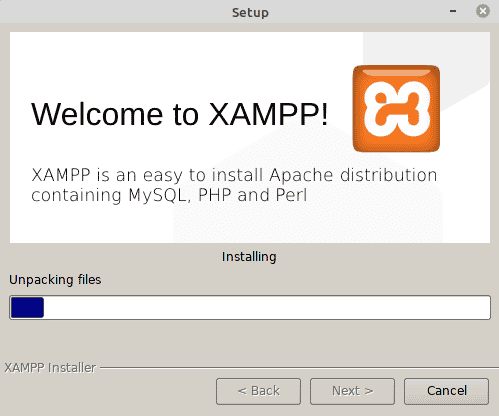
The installation progress bar is shown in the following image:
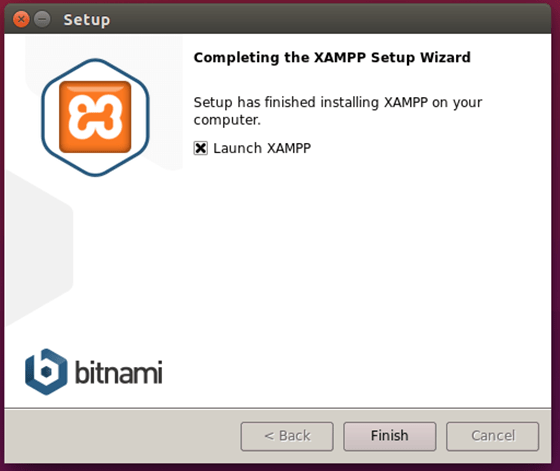
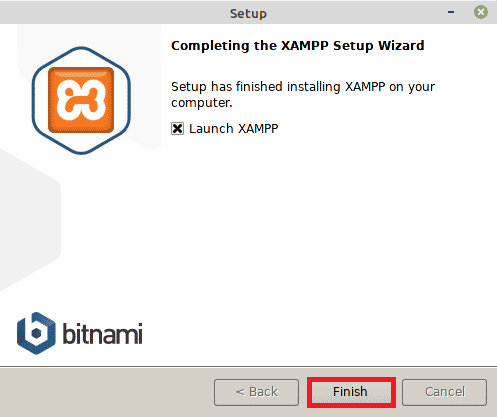
Finally, when the installation will complete, you will be supposed to click on the Finish button as highlighted in the image shown below:
Step # 5: Verifying the Installation of XAMPP on Linux:
If XAMPP has been successfully installed on your Linux system, then after clicking on the Finish button, the following screen will appear on your system which will confirm the installation:
Method of Uninstalling XAMPP in Linux:
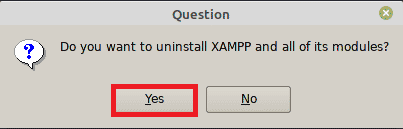
However, at any point, if you feel like you do not need XAMPP on your Linux system anymore, then you can always uninstall it. First, you will need to move to the directory where XAMPP has been installed by running the command stated below:

After navigating to this directory, uninstall XAMPP by running the following command:
sudo ./uninstall

Your terminal will prompt you with a confirmation dialogue box from which you are supposed to click on the “Yes” button as highlighted in the image shown below:
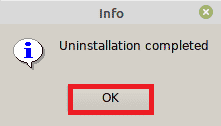
When the uninstallation process will complete, you need to click on the “OK” button.
Finally, you can also remove the directory in which XAMPP was installed by running the following command:

Doing this will remove all the traces of XAMPP from your Linux system.
Conclusion:
In this article, we explained to you the method of installing XAMPP on Linux Mint 20. The steps described above were demonstrated on Linux Mint 20 but they can also be performed as it is on Debian 10. Moreover, we also shared with you the method of uninstalling this web server whenever you feel like it.
About the author
LinuxWays Team
We create HowTos and Tutorials for Sys Admins. Visit us on LinuxWays.net
Xampp on linux mint
Xampp is a software package that includes Apache HTTP server, MySQL database, and interpreters for scripts written in the PHP and Perl languages.
In my previous tutorial which was about installing LAMP on Linuxmint many people commented that they liked the tutorial but they use Xampp . So this time I tried it too, and found that it’s a really good software package.
Installing Xampp is much more easier than installing LAMP. As we just have to install one software package, and entire LAMP will be installed. In LAMP we had to install every individual software seperately.
So lets go ahead and see the steps for Installing Xampp.
First of all you have to download Xampp. You can download it from this link: http://www.apachefriends.org/en/xampp-linux.html .
2. Login as Administrator Root:
- Launch the terminal and login as System Administrator root by typing in following command in it.
- Then enter your password.
- It’ll then show you your username, which means you’ve successfully loged in as administrator.
3. Extract the Downloaded file:
Go to the directory where you’ve downloaded the Xampp. Mostly it’s the ‘Downloads’ directory. But if you’ve changed the default setting or moved the downloaded file to some other directory(as I did) then you’ll have to go to that directory.
you can enter that directory by cd command. As follows.
Then extract the archived file to /opt with following command:
tar xvfz xampp-linux- 1.8.0 .tar.gz -C /opt
Remember that the part of command highlighted in yellow is the version of the Xampp. By the time I installed it (that is yesterday; Friday 3rd August, 2012), the latest version was 1.8.0. You’ll have to change that if you’ve downloaded a newer version. You can check it out from the file’s name. The code highlighted in green is the file’s name, and rest is the code for extracting it.
If you’ve done everything correct, the Xampp is now installed in your computer.
To start Xampp run the follwoing command in terminal:
To check if everything went okay launch the browser (Firefox, Chrome etc), and type in the follwoing URL:
Now you’ll see the index page of Xampp in your browser. And it’ll show you the links to all the good stuff that it has.
And that’s all. You’ve successfully Downloaded, Installed and Tested Xampp.
So now go ahead amd develop wonderful Web Applications.
Установка XAMPP под Linux Mint 17
В этой статье будет рассмотрен вопрос установки локального сервера XAMPP под операционной системой Linux Mint 17.
Почему этот локальный сервер и, тем более, почему именно Linux? Ответы просты — для меня лично сервер XAMPP является наиболее интуитивно понятным. А Linux — потому что в ней мне более удобно кодить на HTML&CSS, нежели под Windows.
Хотя бы взять удобный и полноценный терминал Linux, который всегда под рукой. Также, локальный сервер под Linux, по моим субъективным оценкам, работает гораздо быстрее, нежели под Windows.
С преимуществами работы кодера под Linux разобрались — осталось установить и настроить локальный сервер под эту операционную систему. В этом вопросе нет ничего сложного и есть даже локализованная версия инструкции на официальном сайте Apache Friends -FAQ Linux. В этой статье я постараюсь дать более подробное описание этого процесса, с картинками.
Локальный сервер под Linux выполнен в виде пошагового графического инсталлятора наподобие того, как это делается под Windows. С одной стороны это несколько непривычно для Linux; но с другой стороны так можно быстро и легко установить пакет для новичков в этой операционной системе.
Пакет инсталляции XAMPP под Linux Mint
Скачиваем пакет инсталлятора по ссылке Download официального сайта “Apache Friends”. При этом определяемся, под 32 или 64-битную систему необходим пакет — такой и выбираем. Помимо этого есть две версии пакета — стабильный 1.8.2/PHP 5.4.27 и более новый 1.8.3/PHP 5.5.11.
Мною был выбран пакет 1.8.2/PHP 5.4.27 (именно из-за его стабильности) версии 64-бита, под операционную систему Linux Mint 17 “Qiana” Cinnamon 64-bit.
xampp-linux-x64-1.8.2-5-installer.run
В этом же терминале делаю этот файл исполняемым:
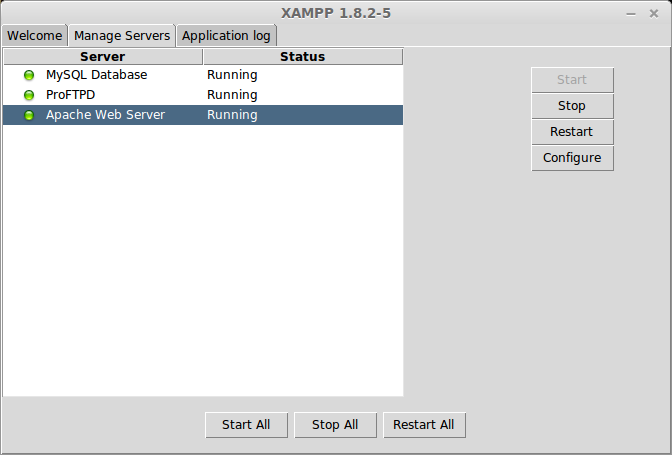
Переходим в этом приложении на вкладку “Manage Servers” и видим список служб локального сервера. Напротив каждой службы в виде лампочки показан ее статус — запущена она (Running) или остановлена (Stopped).

Первоначально запущен только локальный сервер Apache; база данных “MySQL Database” и FTP-сервер “ProFTPD” остановлены. Их можно запустить из данного приложения, просто нажав кнопку “Start”, но я поступлю более Linux-way и воспользуюсь терминалом. Для этого я введу в нем всего одну комадну:
Установка WordPress под XAMPP в Linux Mint
С установкой локального сервера под Linux Mint разобрались. Стоит еще раз оговориться, что по моим субъективным оценкам он работает гораздо шустрее под Linux, нежели под Windows.