- Мониторинг пропускной способности и скорости сети в Linux
- Speedtest
- Fast
- iPerf
- NetHogs
- nload
- CBM – Color Bandwidth Meter
- vnStat
- iftop
- slurm
- How to Test Network Speed in Linux via CLI
- Test Network Speed on Linux Via Command Line
- Using speedtest-cli to Test Internet Speed
- Using fast-cli to Test Internet Speed
- Using CMB to Show Network Speed
- Using iperf to Measure Network Speed Between Two Devices
- Using nload to View Incoming and Outgoing Network Traffic
- Using tcptrack to Test Network Activity
- Using iftop to Test Speed on a Network Interface
- Using wget to Test Download Speed
- Using youtube-dl to Test Internet Speed
Мониторинг пропускной способности и скорости сети в Linux
Сегодня в статье рассказываем про инструменты с открытым исходным кодом, которые позволяют вам проверить скорость вашего Интернета и пропускную способность в Linux.
Speedtest
Speedtest — старый фаворит. Это инструмент для проверки скорости загрузки и скачивания с использованием speedtest.net. Он реализован на Python, упакован в Apt, а также доступен с pip. Вы можете использовать его как инструмент командной строки или в скрипте Python.
sudo apt install speedtest-cli
sudo pip3 install speedtest-cli
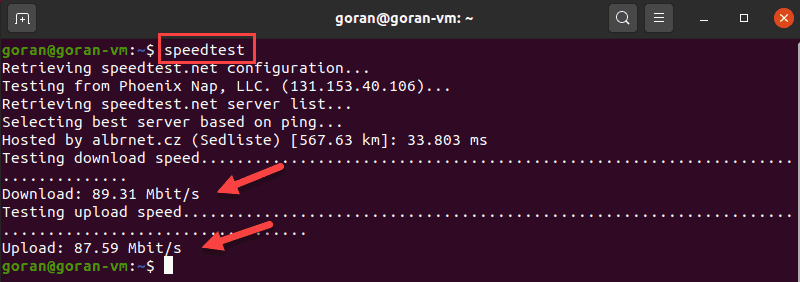
Затем запустите его с помощью команды speedtest :
speedtest Retrieving speedtest.net configuration. Testing from CenturyLink (65.128.194.58). Retrieving speedtest.net server list. Selecting best server based on ping. Hosted by CenturyLink (Cambridge, UK) [20.49 km]: 31.566 ms Testing download speed. Download: 68.62 Mbit/s Testing upload speed. Upload: 10.93 Mbit/s
Это быстрая, и пригодная для скриптов утилита, поэтому вы можете запускать его регулярно и сохранять результаты в файл или базу данных для записи скорости вашей сети с течением времени.
Fast
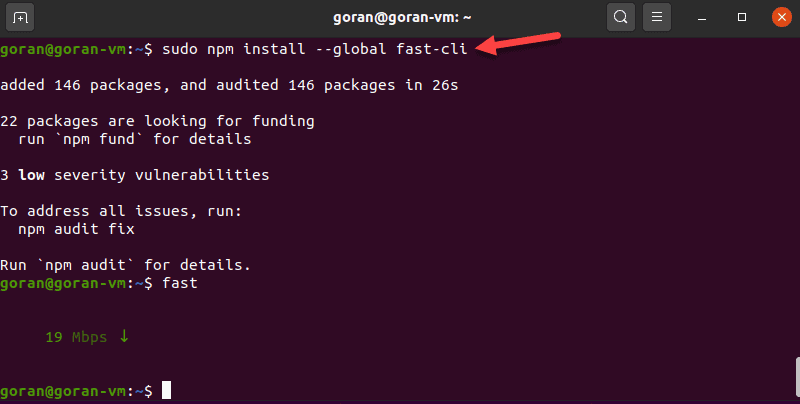
Fast — это услуга, предоставляемая Netflix. Его веб-интерфейс расположен на Fast.com, а интерфейс командной строки доступен через npm:
npm install --global fast-cli
И веб-сайт, и утилита командной строки предоставляют один и тот же базовый интерфейс — это простой тест скорости, и ничего лишнего:
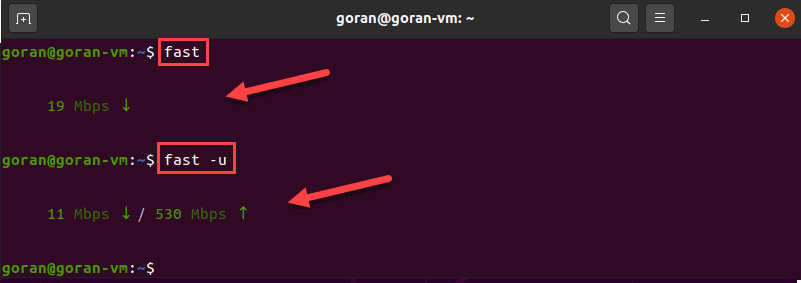
Команда показывает вашу скорость скачивания (download) через Интернет. Чтобы получить скорость загрузки (upload), используйте флаг -u :
fast -u ? 80 Mbps v / 8.2 Mbps ^
iPerf
iPerf (iPerf3) — отличный способ проверить скорость вашей локальной сети (а не скорость Интернета, как это делают два предыдущих инструмента). Пользователи Debian, Raspbian и Ubuntu могут установить его с помощью apt:
sudo apt install iperf [Debian/Ubuntu] yum install epel-release [RHEL/CentOS] yum install iperf3 [RHEL/CentOS]
iPerf также доступен в Window и Mac
После установки вам понадобятся два компьютера в одной сети, чтобы использовать его (на обоих должен быть установлен iPerf). Один мы будем использовать в качестве сервера.
ip addr show | grep inet.*brd
Запустите iperf на сервере:
Это компьютер входящих соединений от клиентов. Теперь запустите на втором компьютере iperf с флагом -c и укажите ip-адрес сервера.
NetHogs
NetHogs это утилита для проверки полосы пропускания, который группирует информацию по процессам. Это может быть полезно, чтобы понять кто занимает всю полосу пропускания. NetHogs входит во многие дистрибутивы. Для его установки используйте:
yum install epel-release [RHEL/CentOS] yum install nethogs [RHEL/CentOS] apt install nethogs [Debian/Ubuntu]
Вы можете указать определенный интерфейс после команды:
Также у команды есть дополнительные параметры, такие как выбор задержки для частоты обновления -d , информации о версии -V , tracemode -t .
nload
nload позволяет отслеживать сетевой трафик и использование полосы пропускания в режиме реального времени, с большим количеством дополнительной информации, такой как: общий объем передаваемых данных, минимальное и максимальное использование сети и многое другое. Также nload строит графики входящего и исходящего трафика.
- device — выбор интерфейса
- -a — промежуток в секундах, для подсчитывания среднего значения
- -i — стопроцентная планка на графике пропускной способности в kBit/s
- -m — отображение нескольких интерфейсов, без графика
- -t — интервал обновления в миллисекундах
- -u — режим отображения: Bit/s, kBit/s, MBit/s
Для установки используйте:
sudo apt install nload [Debian/Ubuntu] yum install epel-release [RHEL/CentOS] um install nload [RHEL/CentOS]
CBM – Color Bandwidth Meter
CBM — очень простой инструмент, который отображает сетевой трафик на всех подключенных устройствах. Удобство заключается в том, что команды отображаются в нижней части терминала.

Для установки используйте команду:
sudo apt install cbm -y [Debian/Ubuntu] yum install epel-release [RHEL/CentOS] yum install cbm [RHEL/CentOS]
После этого просто запустите:
vnStat
vnStat — это монитор сетевого трафика, который использует статистику сетевого интерфейса, предоставляемую ядром, что означает что он не будет перехватывать трафик и в результате гарантирует низкую загрузку ЦПУ. Особенность vnStst в том, что он сохраняет все данные в собственной базе.

vnStat также предоставляет веб-интерфейс на основе php для отображения графической статистики. Для настройки веб-интерфейса vnStat в вашей системе должны быть установлены пакеты Apache , php и php-gd .

Для установки используйте команду:
sudo apt install vnstat [Debian/Ubuntu] sudo yum install epel-release [RHEL/CentOS] sudo yum install vnstat [RHEL/CentOS]
iftop
iftop — это инструмент для мониторинга, который создает обновляемый список сетевых подключений между парами хостов в реальном времени.

Для установки используйте:
sudo apt install iftop [Debian/Ubuntu] yum install epel-release[RHEL/CentOS] yum install iftop [RHEL/CentOS]
Будет произведен запуск с мониторингом всех интерфейсов.
slurm
slurm — это еще один инструмент мониторинга сетевой нагрузки для linux, который показывает результаты в графике ascii.

sudo apt-get install slurm [Debian/Ubuntu] sudo yum install slurm -y [RHEL/CentOS]
How to Test Network Speed in Linux via CLI
With the increase in people staying at home and spending more time on the Internet, ISPs have seen traffic loads higher than ever. If you noticed your network speed was slower at times, this global overload is the reason.
There are many online tools to test internet speed. However, Linux users can do this from the command prompt window. Some of the utilities for testing both local and internet speed we will cover are:
- Speedtest
- Fast
- Color Bandwidth Meter (CBM)
- iPerf
- nload
- Tcptrack
- Iftop
- Wget
- youtube-dl
Follow the instructions in this article to learn how to test network connection speed on Linux using the terminal. The steps work in both normal and headless mode.
- A machine running Linux
- sudo / root permissions
- Access to a terminal / command-prompt window
Test Network Speed on Linux Via Command Line
The tools in this guide help you check the Internet and LAN speed on a Linux machine. The article uses Ubuntu 20.04 for instructions, but the utilities work for any Linux distribution.
Note: Use the appropriate package manager for your Linux distribution, for example, yum for RHEL / CentOS, to install the apps.
Using speedtest-cli to Test Internet Speed
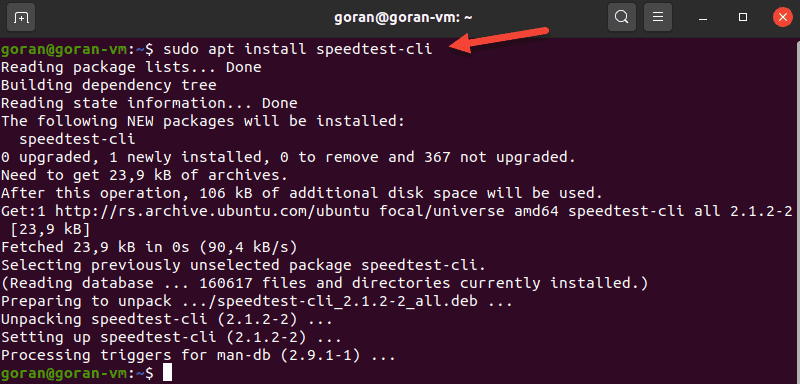
One of the most famous online internet connection test apps is speedtest.net. To install Speedtest on Linux via the terminal, use a package manager for your distro.
sudo apt install speedtest-cliOptionally, use pip to install speedtest-cli in Python:
sudo pip install speedtest-cliThe standard speedtest-cli output shows all steps, including selecting a server. To display a shorter output, enter:
The test is simple to use and provides multiple options. To view all of them, pass the -h flag to display the speedtest-cli help file.
Using fast-cli to Test Internet Speed
Fast is a lightweight CLI utility based on the web speed test fast.com. The test uses Netflix servers to provide results.
Fast-cli is simple to use, but you need the node package manager (NPM) on your machine. The package comes with Nodejs.
For example, to install Node.js version 15, enter these commands:
curl -sL https://deb.nodesource.com/setup_15.x | sudo -E bash -Then, run the install command:
sudo apt install -y nodejsIf needed, run the npm init command and then install Fast:
npm install --global fast-cliTo test the download speed, enter:
To show both the download and upload speed, add the -u option:
This internet speed test aims to provide only the information about your connection speed, without any bells and whistles.
Note: Since NPM is a requirement, it can be a hassle to install fast-cli. If you need more help with NPM installation, see our guides How To Install Node.Js And NPM On CentOS or How To Install Node.Js & NPM On Ubuntu.
Using CMB to Show Network Speed
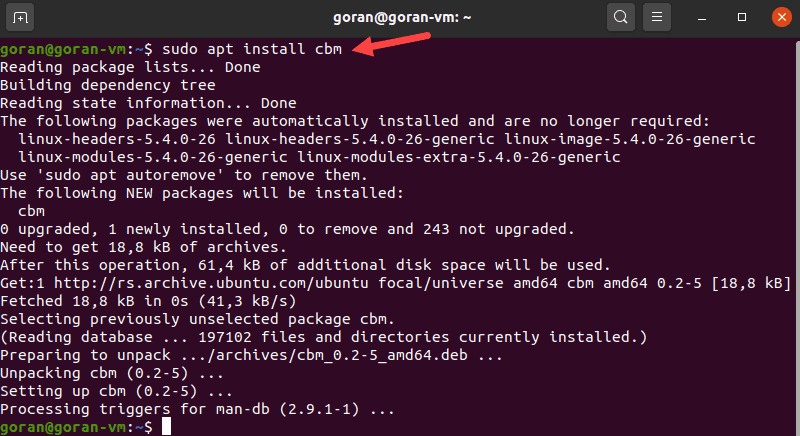
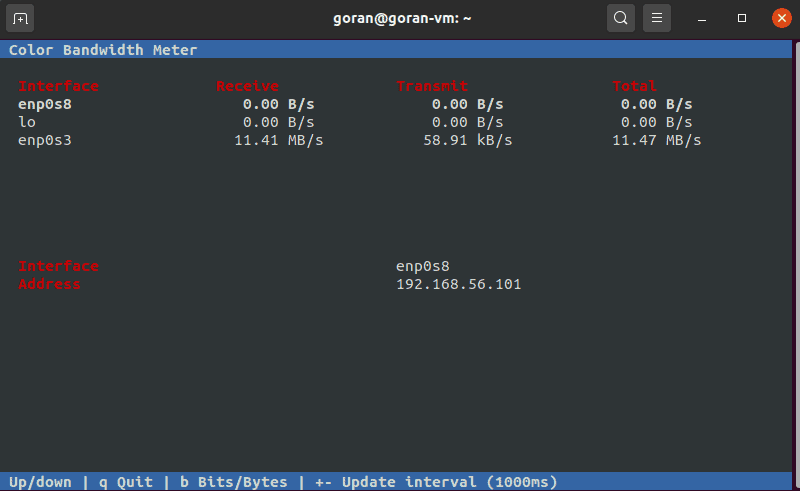
The Color Bandwidth Meter (CMB) is a Linux tool that displays activity on all network interfaces. After the installation, run the tool to see network speeds in color-coded columns.
To install CBM, run this command:
When the process finishes, run the tool:
The output displays the transmit, receive, and total speed. Use the arrows to switch between the interfaces.
Using iperf to Measure Network Speed Between Two Devices
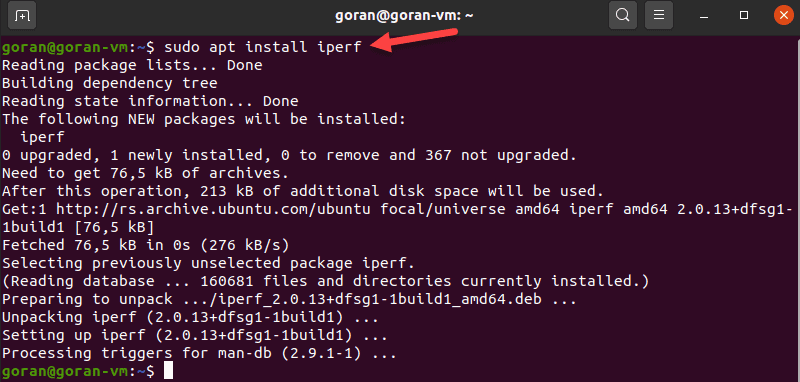
The iPerf tool provides many options for testing connection speed between a server and a client. Hence, to perform a test, you need to install the utility on both machines:
Make sure the client can reach the server. For quick confirmation, run a ping test.
If port 5001 is open, the connection works. So, on the server machine, enter:
The device starts listening for a connection request.
On the other machine, enter:
The output shows the transfer and bandwidth information:
Using nload to View Incoming and Outgoing Network Traffic
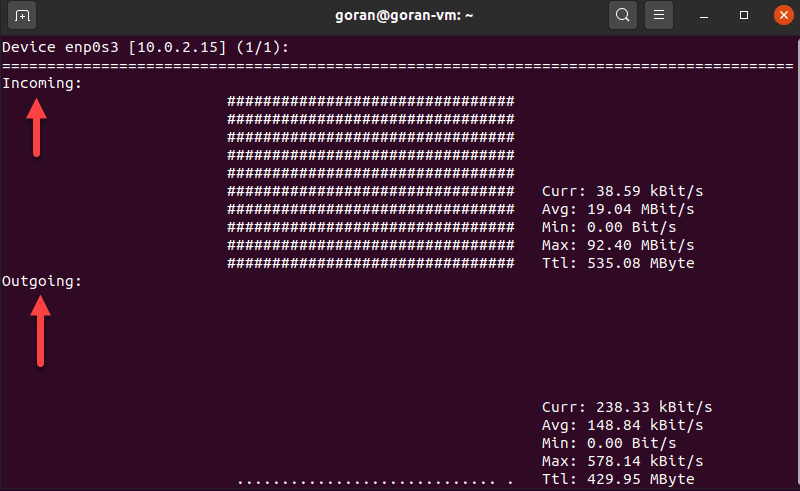
Nload is a tool that monitors incoming and outgoing activity on a network interface you specify. The application splits the traffic into two sections for easier data analysis.
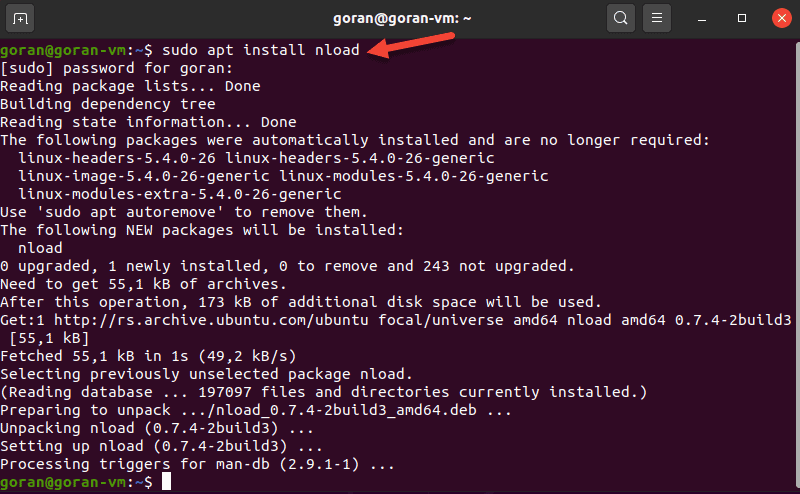
To install the tool, enter:
To run the application, specify the network interface:
If there is activity on the selected interface, nload displays network speed details.
Using tcptrack to Test Network Activity
TCPtrack shows the connection status for a network interface. When your machine’s network is active, run this tool to view and monitor bandwidth speed and usage.
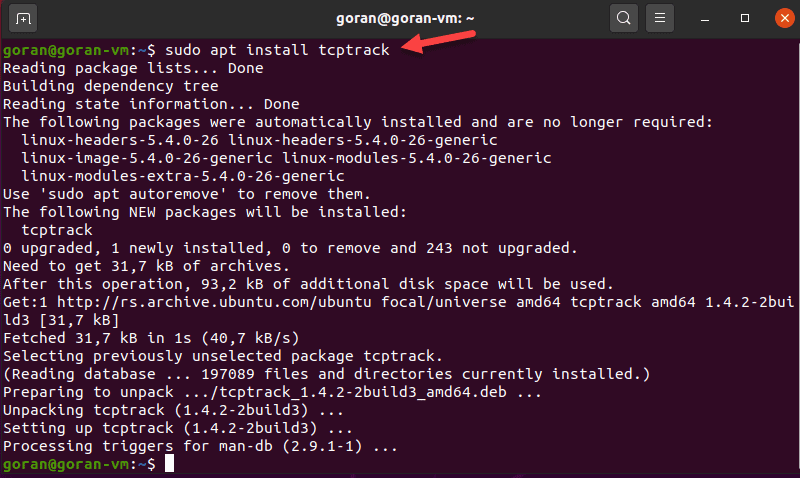
To install tcptrack on Linux Ubuntu, enter:
sudo apt install tcptrackTo view network activity with TCPtrack, specify the network interface. To find the device name, use the ifconfig tool.
In our case, it is enp0s3
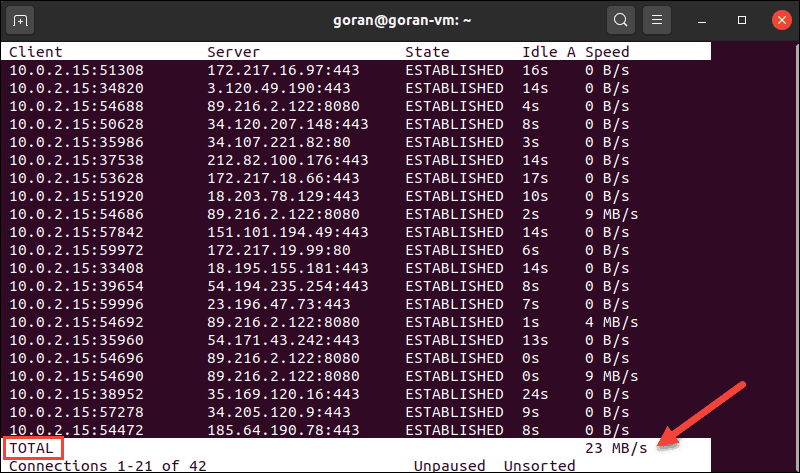
The terminal displays the network activity on the selected interface. The total network speed is at the bottom of the terminal:
Note: Make sure you run tcptrack with sudo . Otherwise, this error pops up: pcap_open_live: enp0s3: You don’t have permission to capture on that device (socket: Operation not permitted)
TCPtrack is customizable and offers options to narrow down the test to specific ports, for example.
To do so, pass the port option and the port number:
sudo tcptrack -i enp0s3 port 443If there is no activity on the port, the output is blank.
Using iftop to Test Speed on a Network Interface
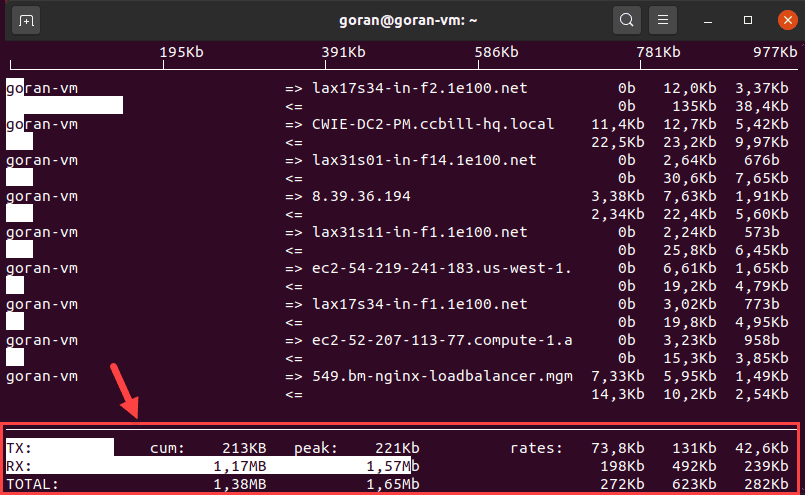
Iftop lets you view network speed for a defined interface. The tool shows a similar output to what tcptrack provides.
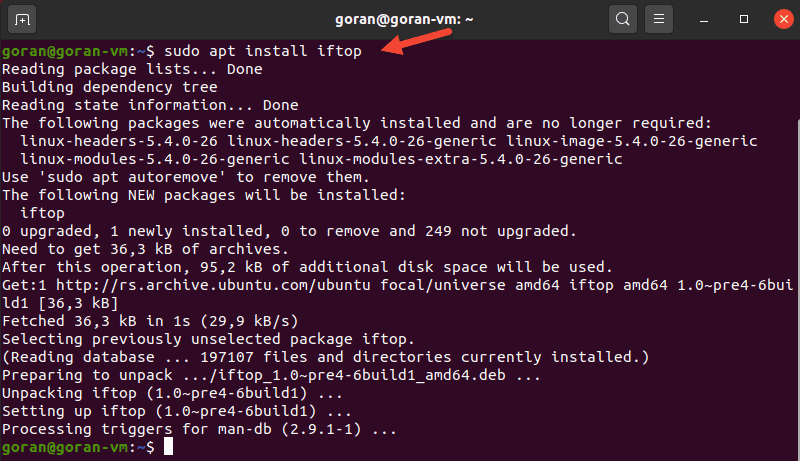
To install iftop, run this command:
To launch the utility, use the -i flag and specify your network interface.
In our case:
The output shows the activity for the device. The bottom of the screen provides a traffic summary.
If you do not specify a network interface, iftop selects the first available. Make sure you run the command with sudo to avoid any errors.
Using wget to Test Download Speed
Wget is a CLI tool for downloading content from web servers. Since the tool does not upload files, you can only test the download speed.
If you do not have wget on your Ubuntu machine, enter this command to install it:
Now, choose a reliable server to download a file and test your internet speed. For example, use phoenixNAP’s 1GB test file from the list.
This example uses a server located in Phoenix:
wget -O /dev/null -q --show-progress http://174.138.175.114/PHX-1GB.testUsing youtube-dl to Test Internet Speed
An unconventional way to test your download speed is to use the youtube-dl CLI utility. The tool allows you to download YouTube videos and view the download speed.
To install youtube-dl, enter:
sudo apt install youtube-dlThe application takes around 268MB of space. While the installation is in progress, choose a video you want to download and save the URL.
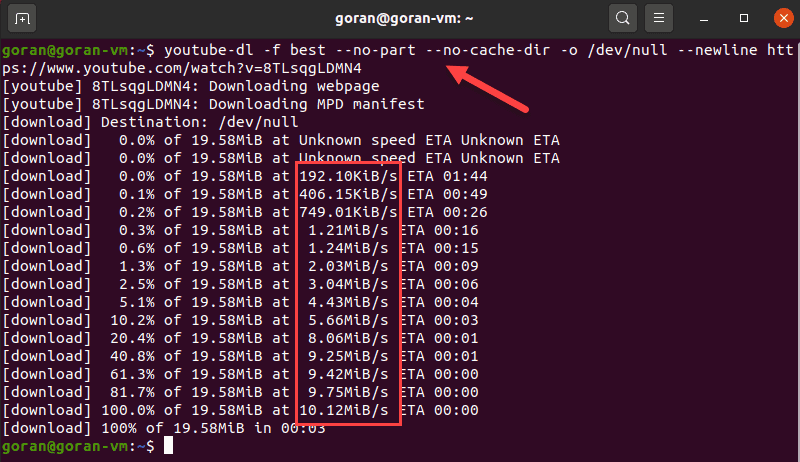
When the process finishes, use this command but replace the URL with the one you selected:
youtube-dl -f best --no-part --no-cache-dir -o /dev/null --newline https://www.youtube.com/watch?v=8TLsqgLDMN4The terminal shows the download progress, file size, download speed, and ETA.
The command above does not save the file to any filesystem, hence the /dev/null part.
This example used a short phoenixNAP BMC demo video of around 19MB. Choose a longer video for more precise results.
The article showed you nine ways to test network speed in Linux via CLI. Choose the tool depending on whether you want to test local network speed, internet speed, etc.
The tools work for all Linux distributions, so make sure you use the right package manager.


